The Standard Theme is the default theme for all accounts. Below you can explore the navigational aspects of the Standard Theme and how to find what you need to build out projects, surveys, workflows, and more:
When you first log into the platform when utilizing the Standard Theme, you will see the below display of the platform:
Survey
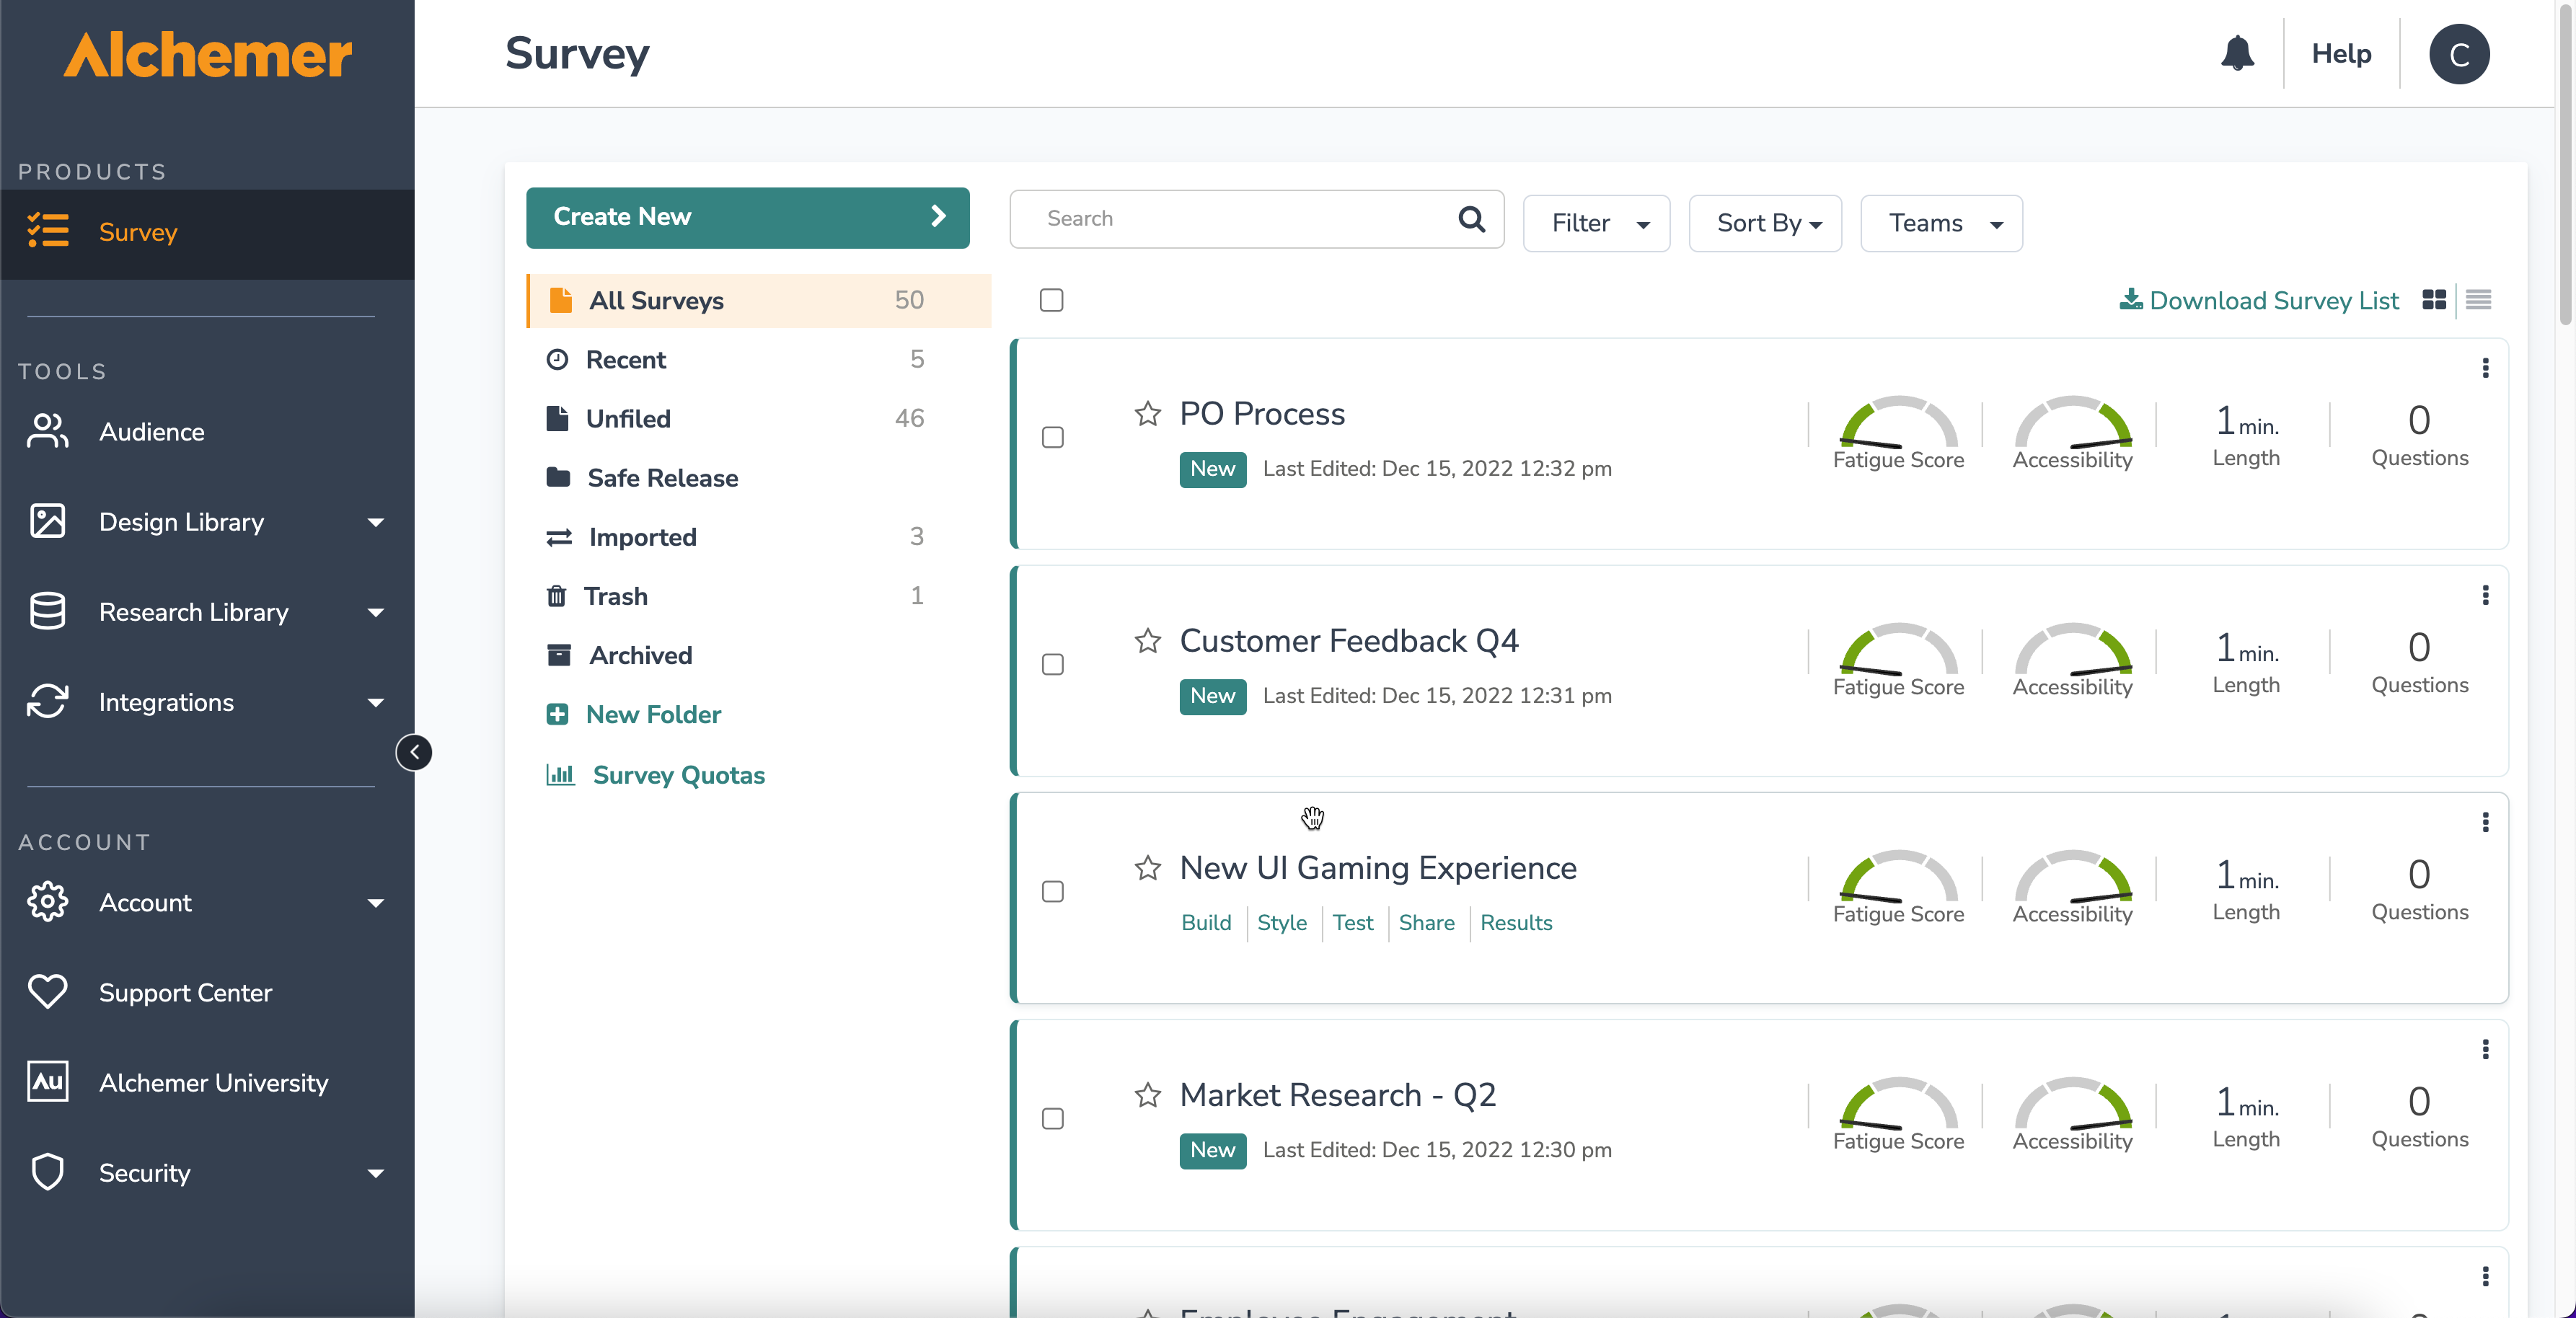
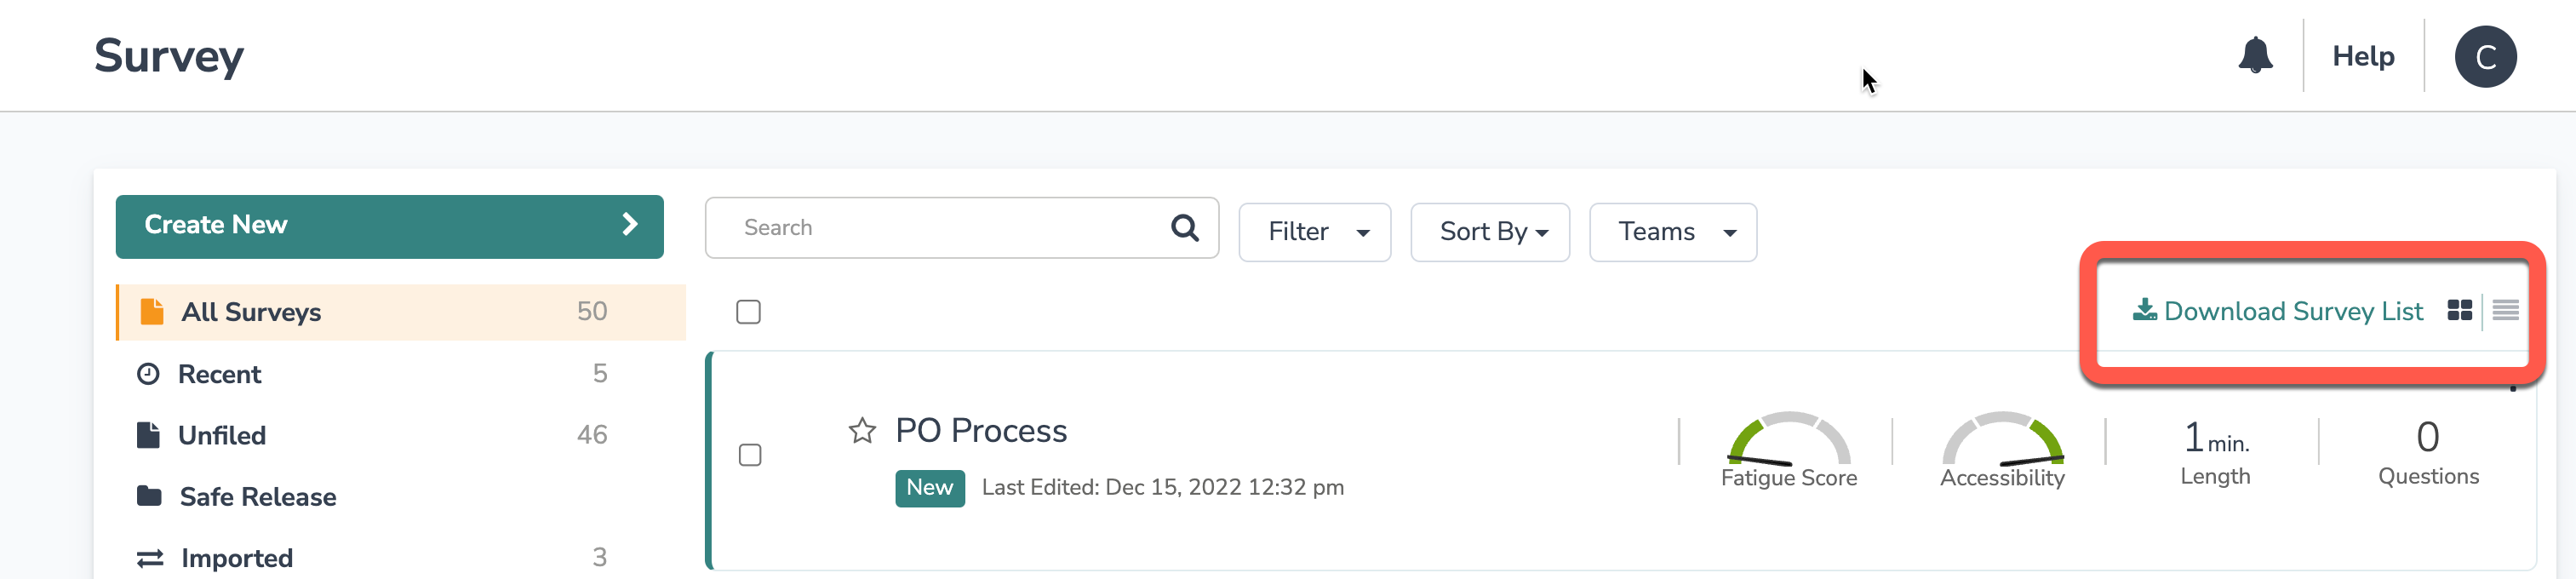
The Left Navigation Menu on the far left side of the screen allows users to access various sections of the application. When you log in, the Survey section displays by default. Within the Survey section, created projects are listed down the center of the screen while folders, the trash bin, survey quotas, and recently created projects are shown below the Create a Survey button. At the top right of the Survey section, users can Download Survey List of all projects in the account:
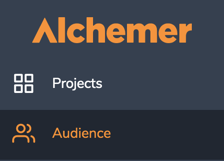
Audience
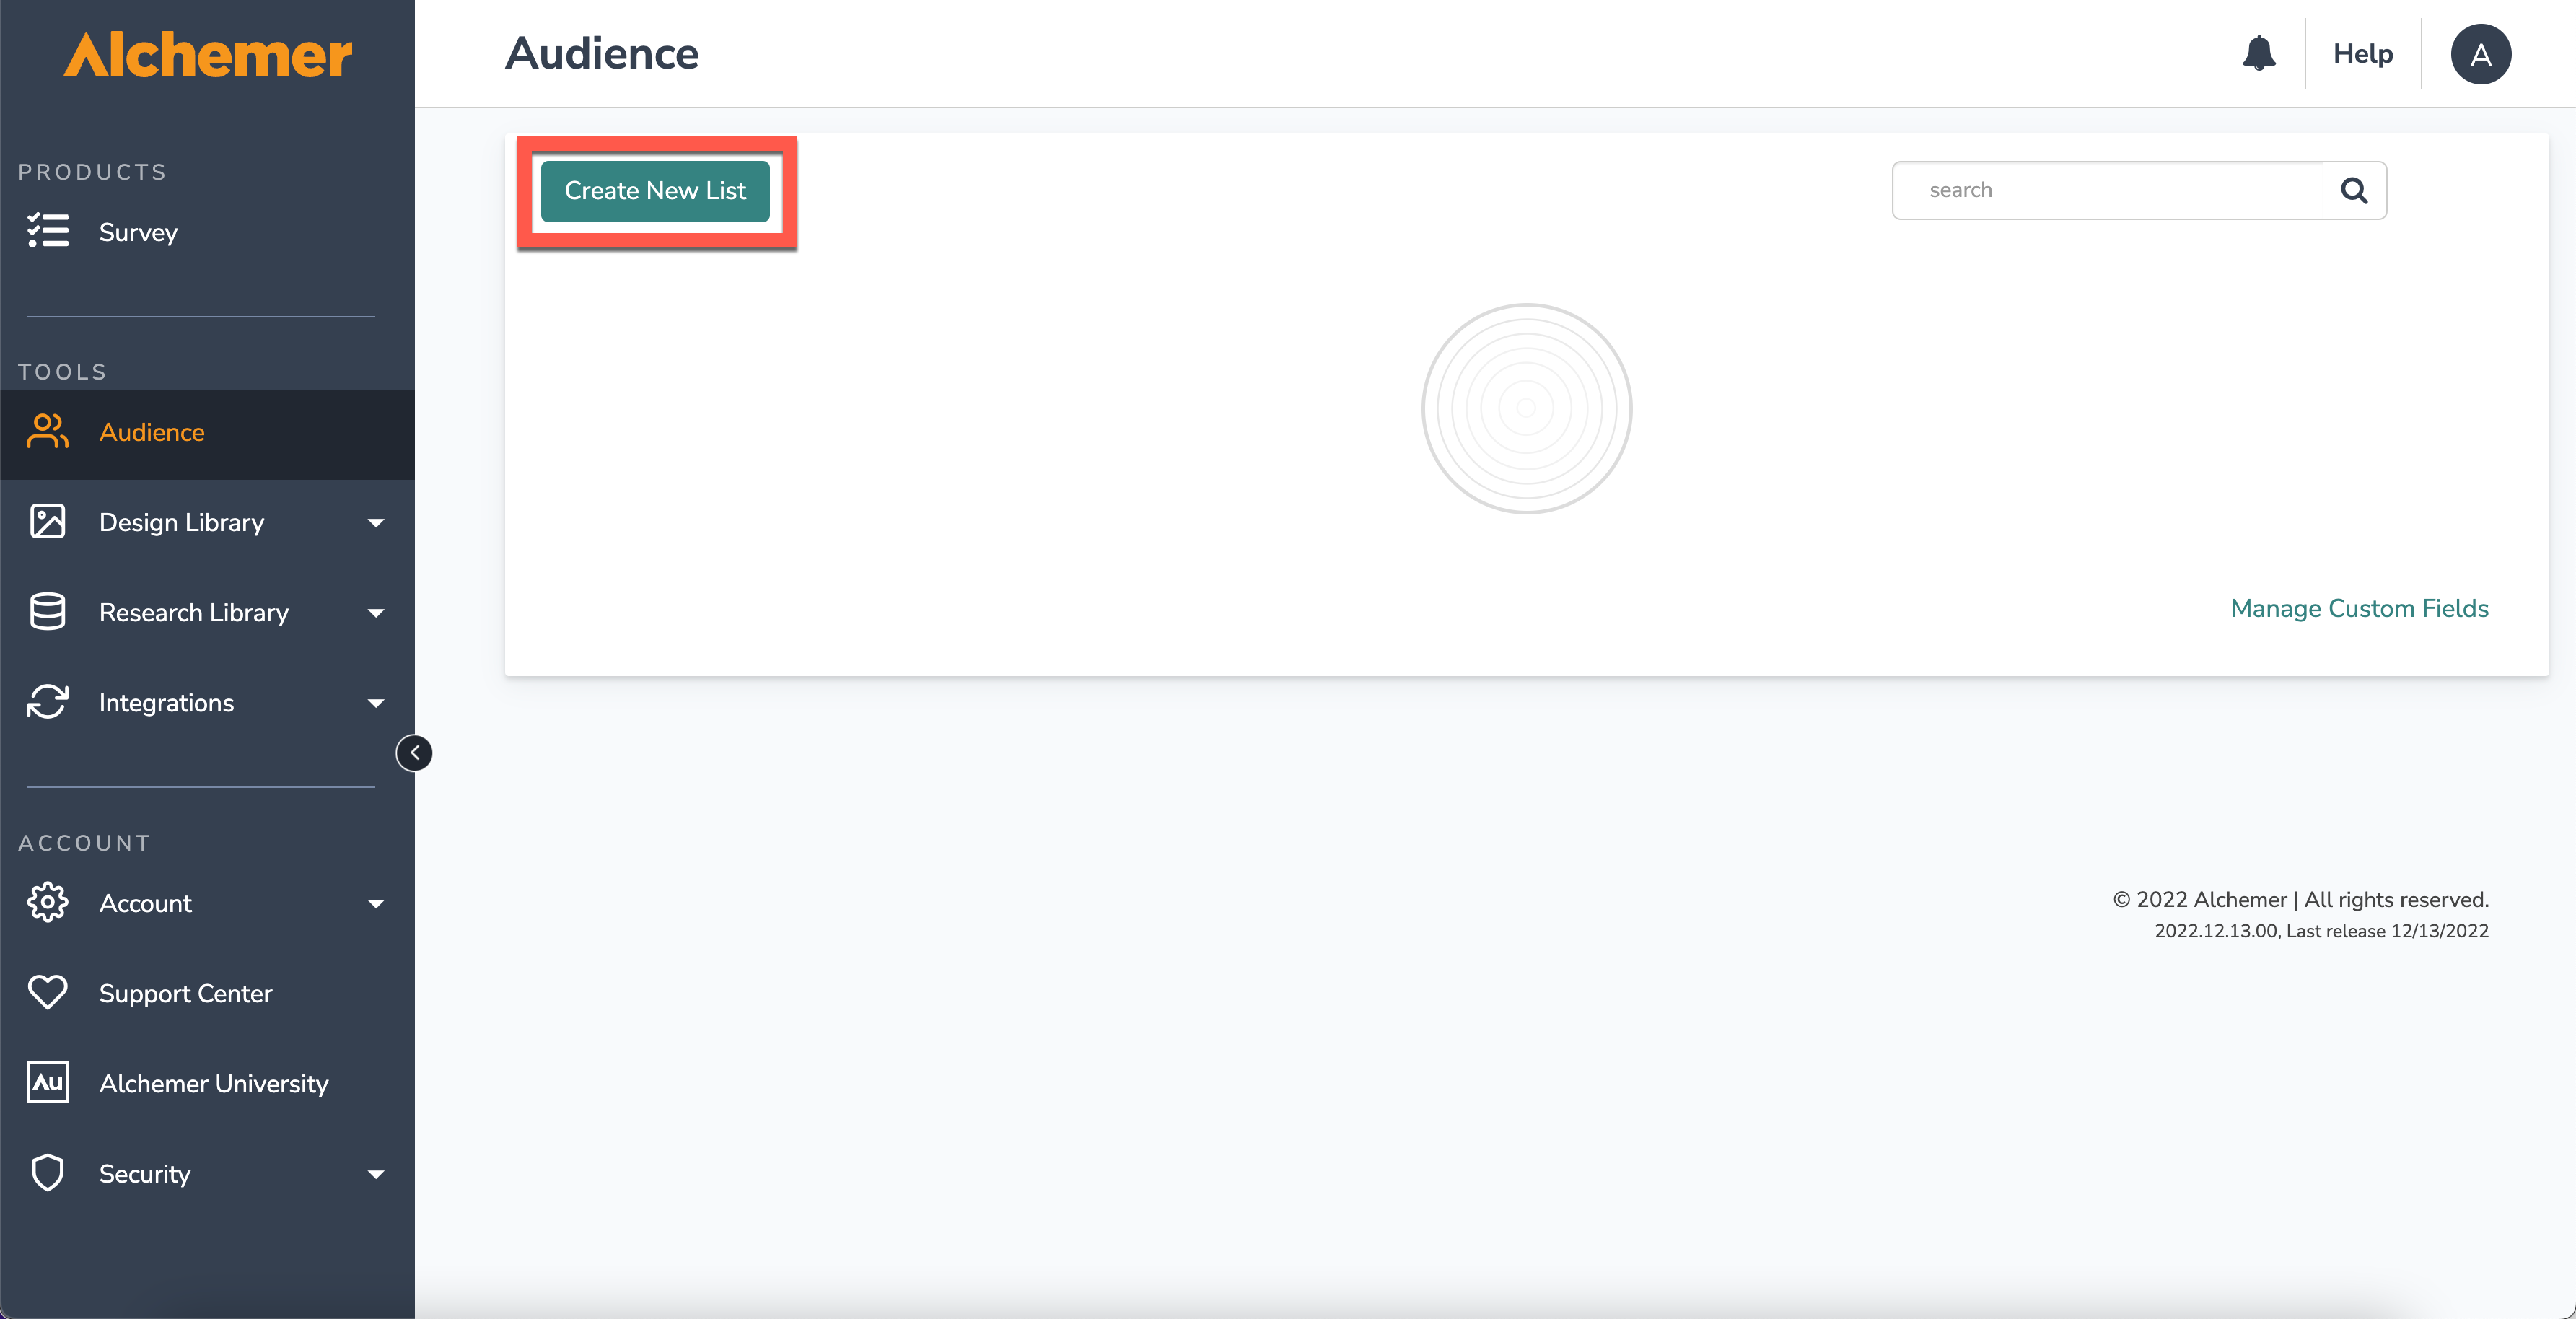
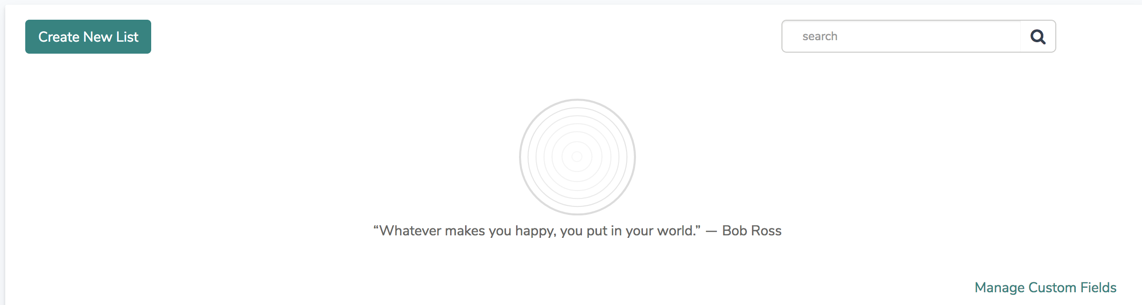
The Audience Section allows users to upload files of contacts into the application to expedite ones Email Campaigns and SMS Campaigns. Selecting Create New List allows one to upload a CSV, XLS, or XLSX of contacts that are later used when adding contacts to Email and SMS Campaigns:
Once a spreadsheet is uploaded into the Audience section, match the columns of the file to the contact fields for simple reporting:

Selecting Manage Custom Fields provides a popup window on the right side of the screen where one can add specific fields to map columns of an uploaded spreadsheet to. Once all the desired fields have been added, select Save Fields at the bottom right of the popup window:
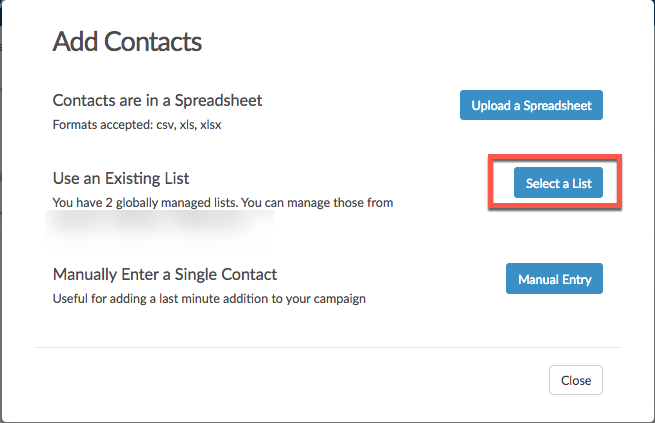
To utilize created Audience lists, Select a List when adding Contacts to a campaign:
Design Library
The Design Library Section is home to several pages that affect the overall display of the projects in an account. By Selecting the Design Library, a dropdown menu displays a few options to choose from:

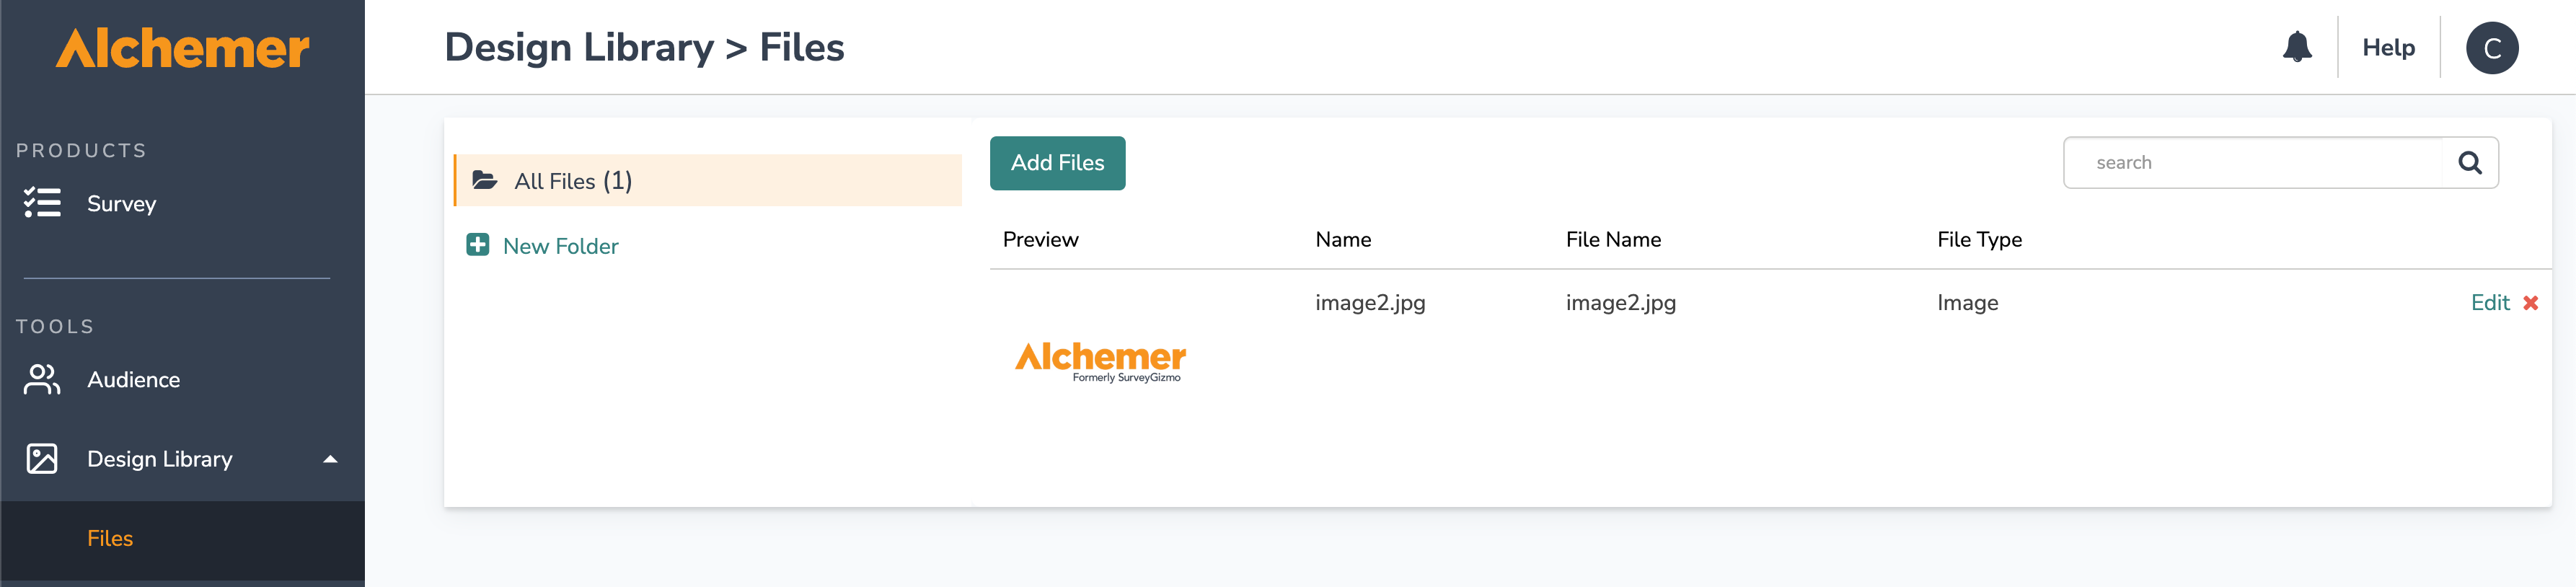
Files
The Files Page is where you can store images and other file types to use in projects, email messages, etc. To upload a file or document click Add Files > Choose Files:
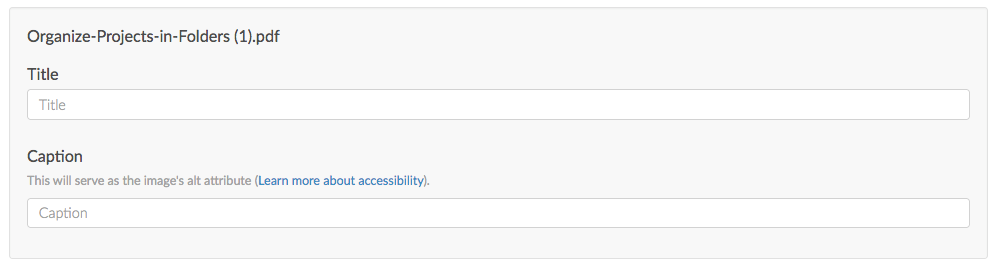
Select the Files you would like to upload. Each file selected for upload allows you to provide a Title as well as a Caption:
Once a file is added, Select the Edit option to the far right of a file to make changes to the Title or Caption, as well as pull the Files URL or the Embed Code: 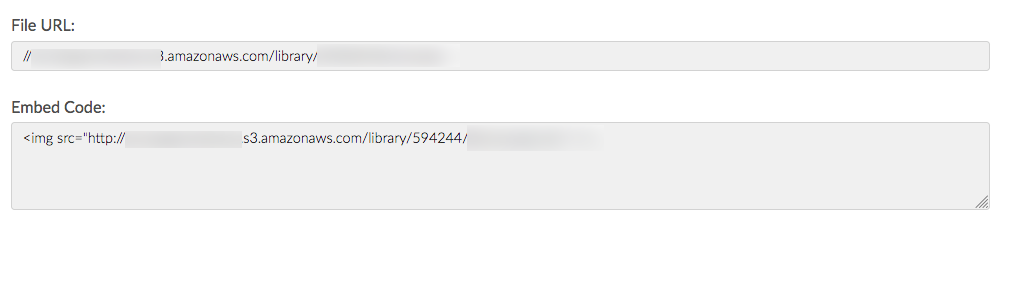
Click the red X to delete a file from the library.
On the left-hand side of the Files page, create Folders to organize files. Select New Folder to add subsections of files on the files page:

- Once a folder is created, drag and drop files to start organizing the File Library.
- The last viewed folder will be saved for your next login.
Using Files in Your Surveys
Images uploaded to your library are available to select on the options tab of an Image Element. Click on the image icon and you will be prompted to choose a file from the File Library.
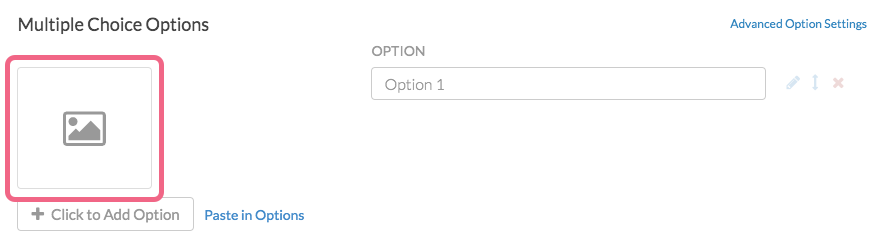
You can also select images from your File Library to add as answer options in Image Select questions. Click on the image icon within the Multiple Choice Options section:
Using your File URLs and Embed Codes to Insert Files
For each of the files in the File Library there is a URL and an embed code available to allow users to easily access these files elsewhere in Projects.
- File URL - This will provide you with the source URL link
- Embed Code - This link includes an HTML Image Source tag (
<img src>) so you can easily copy and paste in your survey or in the theme of your survey
For example, when designing a survey you may want to include a list of definitions or other reference material for your respondents to review. But a wall of text can be intimidating for respondents and, once the respondent navigates away from the page, they won't have the material there for reference. Linking to a document hosted on the Alchemer File Library is an excellent solution!
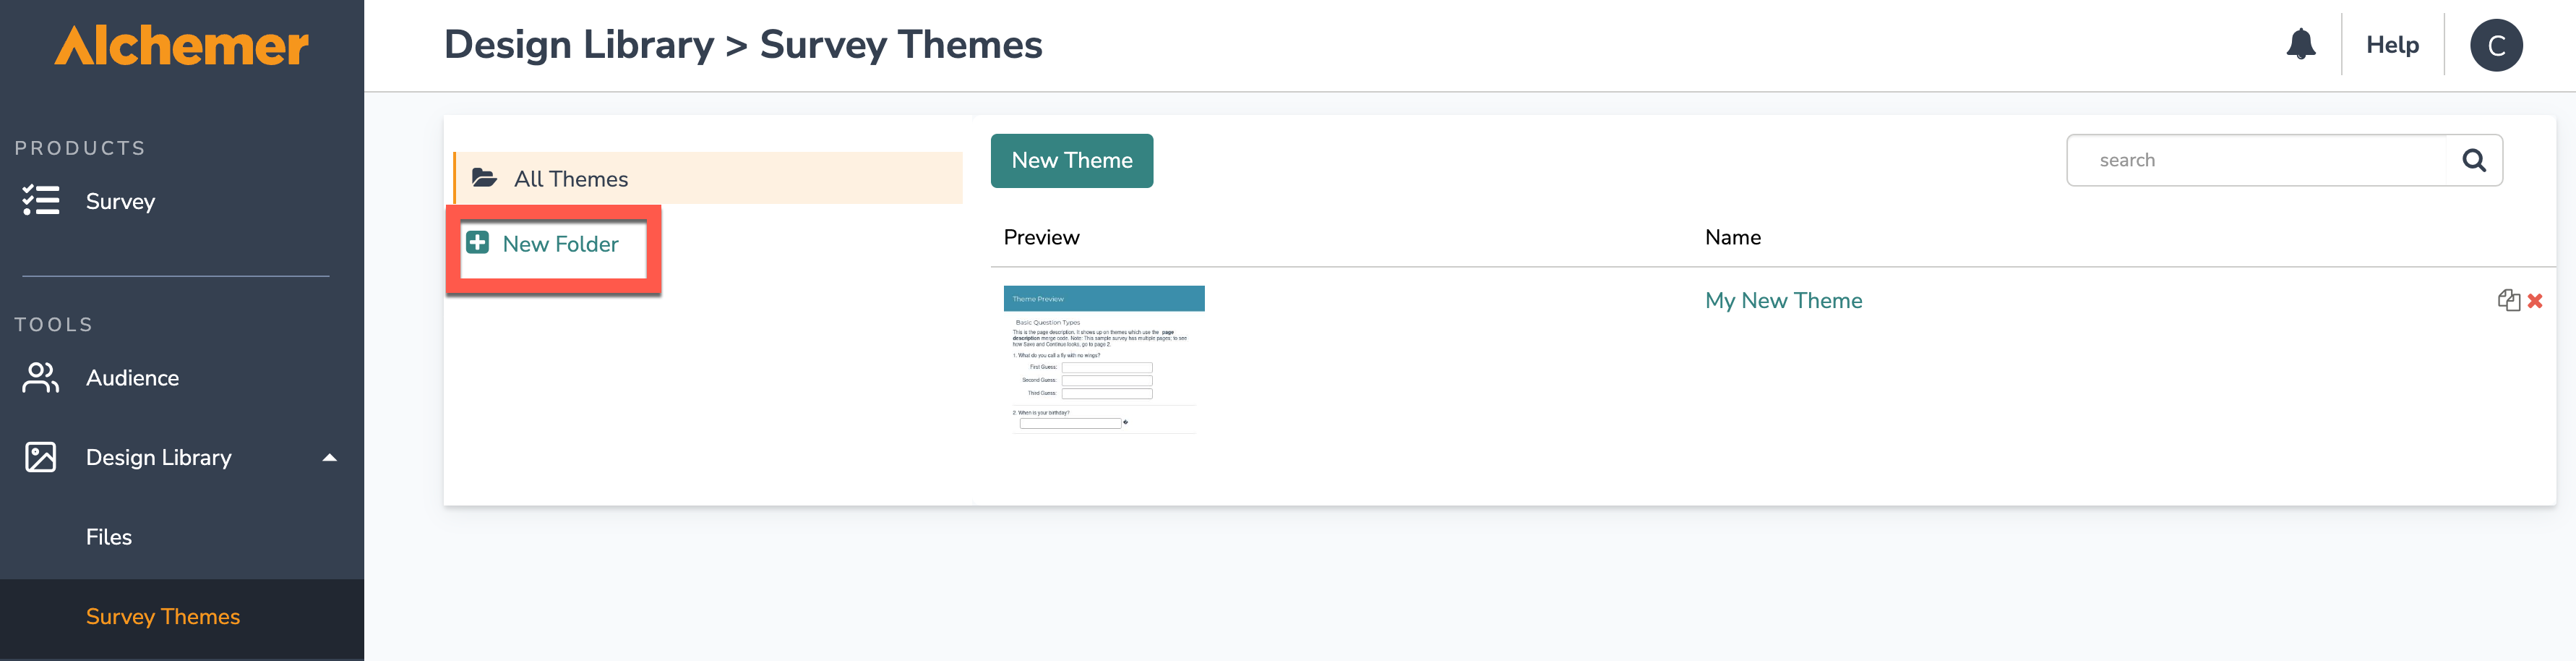
Survey Themes
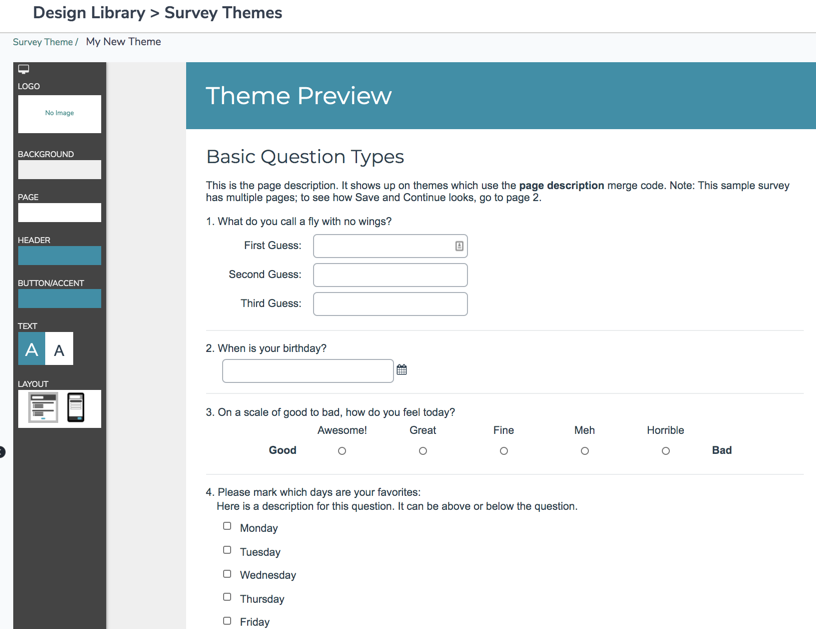
The Survey Themes page allows users to utilize pre-built project themes as well as create custom ones that fit the needs of their projects and organization. The Survey Themes page looks like this:

Select New Theme to create a new style to use for projects. Selecting the New Theme button brings one to a style screen like what is found under the style tab when building out new projects:
For more information on how specifically to make changes to the style of a theme, refer to our Styling Documentation.
Once you have created several custom themes, you may want to start organizing your theme library. You can create folders simply by clicking New Folder. Then drag and drop your themes to start organizing your library.
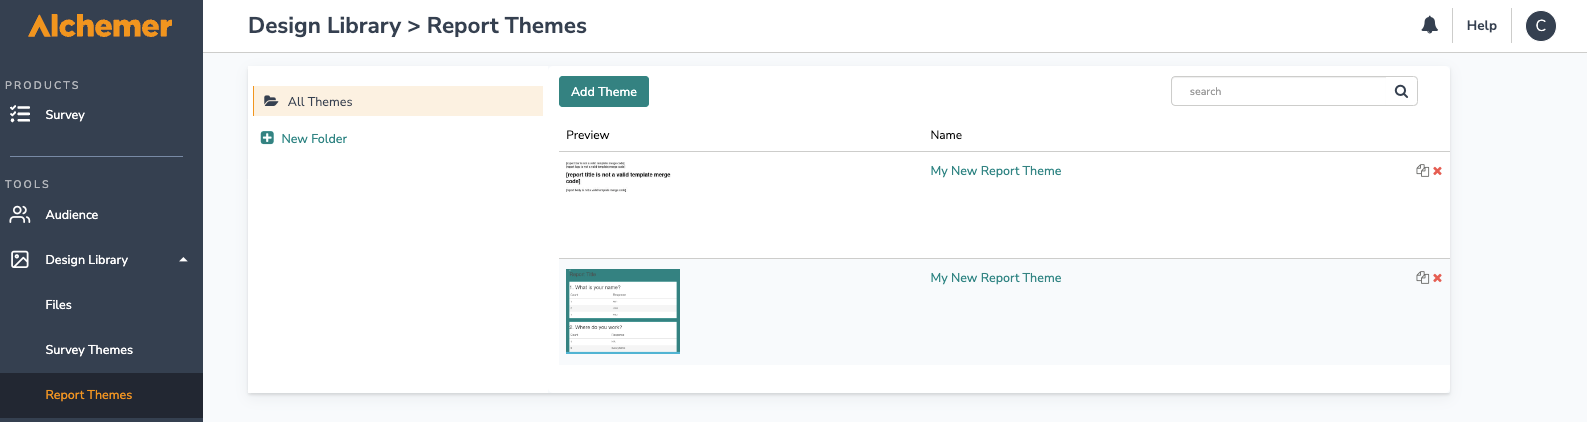
Report Themes
Wouldn't it be nice to save this work to apply to later shared reports? Good news! You can!
Report Themes allow one to create universal themes that are can be applied to future reports. These are best used when you are branding a report to fit organizational needs as a whole! These themes can be applied to any report that is NOT the Standard Report. Standard Report Themes are created and saved to Your Theme Library within the Report Builder.
To create a new theme, select Add Theme at the top of the Report themes page. Once you've created several custom themes you may want to start organizing your theme library. You can create folders simply by clicking New Folder. Then drag and drop your themes to start organizing your library:
For more information on building a custom report theme, check out our documentation here.
Research Library
The R Script Action is currently disabled while we work on a new way to access the power of R Script through the Alchemer platform.
The Research Library Section hosts several pages that are utilized to expedite project builds. The Research Library is host to Global Questions, Custom Reports, Custom Questions, as well as R Scripts:
Global Questions
Save oneself some time by adding questions, groups of questions and pages to Global Questions to reuse in later surveys. Questions from the Global questions are shared between all users that can build or edit your surveys.
There are three options for getting content into your Question Library:
- Option 1: When on the Build tab of a survey you have the option to Save Question/Page/Element to the Global Questions. Jump to these instructions.
- Option 2: You can create new survey pages and/or questions within the Global Questions. Jump to these instructions.
- Option 3: If you already have your survey pages and/or questions built out in a survey, you can import these questions and/or pages to the Question Library. Jump to these instructions.
The Global Questions page looks like this:
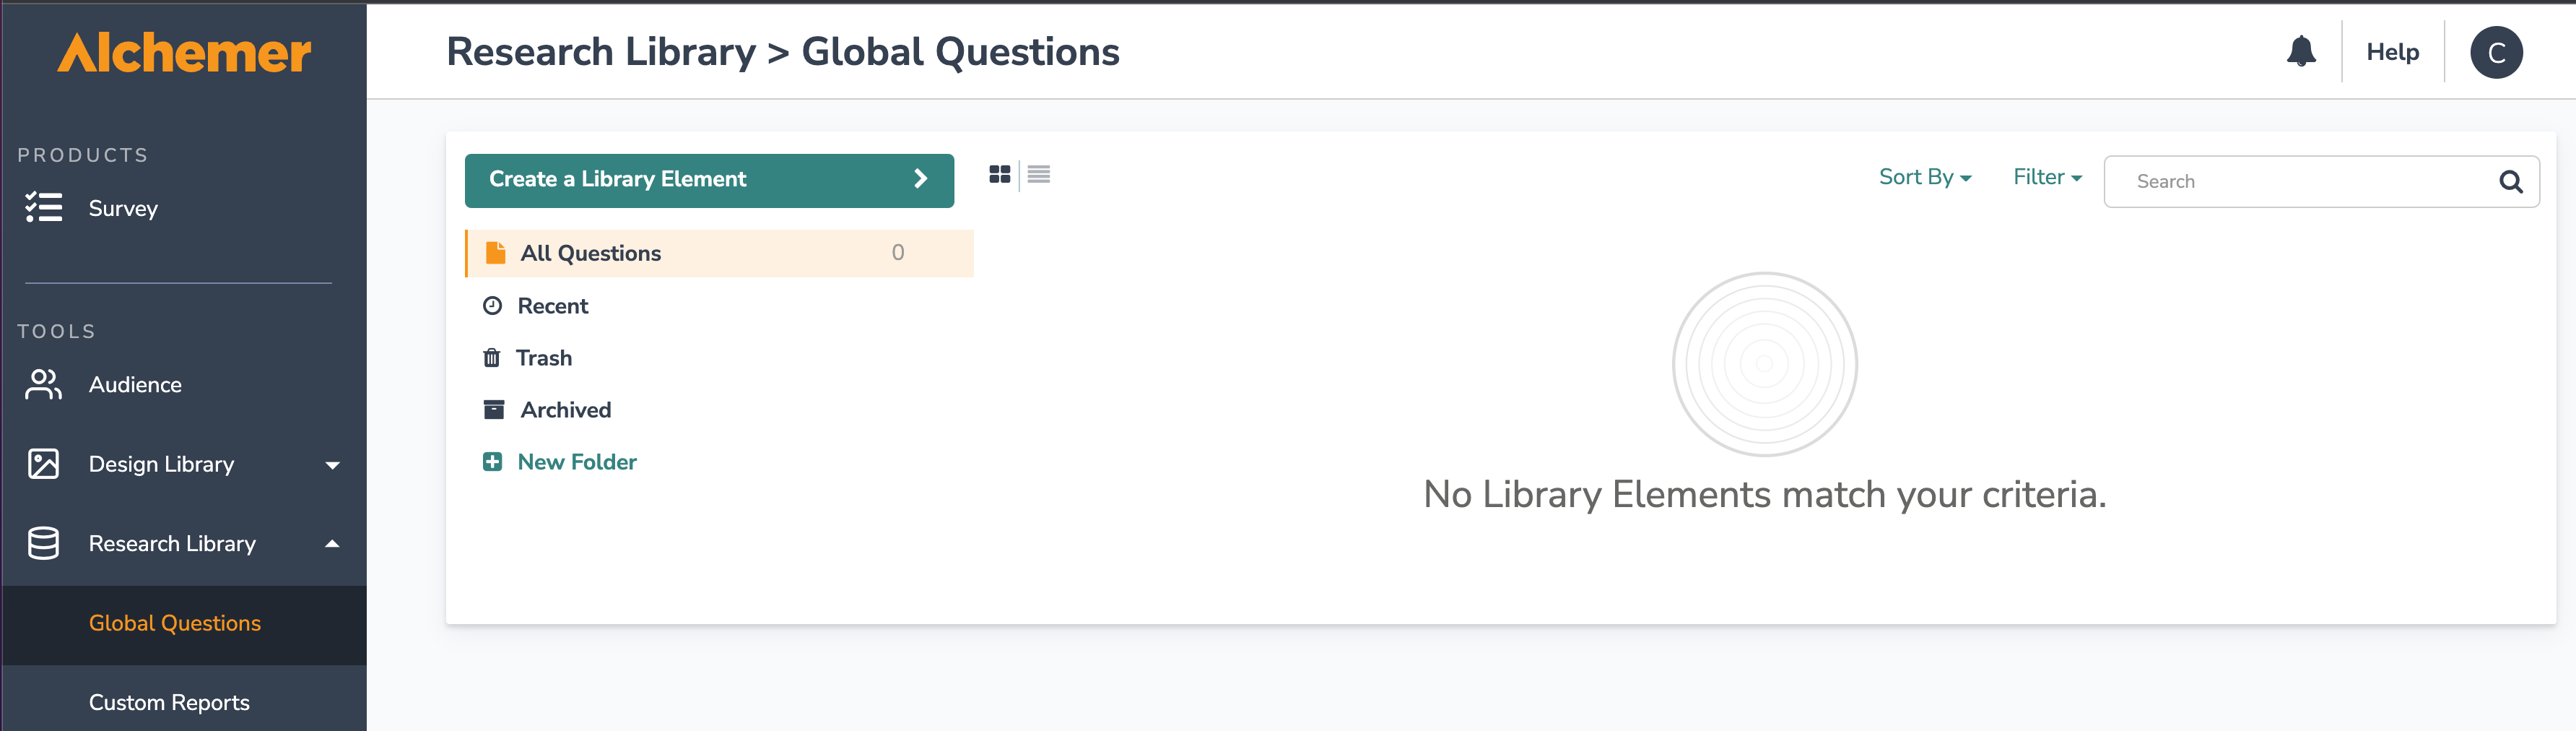
You can create a question to be used globally by selecting the Create Library Element button in the top left as seen above.
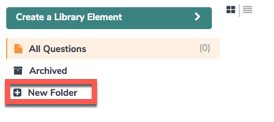
Once there are several elements in your Global Questions you might want to start organizing these. You can create folders simply by clicking New Folder. Then drag and drop your questions to start organizing:
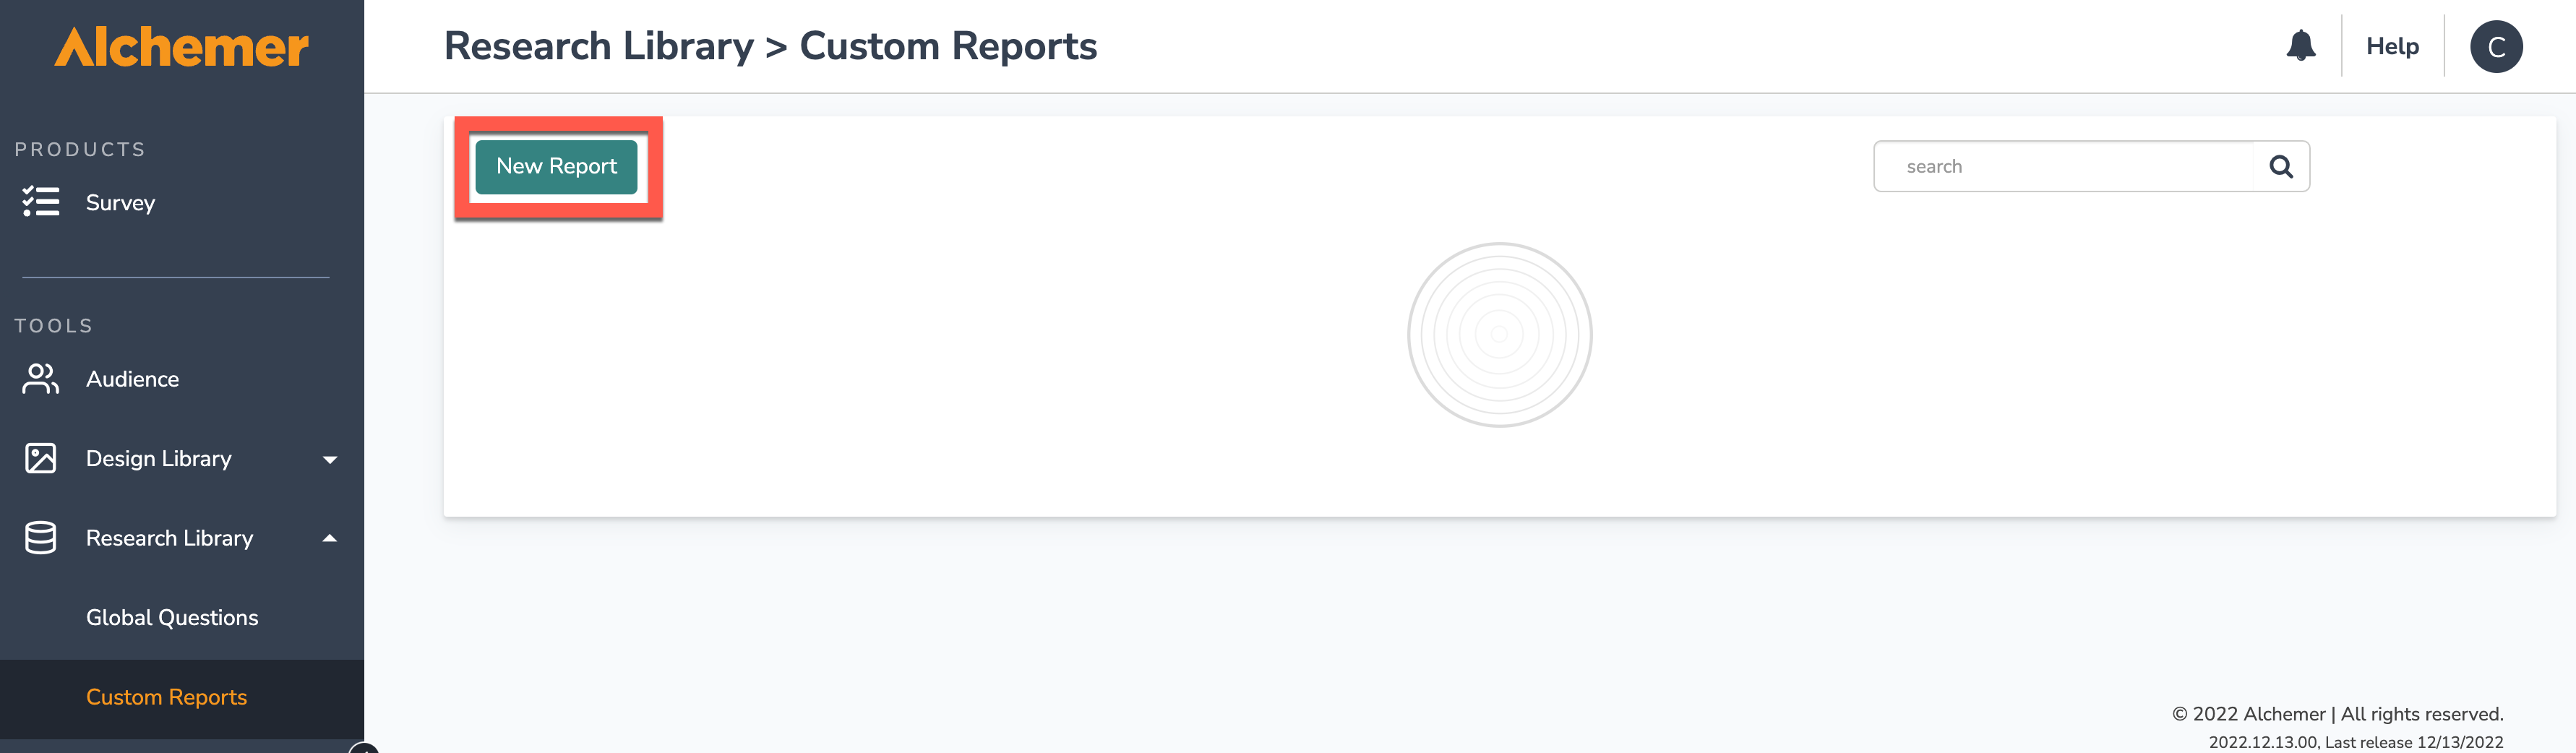
Custom Reports
The Custom Reports Page allows users to create unique reporting elements for their projects. To create a customized report, select the New Report button at the top left of the Custom Reports Page:
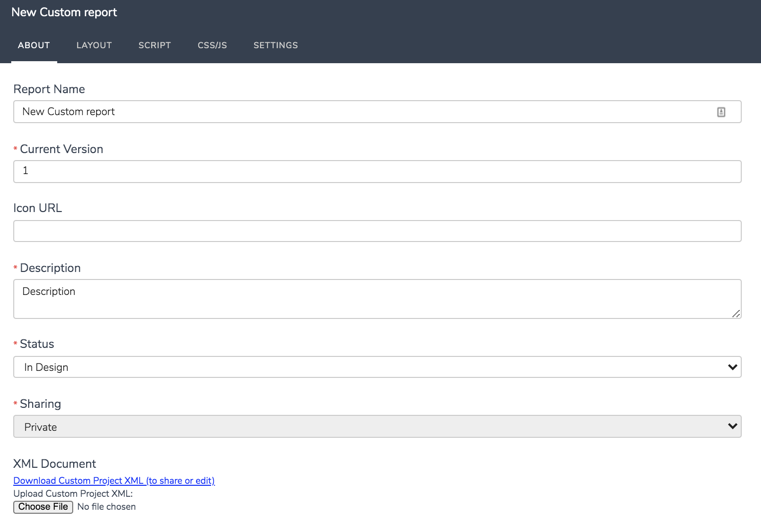
This displays a popup window to the right of the screen. Provide information about the report on the first tab, including the status of the reporting element, as well as the sharing status as well. Upload an XML document as needed for each use case.
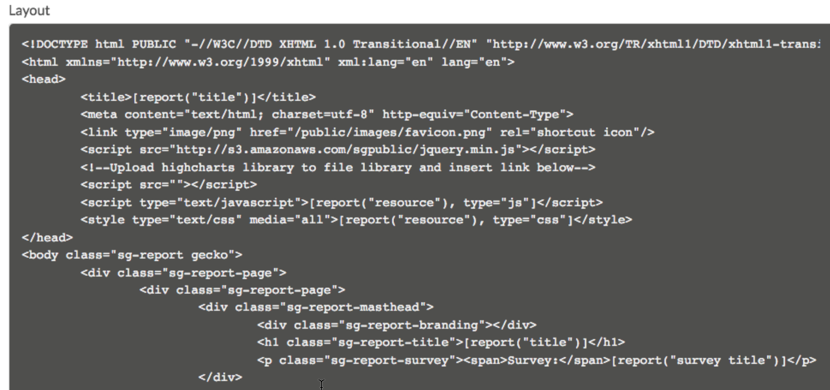
Navigate across the popup window menu at the top to provide changes to the layout, add question scripting, Custom CSS/JavaScript, and other XML Settings:

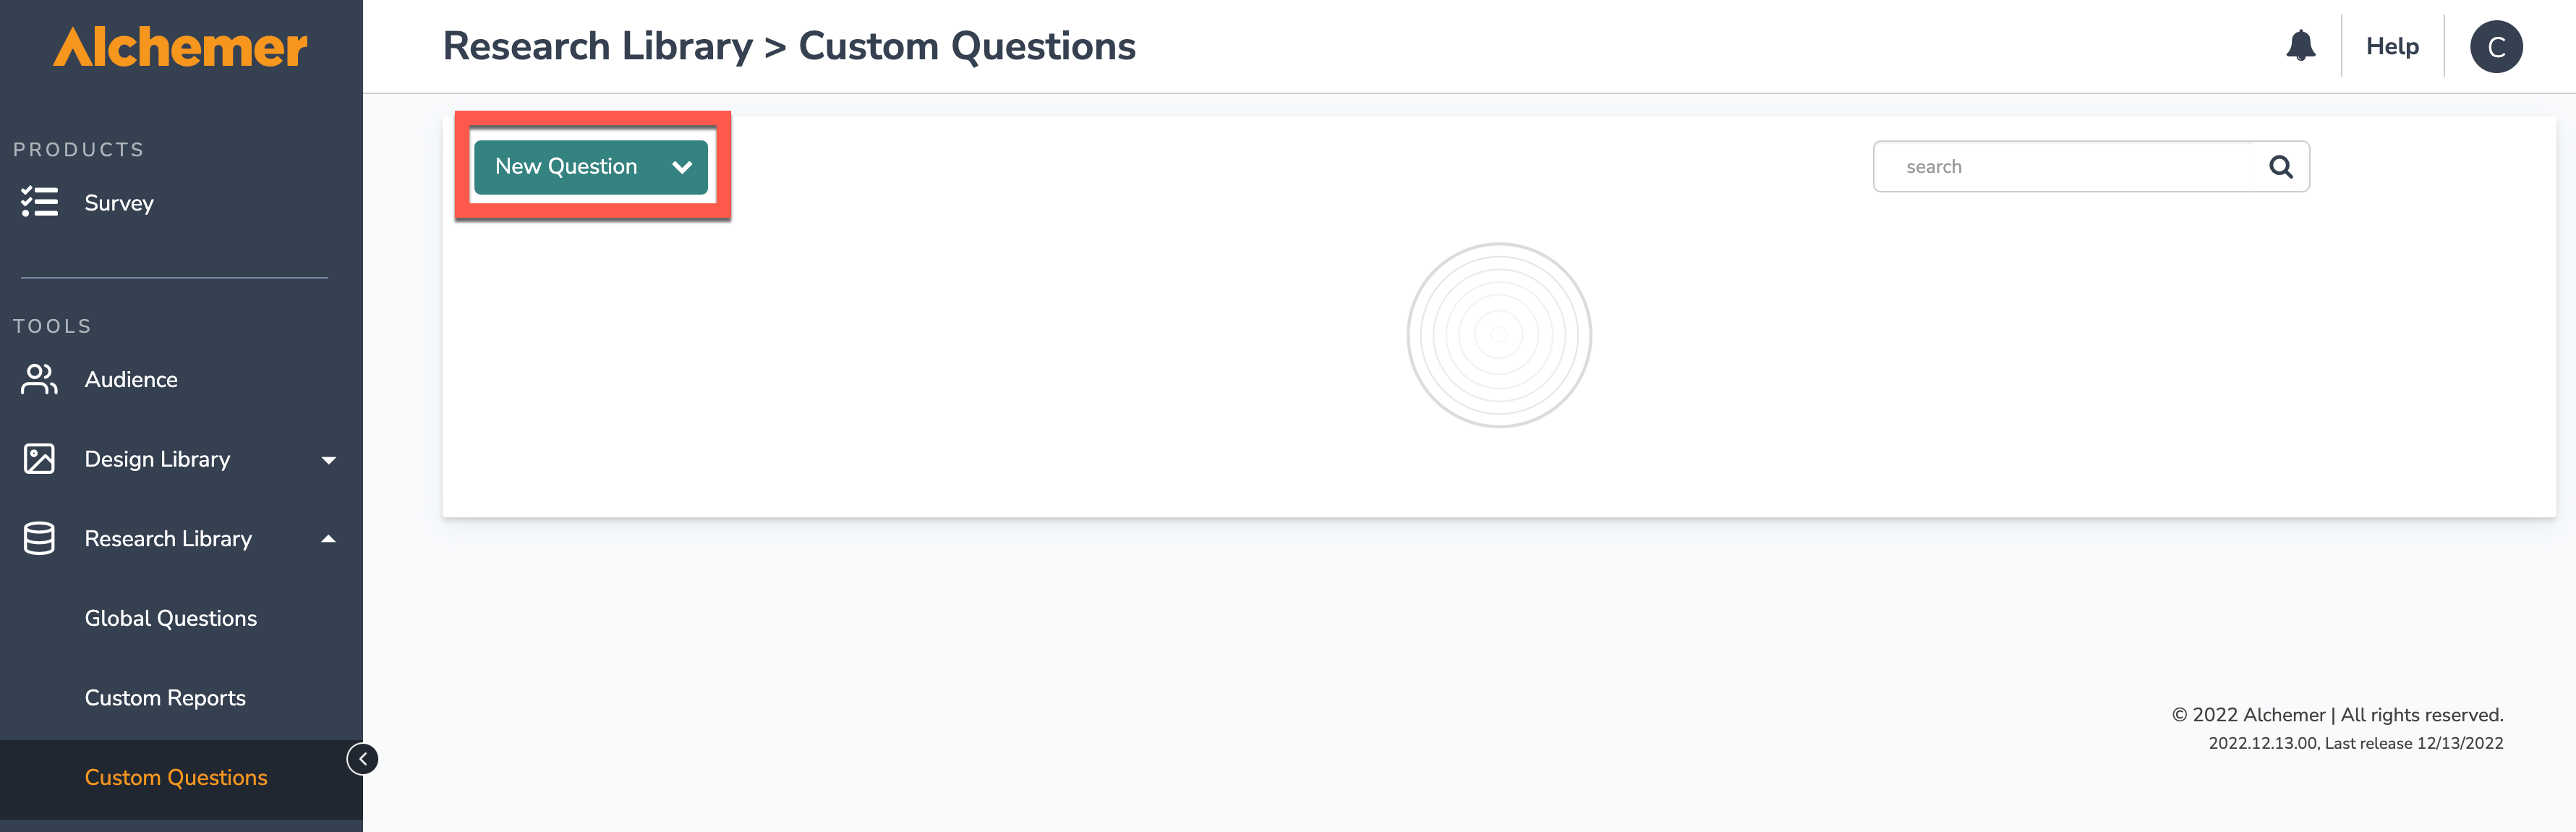
Custom Questions
Custom questions allow users to build their own questions from scratch using scripting. Create a custom question by selecting the New Question button at the top left of the custom questions page:
For assistance creating Custom Questions, refer to the Scripting Documentation for Custom Question Builder.
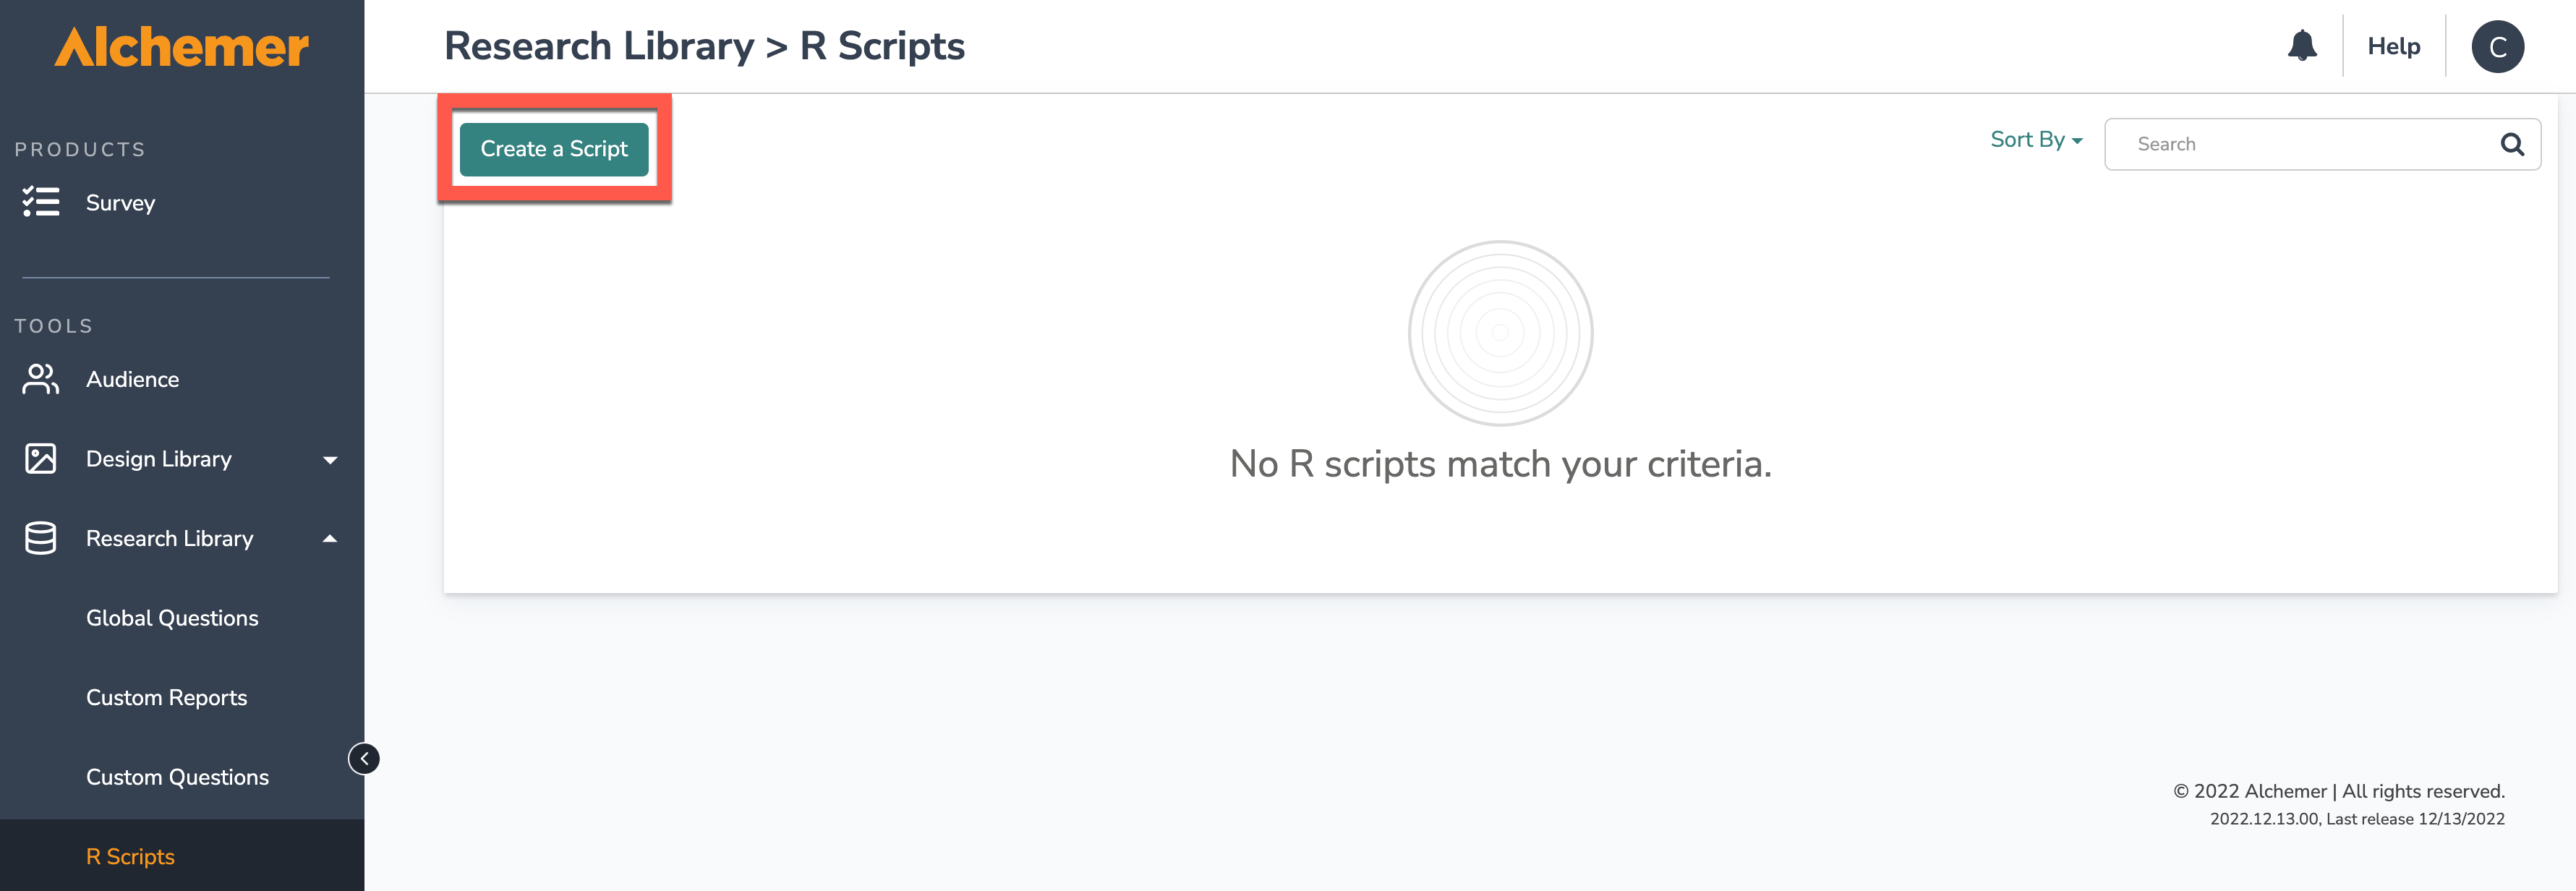
R Scripts
R is a programming language for statistical computing and graphics. It's used by statisticians, institutional researchers, and data scientists (among others) for modeling and visualizations.
Use R scripts in Alchemer's Standard Report. The script output can be in the form of:
- Tables
- Text
- Charts
- Custom Visualizations
All rendered in real-time!
Select Create a Script to start building out a custom R script:
Refer to our R Scripts documentation for more information how to create and utilize them in your projects!
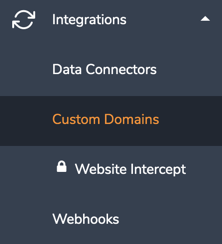
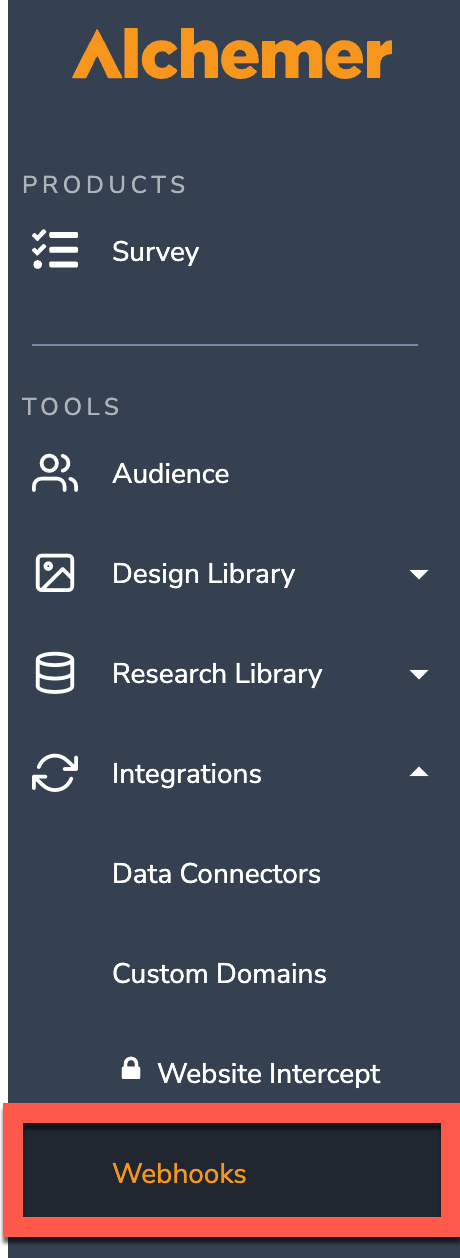
Integrations
The Integrations Section hosts Data Connectors, Custom Domains, Website Intercept, and Webhooks:
Data Connectors
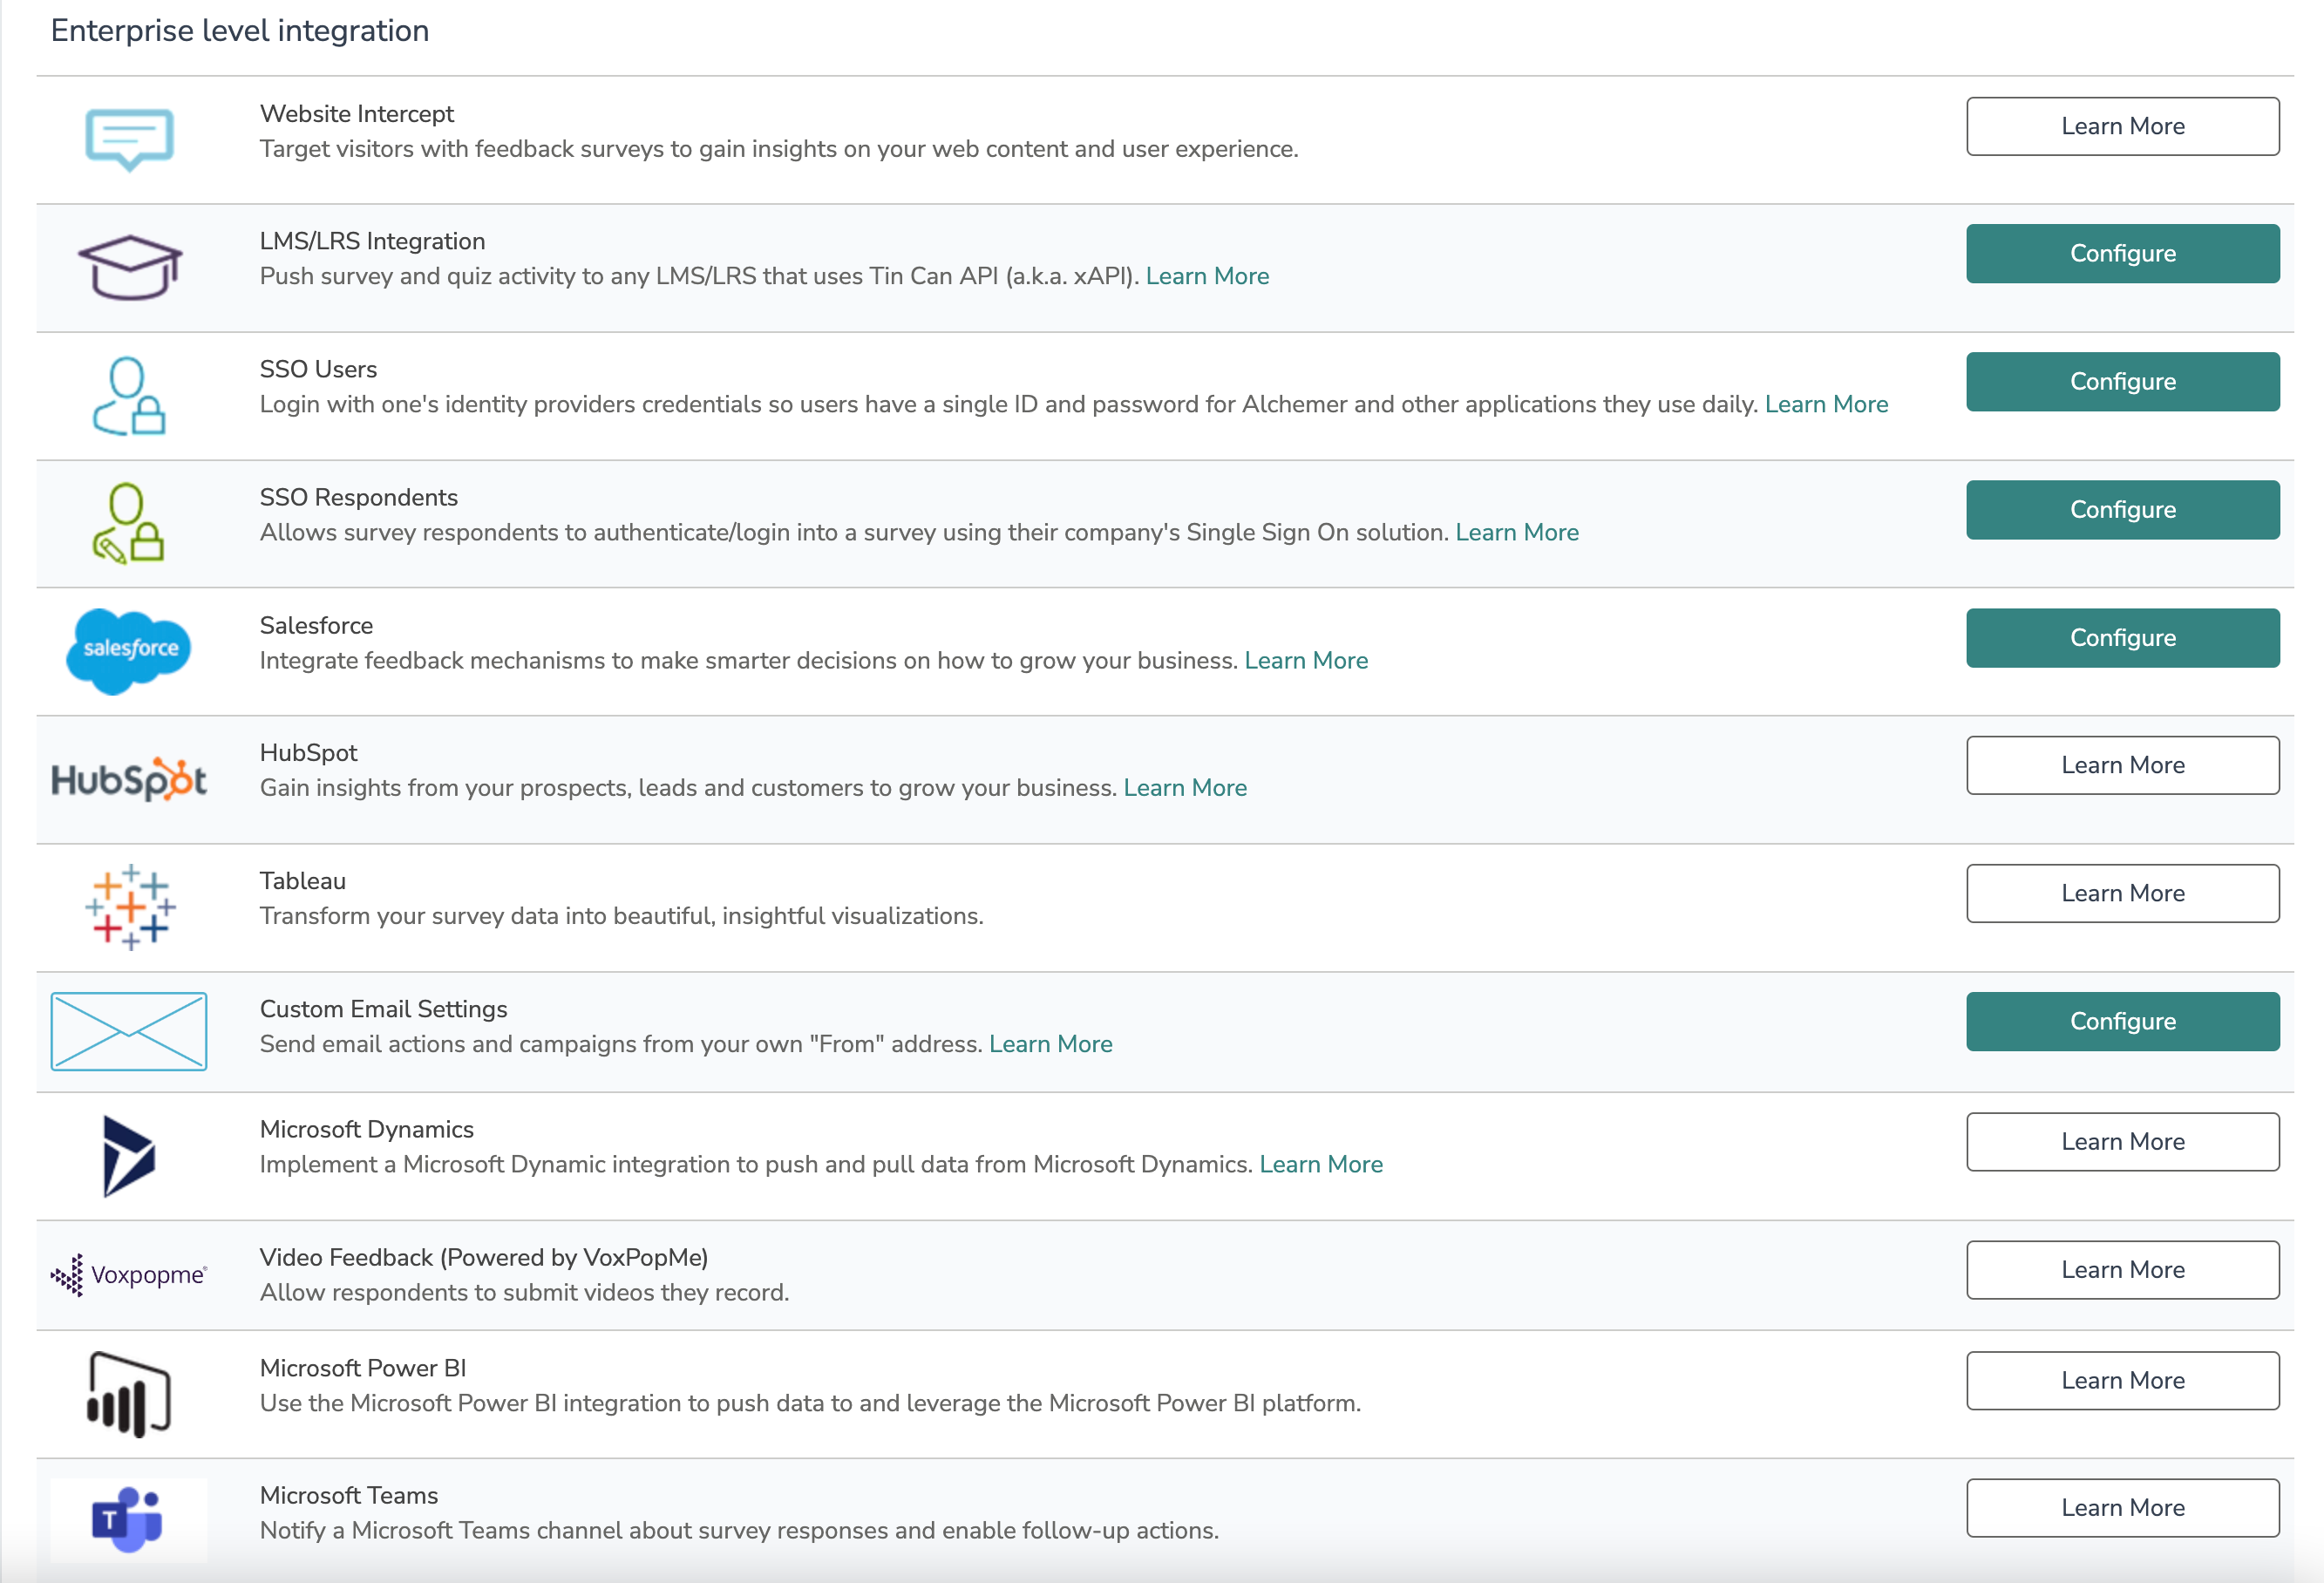
The Data connectors page allows you to connect our platform into existing online tools and social networks to eliminate redundancy and automate daily processes. Below are links to our specific documentations on each data connector:
- Social Medial Publishing
- Stripe
- Slack
- Private Domain/Embed Recaptchas
- Google Sheets
- API Access
- Login/Password Action
- Review Action
- Quiz Score Action
- Webhook
- Salesforce Marketing Cloud
- MailChimp
- R-Scripts
- SPSS Export
- Custom Question API
- Custom Scripting
- Website Intercept
- LMS/LRS Integration
- SSO Users
- SSO Respondents
- Salesforce
- HubSpot
- Tableau
- Custom Email Settings
- Microsoft Dynamics
- Video Feedback
- Microsoft Power BI
- Microsoft Teams
Custom Domains
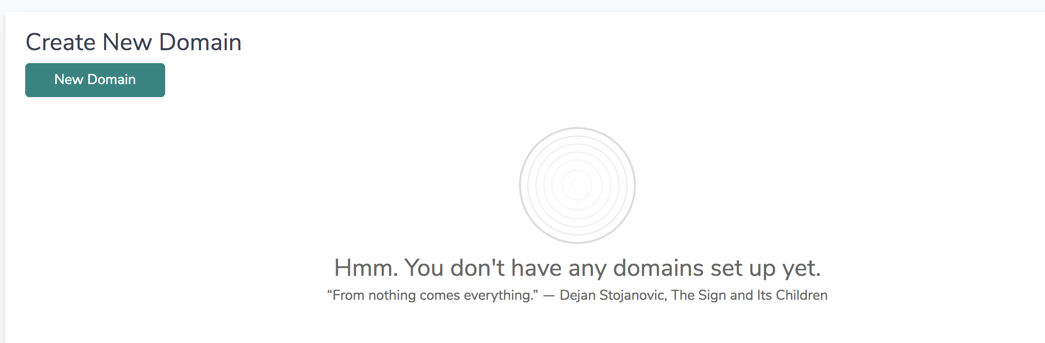
The Custom Domains page allows you to create both private domains and Secure Private domains that then are applied to project Share links. Create a private and secure private domains by selecting the New Domain Button at the top left of the page under Manage Domains:
Once selected, choose Create Branded Sub Domain or Create Private Domain depending on the use case. Follow the aforementioned links for assistance in configuring each option.
Website Intercept
Ever been browsing a business website, when after three or four pages of browsing, a survey pops up to asking about the experience using the site? That is what we call a Website Intercept and our platform has this functionality built in! It allows one to target visitors with content that can drive conversions or engagement through feedback surveys.
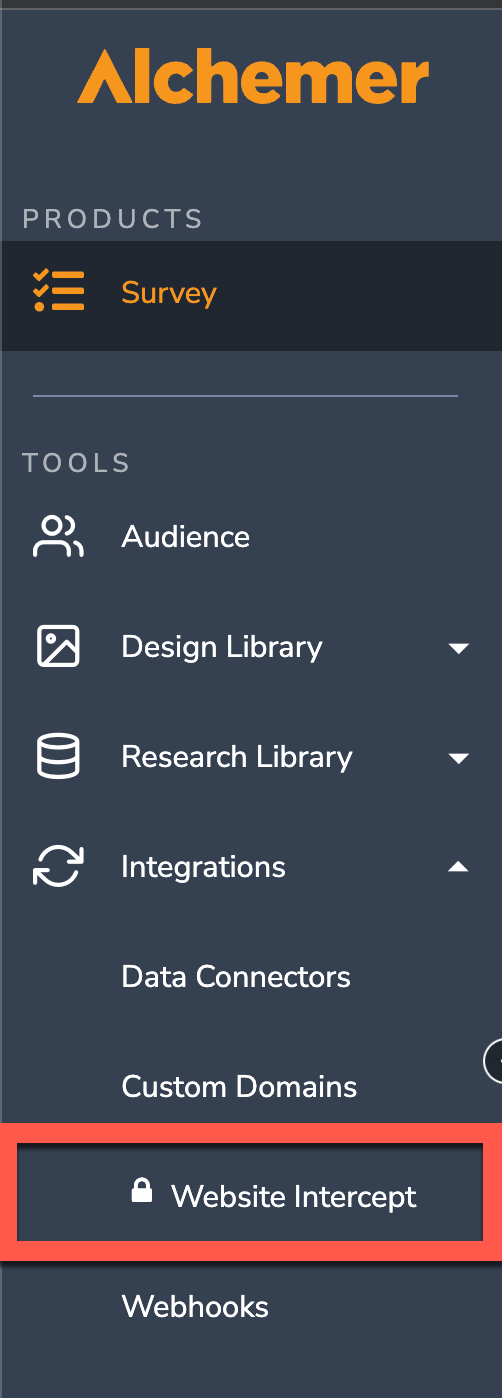
Create a New Website Intercept by selecting New Beacon in the top left of the Website Intercept Page:
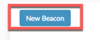
Select the New Beacon button.
For more information on how to create Website intercepts, follow the documentation guide here.
Webhooks
Webhooks allow users to communicate with external web pages via the HTTP POST or HTTP GET standards at the account level. Users can utilize the Webhook Action to pull data into a survey response and/or send survey response data to an external database. the Webhooks Page displays several areas where one populates URL's to complete several tasks, including:
- On Survey Create
- On Survey Update
- On Survey Publish
- On Survey Close
- On Response Received
For additional information on how to utilize account level Webhooks, follow the documentation here.
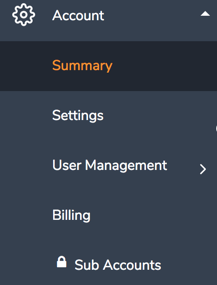
Account
The Account Section hosts the Summary page, Settings Page, User Management page dropdown, Billing page, and Sub Accounts page:
Note: These Account Options are only Available for Account Administrators.
Summary
The Account Summary page displays several subsections that show account-wide information, including: Your Account, Projects, and Account-wide Usage, Sub Account data for Account Administrators of Master Accounts with Sub Accounts, and User License metrics. You will also see common account actions, FAQ’s on how to manage your account.

Your Account
Your Account section displays your Account identification number, Term Renewal Date, Your License, and the length of time your Alchemer account has been active. Your License shows the highest level of license on your account.

All new Alchemer accounts created after January 25th, 2022 must be provisioned Email Action and Email Campaign authorization from the Alchemer Support team before scheduling and utilizing the email action or campaign features in the Alchemer platform. Click here for more information.
Account Administrators can validate if the account email address has been verified or not, in the Your Account section. Verification statuses will show as Verified or Not Verified (in red). If your email address has not yet been verified, a link will display below the verification status to Send a New Email to the Support team, requesting verification.

Projects
The Projects section gives Account Administrators visibility into platform usage across the entire account, in real-time. This section will display the number of surveys in the account since the account was created. 
Survey metrics will include:
- Active Surveys: Surveys on the account that have collected at least one response and have not yet been closed
- New Surveys: Surveys that have not yet collected any responses
- Closed Surveys: Surveys that have been set to closed or archived in the platform in the last 30 days
- Total Surveys: The sum of all Active, New, and Closed surveys since the account was created
Deleted surveys will not be included in the survey metrics.
Responses Since Renewal
Responses Since Renewal shows the total responses collected since the account renewal date. Counted by Response ID, total responses include complete, test, partial, disqualified, quarantined, deleted and imported responses.
Response limits are determined by your account plan. Response counts will reset with the term of the account. Please contact our sales team for questions about the response limit associated with you account plan.
Account-wide Usage
The Account-wide Usage section displays account-wide survey distribution usage for Email Sends, SMS Sends (and SMS Test sends), and Video Feedback question type minutes, compared to the total available. Accounts will only display usage metrics for SMS and Video Feedback if those products were purchased.

The usage metrics for each item will include the number of sends or minutes used, compared to the number of sends or minutes allowed, in real-time. A progress bar will display the percentage of quota used. This bar will turn red once usage has reached 90%, notifying Account Administrators their quota is almost up. You can easily find the date these need to be used by at the top right of each quota. All items not used by this date will be forfeited.
Account Administrators can easily purchase more Email, SMS, or Video Feedback minutes by clicking the Get More button. This will open a modal to fill out a contact form that is sent directly to our Sales team, who will reach out to you to get you set up with more!
User Licenses
The User Licenses section displays the total Users, Teams, and Licenses on the account. This information is taken directly from the User Management page. Users are displayed as the total users on the account out of the total licenses on the account. Active teams shows the total teams created on the account. Licenses are divided by license level and display as total Purchased, In Use, and Available for assignment.

Click Assign Users to assign available licenses. Click Add Licenses to contact our Sales team to purchase more licenses.
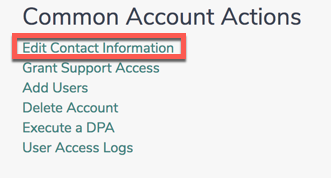
To edit contact information, select the Edit Contact Information Information link:
On the lower right side of the Summary page, one can access Technical and Accounting Documents such as our Privacy Policy, W-9, and General security information:

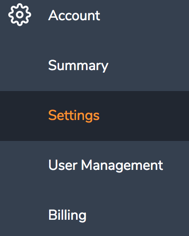
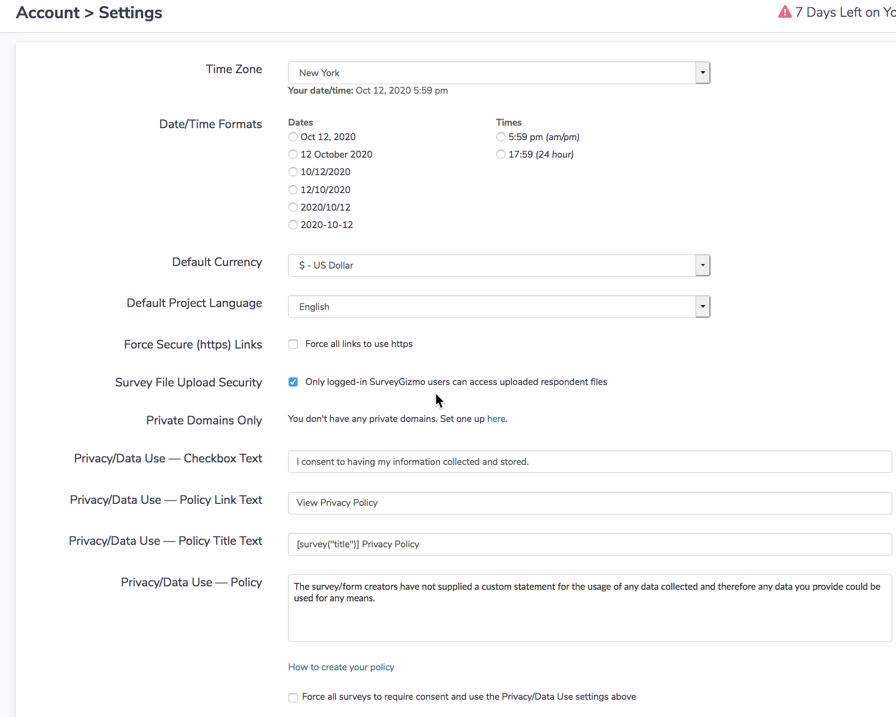
Settings
Settings provides Account Administrators that ability to edit their timezone, Date/time Format, Currency on the account, Default languages, and many other account specific items:
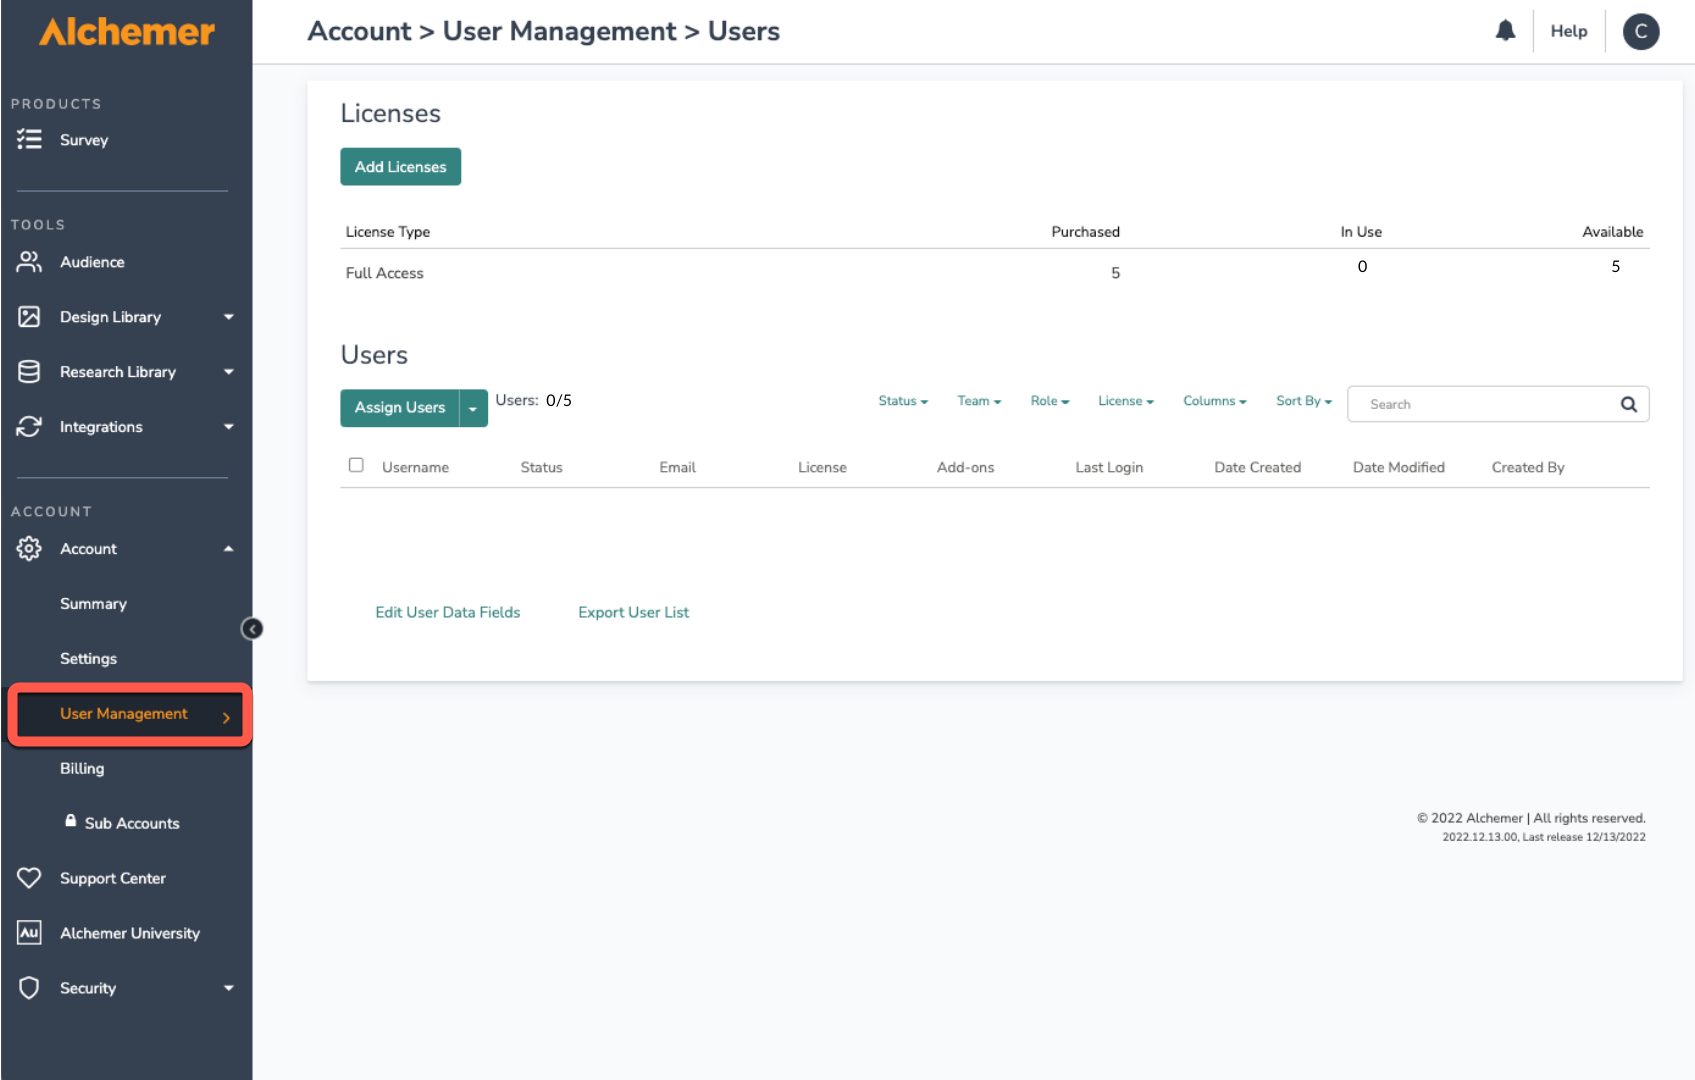
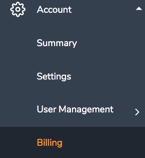
User Management
The User Management Dropdown allows users to make changes to users on the account as well as assign licenses to users:
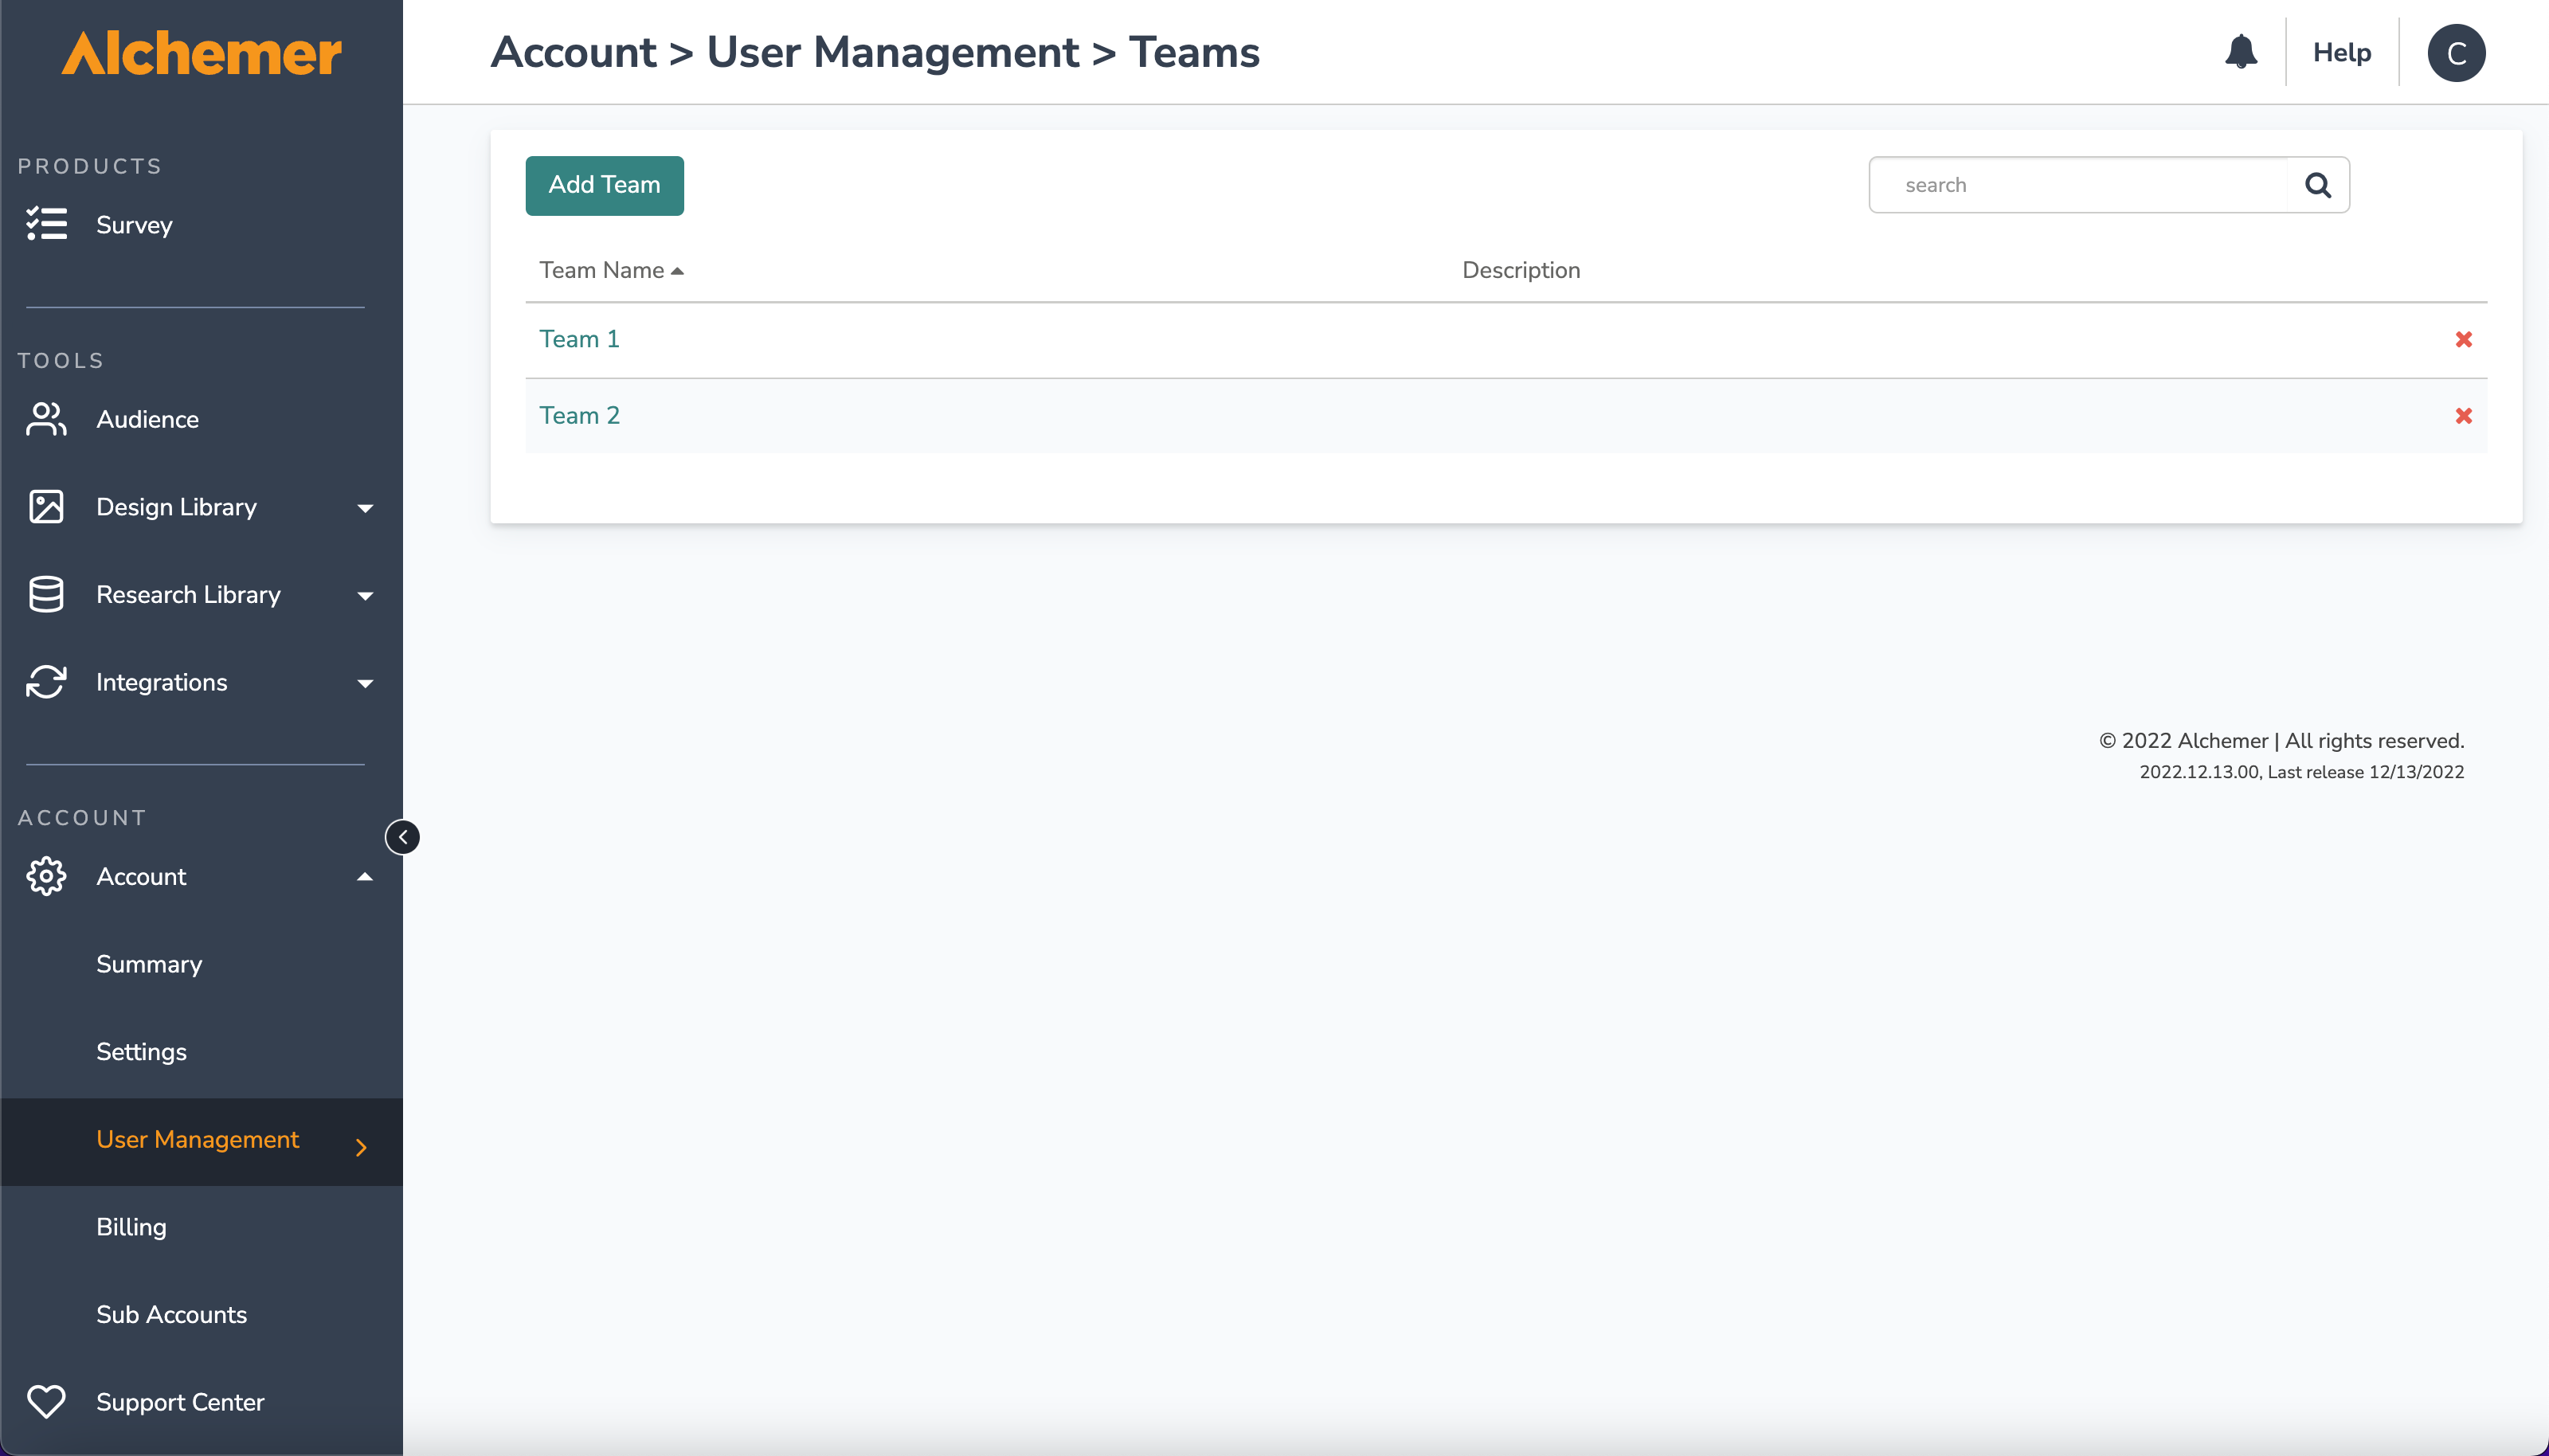
Create and manage Teams for users on the account to reside in to limit access to particular projects:
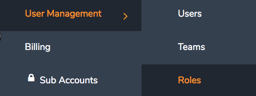
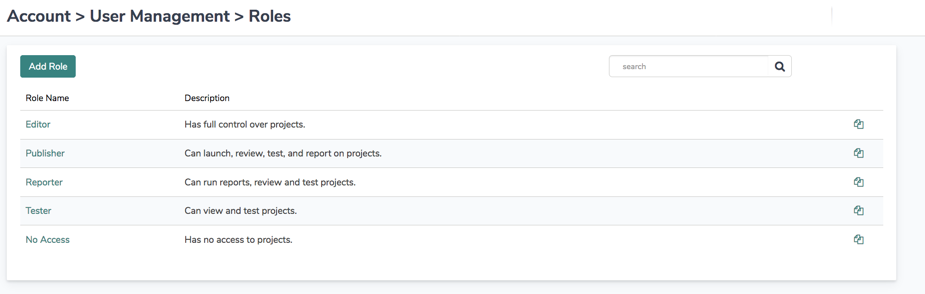
As well as create and manage Custom Roles for their users to provide and limit particular actions:
Follow the aforementioned hyperlinks for more insight into how to manage these permissions!
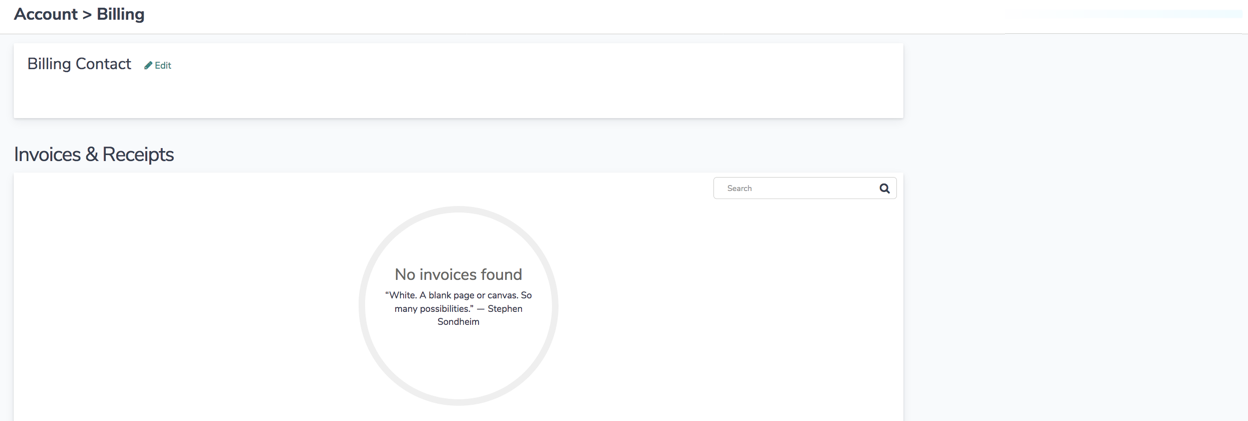
Billing
The Billing page displays invoices and receipts on the account, as well as the billing contact information. Use the search bar to find specific invoices as it relates to the account:
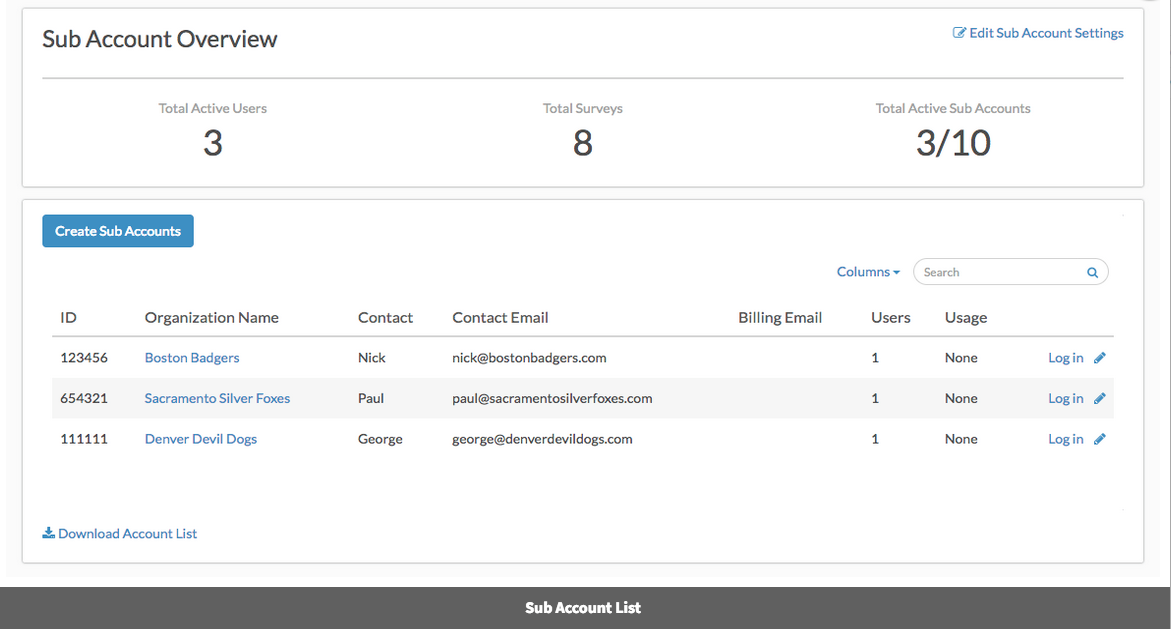
Sub Accounts
If you are using sub-accounts, select this page to manage login information as well as users within the sub-account:
Support Center
The Support Center Section provides users the opportunity to self-service when needing assistance in the application:
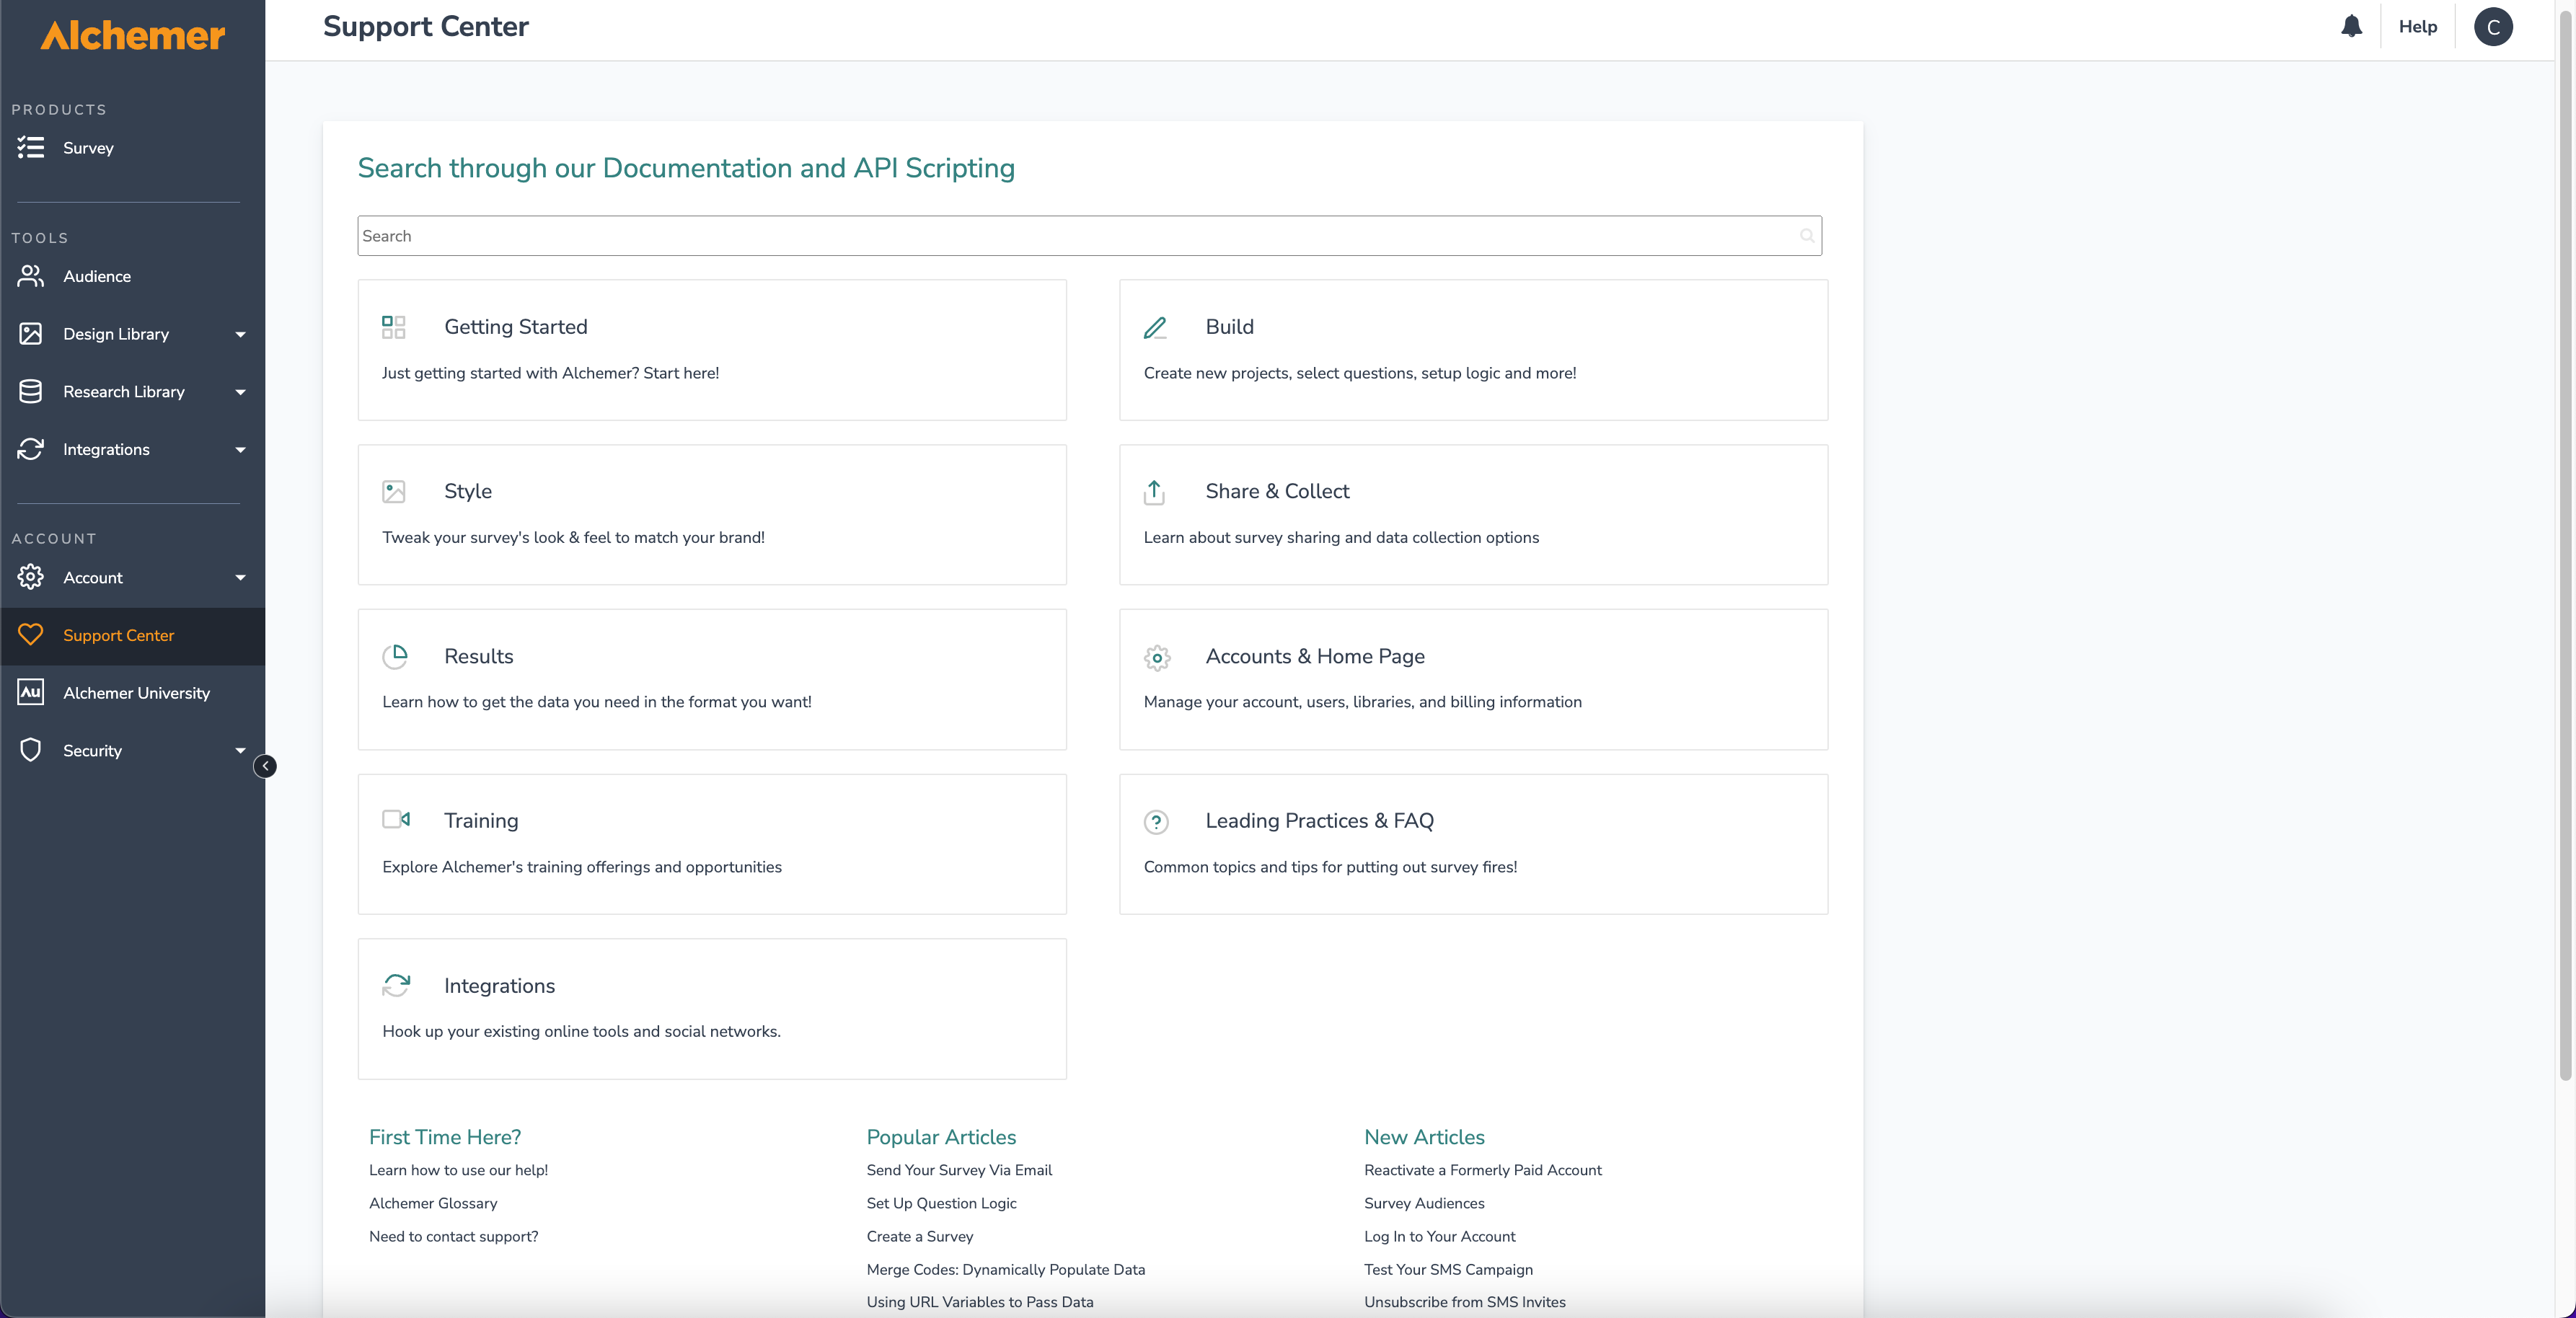
Search for specifics on how to complete tasks and use features by typing in the search bar across the top of the page. Select each subsection (Getting Started, Build, Style, Share & Contact, etc) to view areas of the application in a more specific view. Popular articles at the time of viewing the page will be shown across the bottom as well as New Articles that have been released by the Learning and Development team will display as well.
Alchemer University
Select Alchemer University to navigate to our tutorial library with videos and try-it modes:
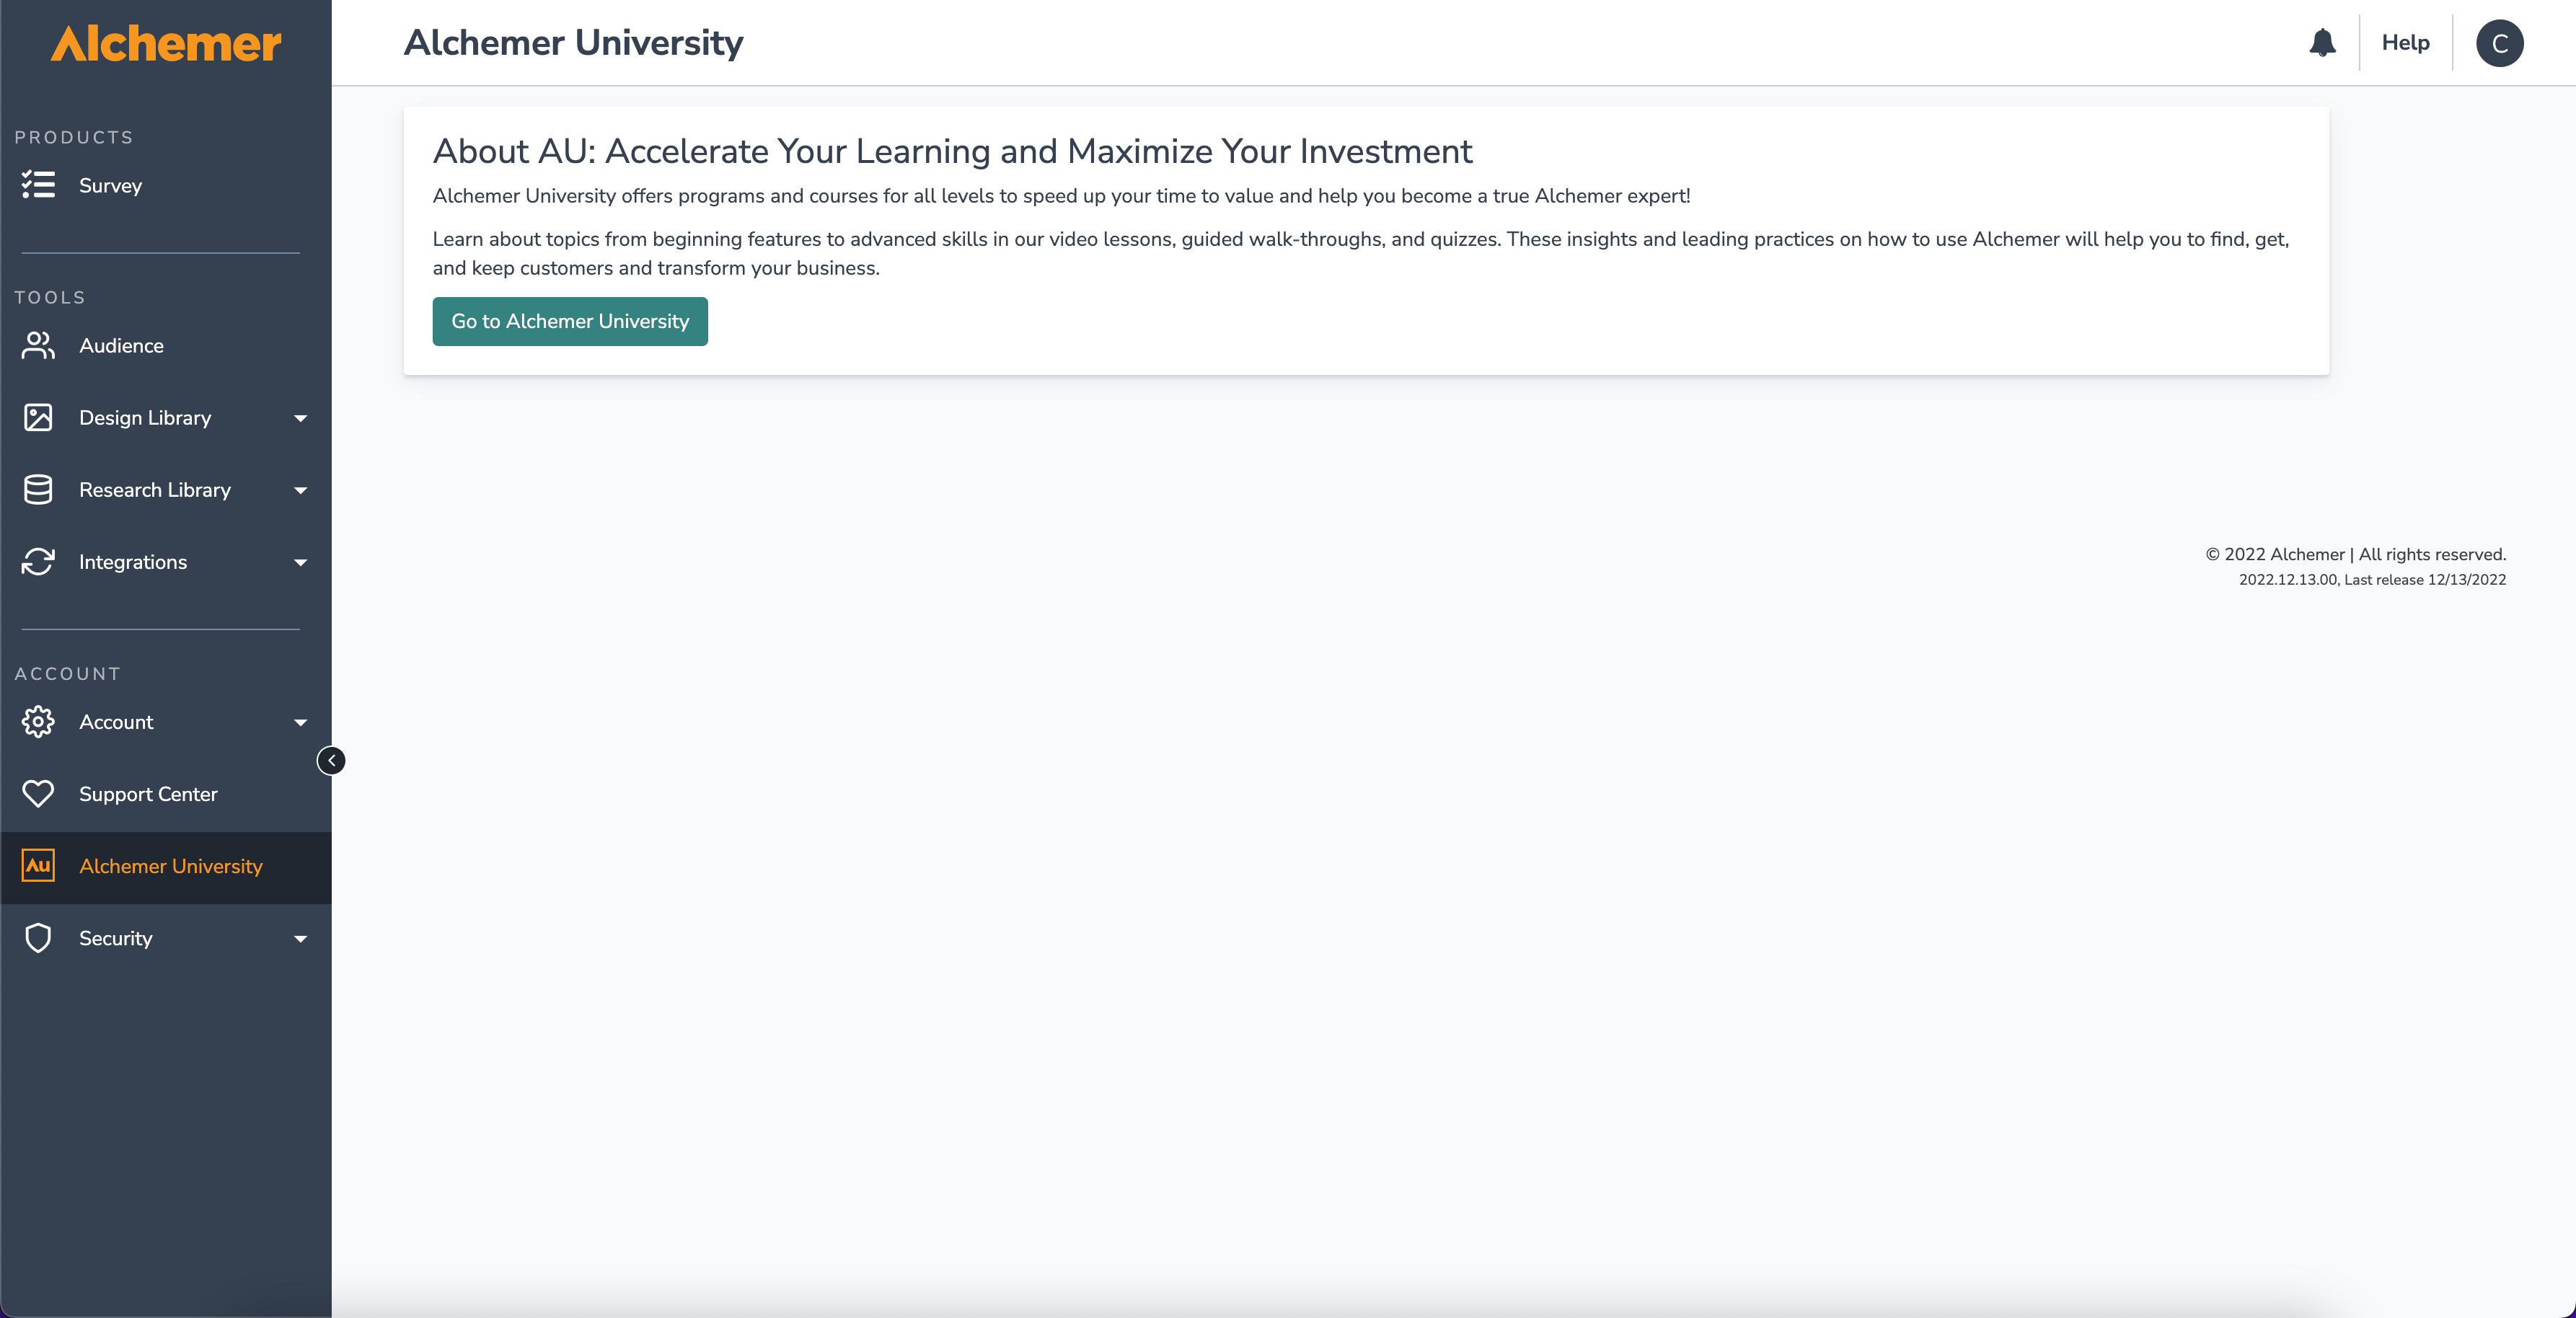
Follow the documentation HERE for more information on how to use Alchemer University.
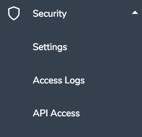
Security
The Security Section hosts the Settings page, Access Logs Page, as well as API Access page:
These Security options are available for Account Administrators only.
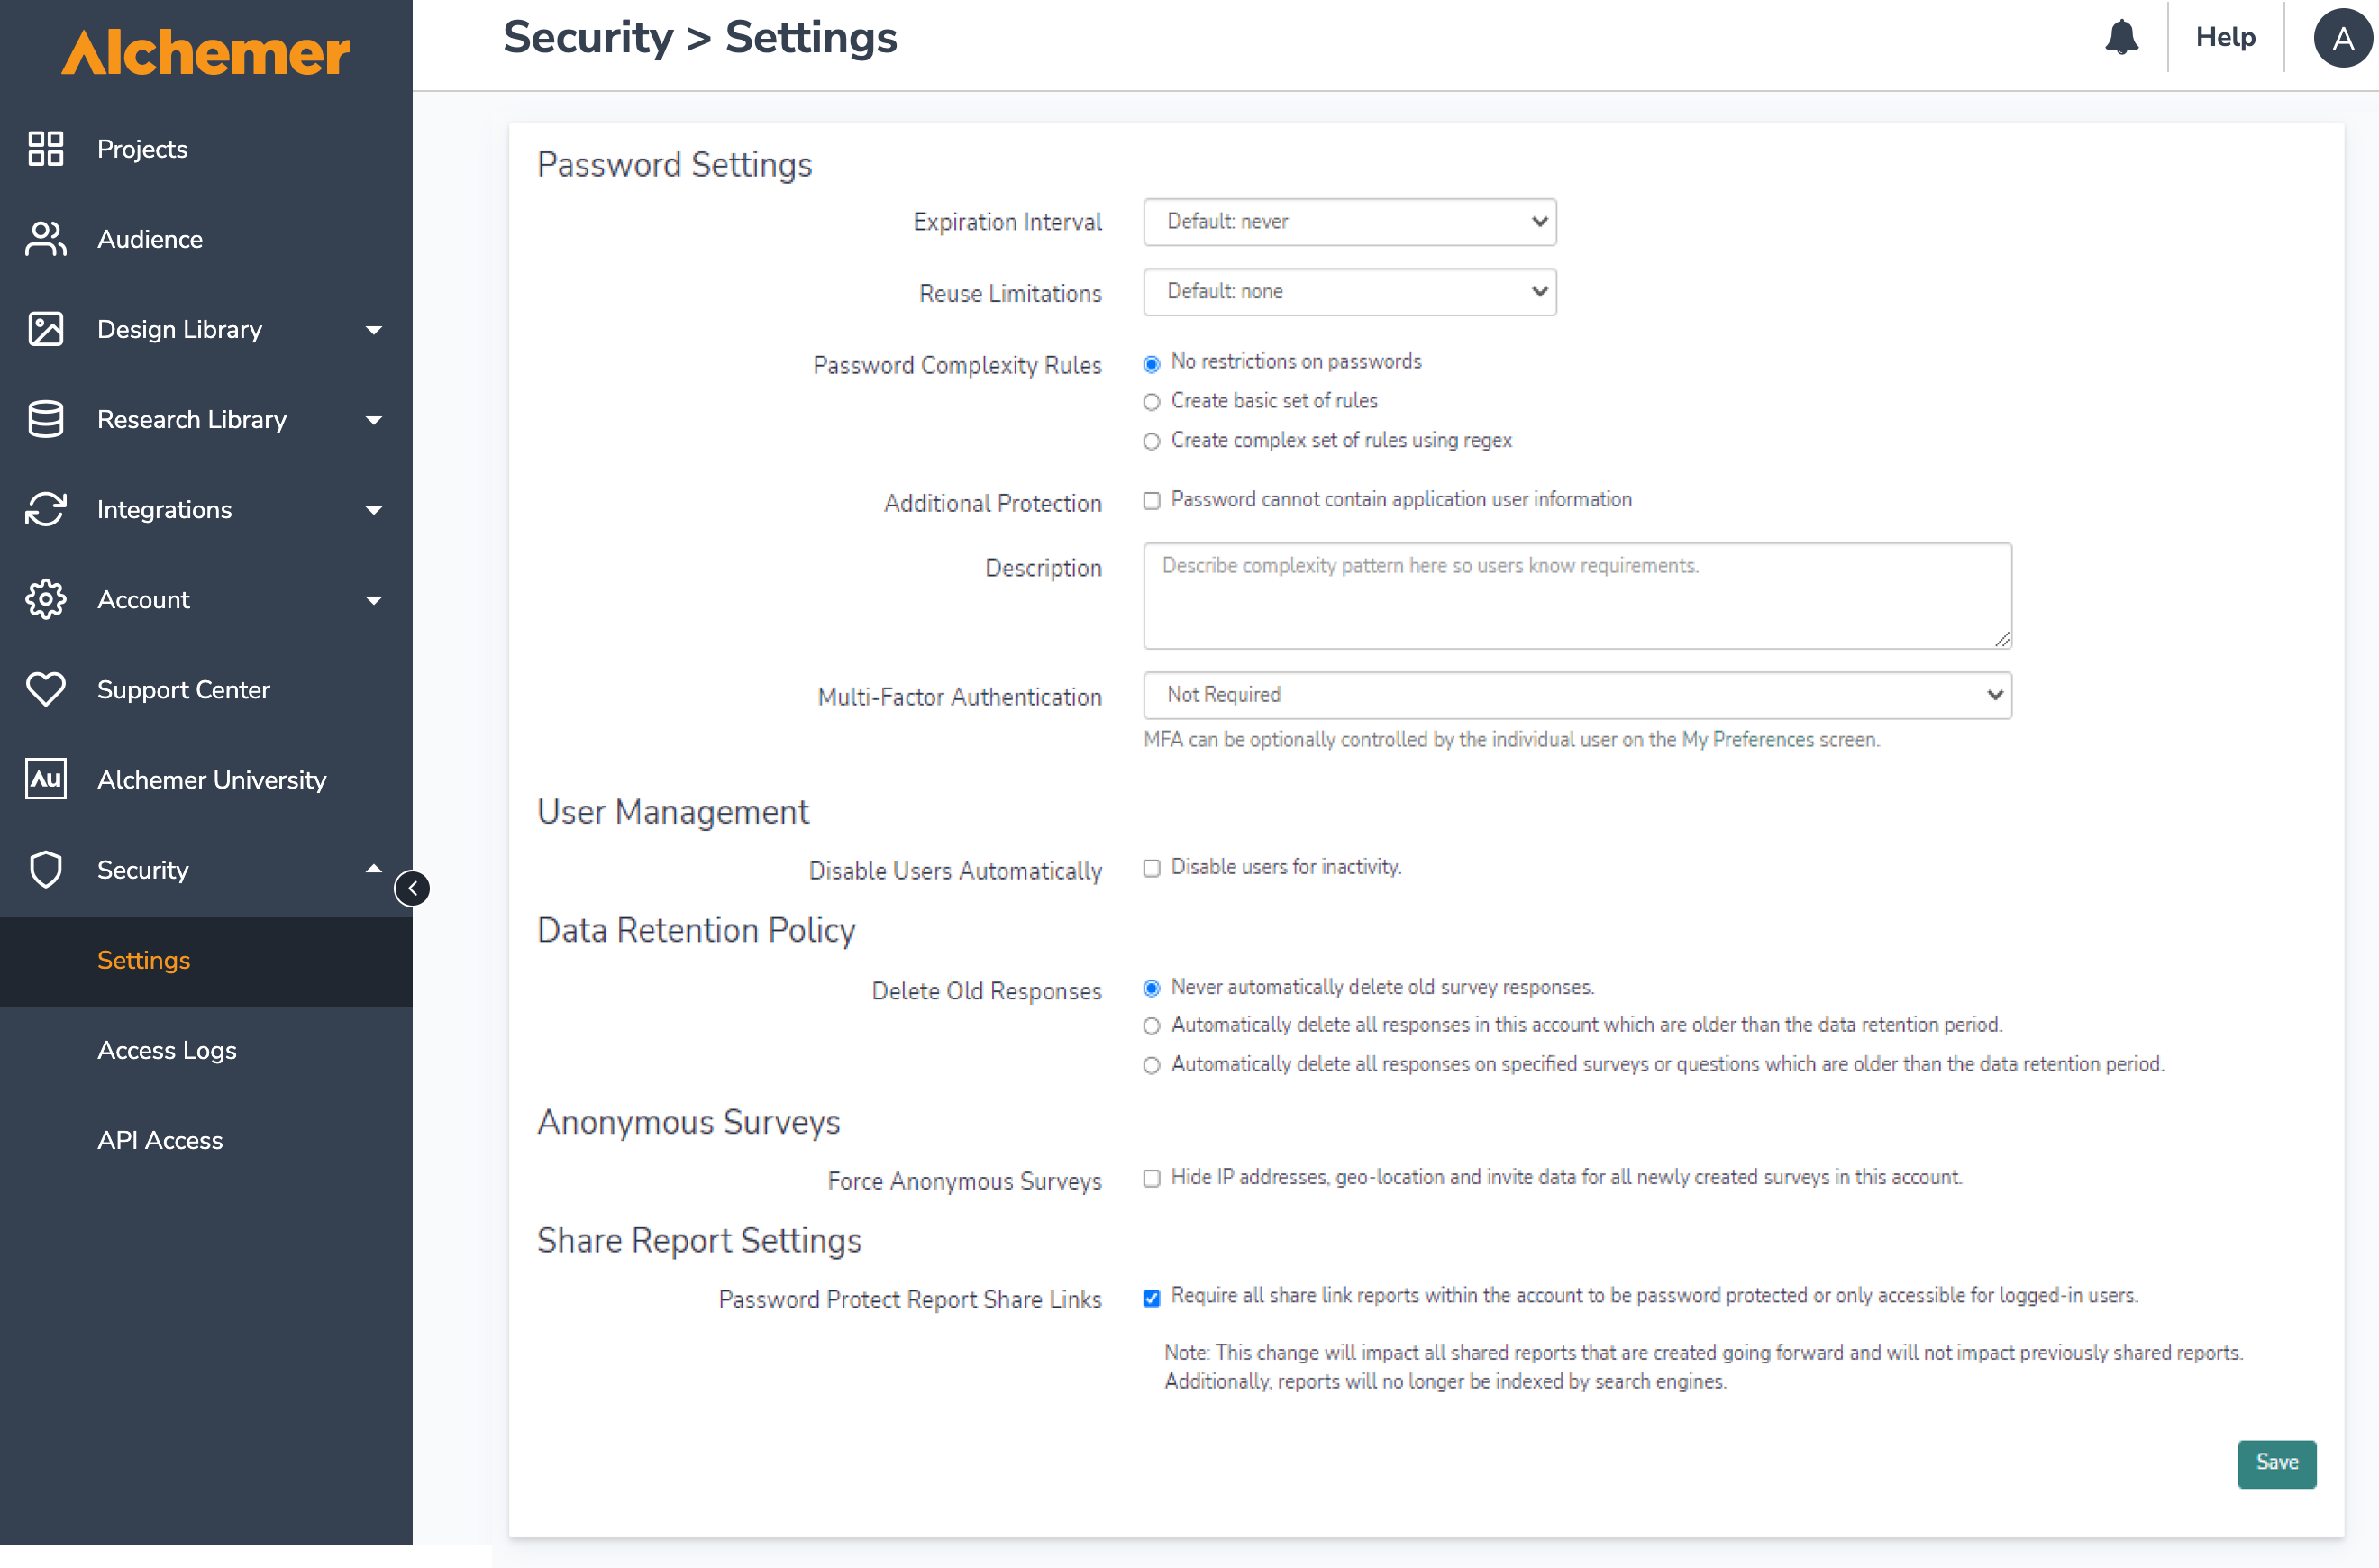
Settings
The Settings page allows administrators to control Password settings, User Management items, Data Retention Policies, set surveys to be anonymous, and Require shared reports to be Password Protected:
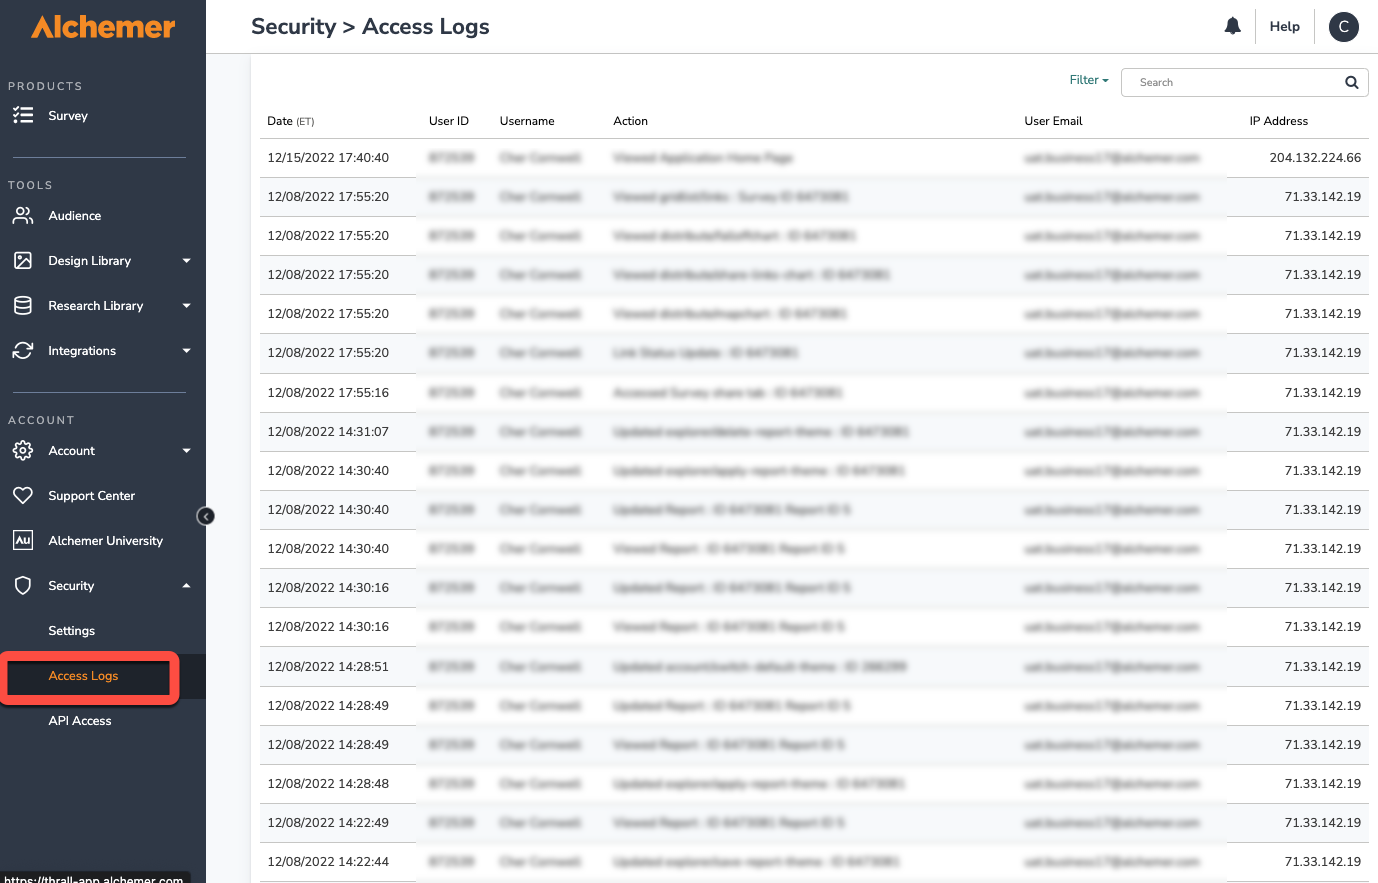
Access Logs
Do you need to see what users are doing in your Alchemer account? As an Account Administrator, you can review user access logs for all activity in your account. This report includes a date and time stamp, the User ID, Username, Action, User Email, and the IP Address for all actions in your account:
API Access
The API Access page allows Account Administrators to set up API access Rules and generate API Keys that can be used to integrate Alchemer with other external connections:
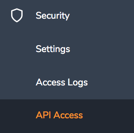
Refer to our API Help Page for additional information on how to manage the platforms API!
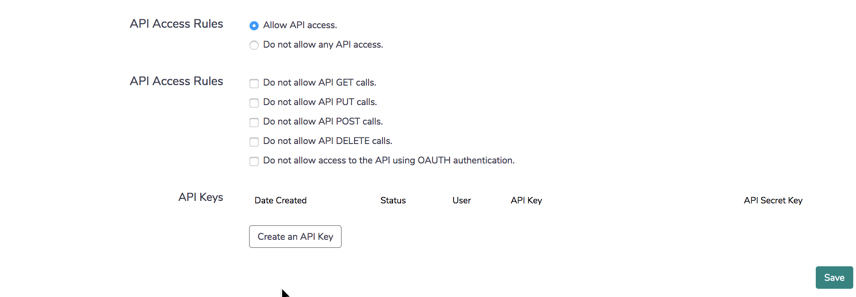
Help
The Help dropdown found in the top right of the platform allows users to access help information by searching through documentation via the search bar across the top. Most common questions based on the page being viewed shows specific articles dynamically:
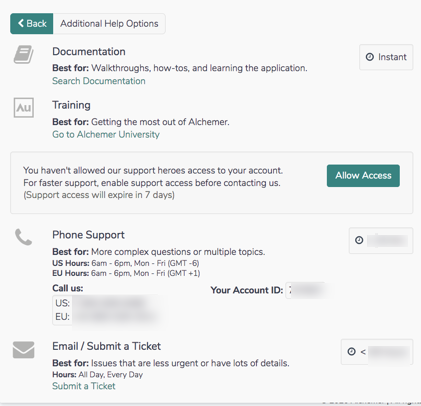
Selecting No, Show additional support options brings users options such as documentation, Training, Community, and the support team:
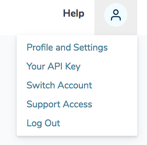
Profile Icon
The profile icon when selected displays a dropdown containing Profile and Settings, Your API Key, Switch Account, Support Access, and Log Out.
Profile and Settings
Profile and Settings allow users to make changes to the Name, Email, and password of an account. Additionally, this section allows users to turn on multi-Factor Authentication
Your API Key
This displays information as it relates to generated API Keys:

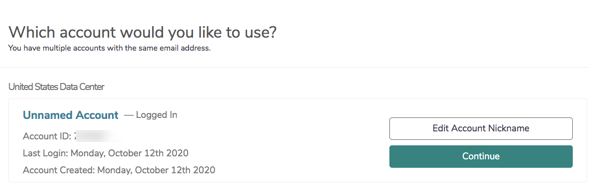
Switch account
If you have multiple accounts with Alchemer, select this option to navigate between them:
Support Access
Enable Alchemer Support to access your account by going to this page:
