Connect Alchemer to Snowflake with Key Pair Authentication
Alchemer now offers secure Snowflake integrations using key pair authentication, allowing you to connect feedback to your data warehouse more securely and reliably.
Whether you're pushing new data, retrieving existing records, or keeping your Snowflake tables updated, our new integrations help you automate feedback flows between Alchemer and Snowflake with ease.
If you are not using key-pair, please refer to our Alchemer Survey Snowflake Integration or our Alchemer Workflow Snowflake Integration help docs.
About key pair authentication
Key pair authentication is a secure method for connecting to Snowflake without needing to store passwords. Instead, it uses public/private key cryptography for enhanced security and automation. Learn more from Snowflake’s official documentation.
Setup prerequisites
Before you begin, ensure the following is in place:
- A Snowflake account with access to your target tables
- A generated key pair (private key stored securely; public key added to your Snowflake user)
- Your account identifier, user, and warehouse name
Refer to Snowflake’s guide on configuring key pair authentication for help generating and applying keys.
Available Snowflake integrations
The following Snowflake integrations are available via key pair authentication:
- Push to Table: Insert data from Alchemer into a Snowflake table
- Update Row: Update specific rows in an existing Snowflake table
- Upsert Row: Insert a new row or update if the row already exists
- Get Data: Retrieve a row of data from a Snowflake table
All integrations are available in the US, CA, and EU regions.
Using Snowflake integrations in Alchemer Workflow
In Alchemer Workflow, Snowflake integrations allow you to automate data flows as part of your broader feedback programs. For example, you can:
- Automatically insert survey responses into Snowflake
- Update or upsert CRM-related data based on survey results
- Use Snowflake data to trigger actions or branches within your workflow
How to set up
Navigate to Alchemer Workflow and select your project or create a new one.
Add a new step and choose the Snowflake (Key-Pair) connector.
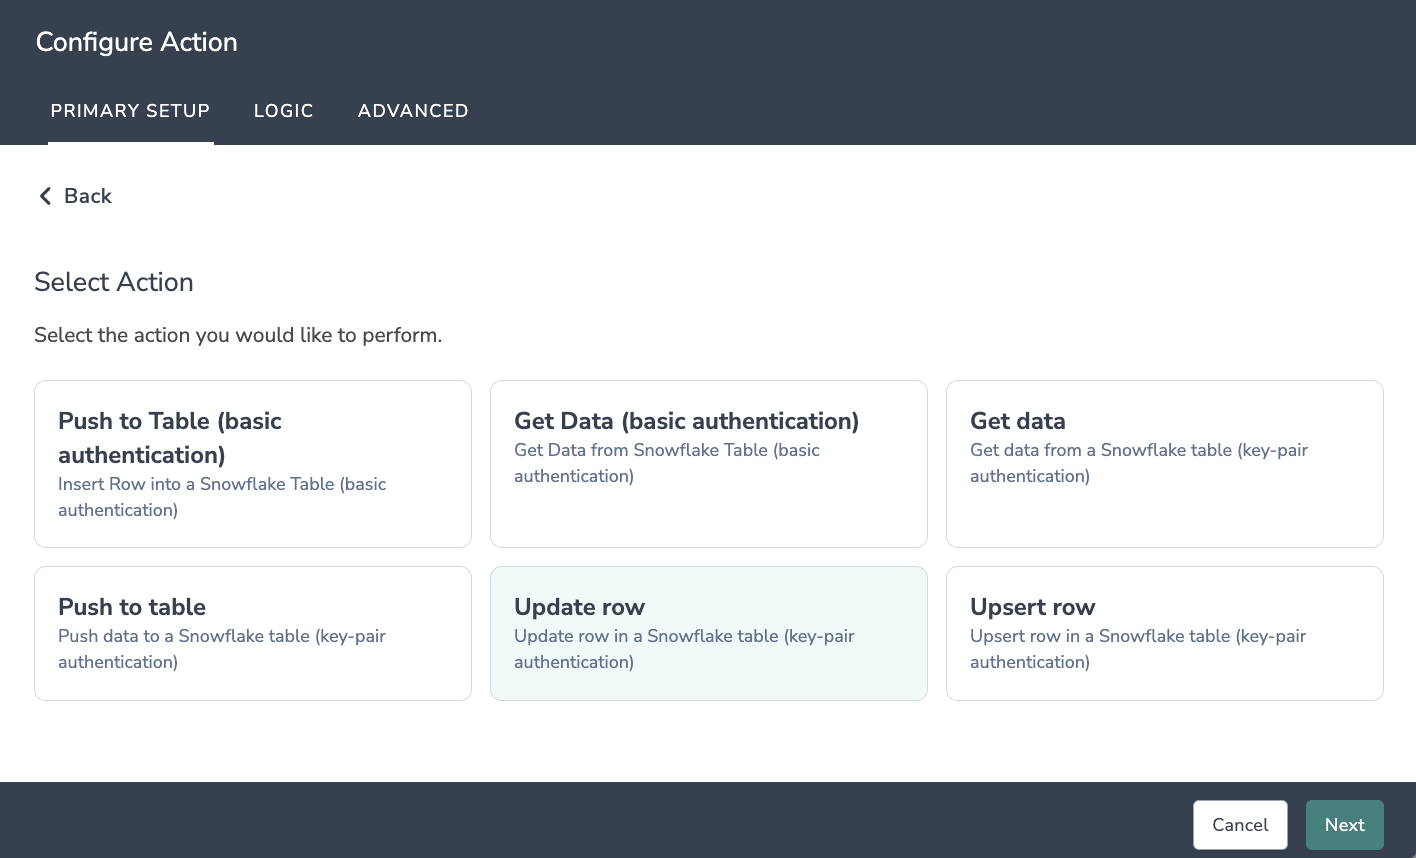
Select your desired action:
- Push to Table: jump to section
- Update Row: jump to section
- Upsert Row: jump to section
- Get Data: jump to section
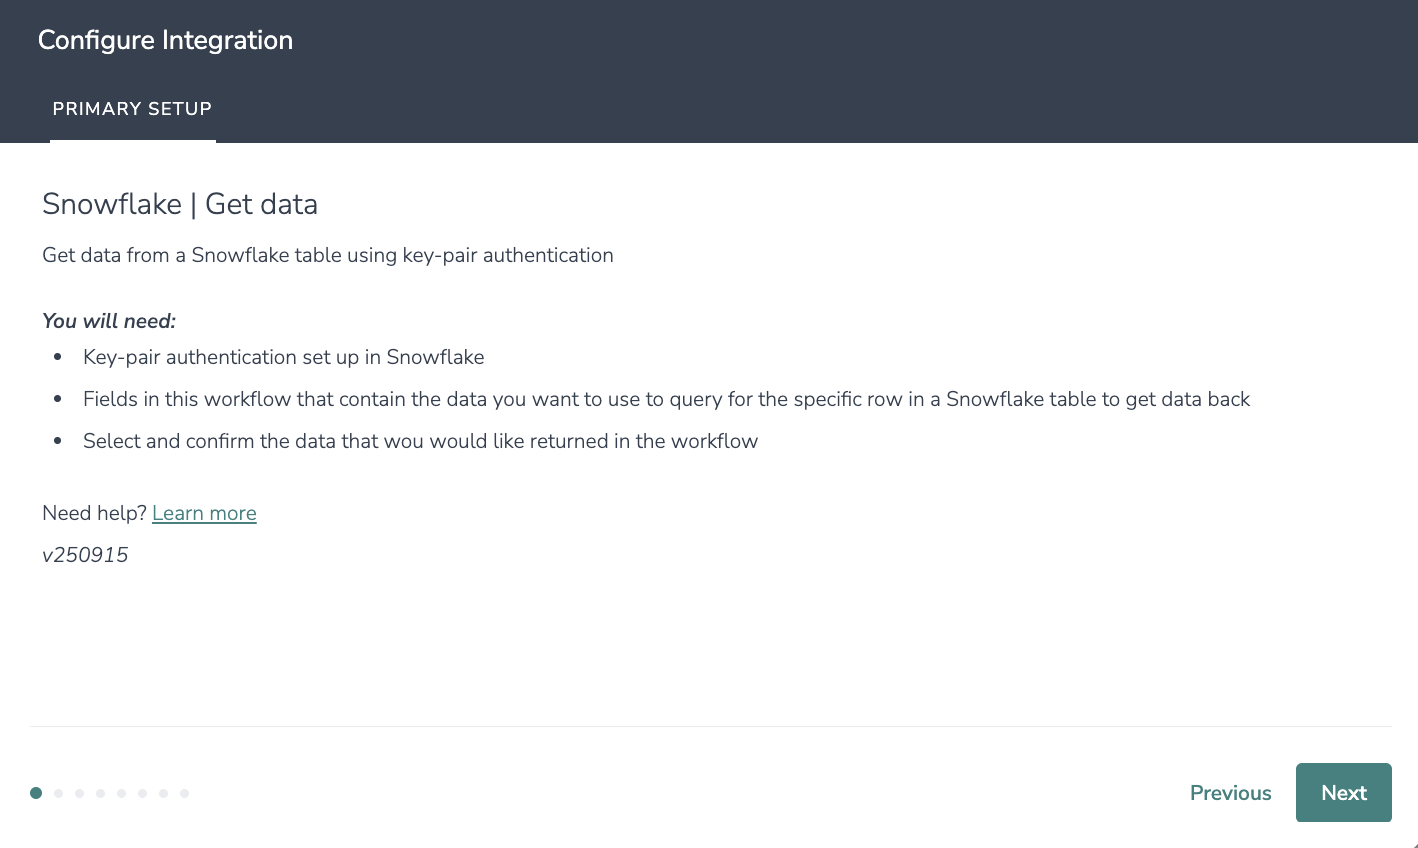
Snowflake | Get Data
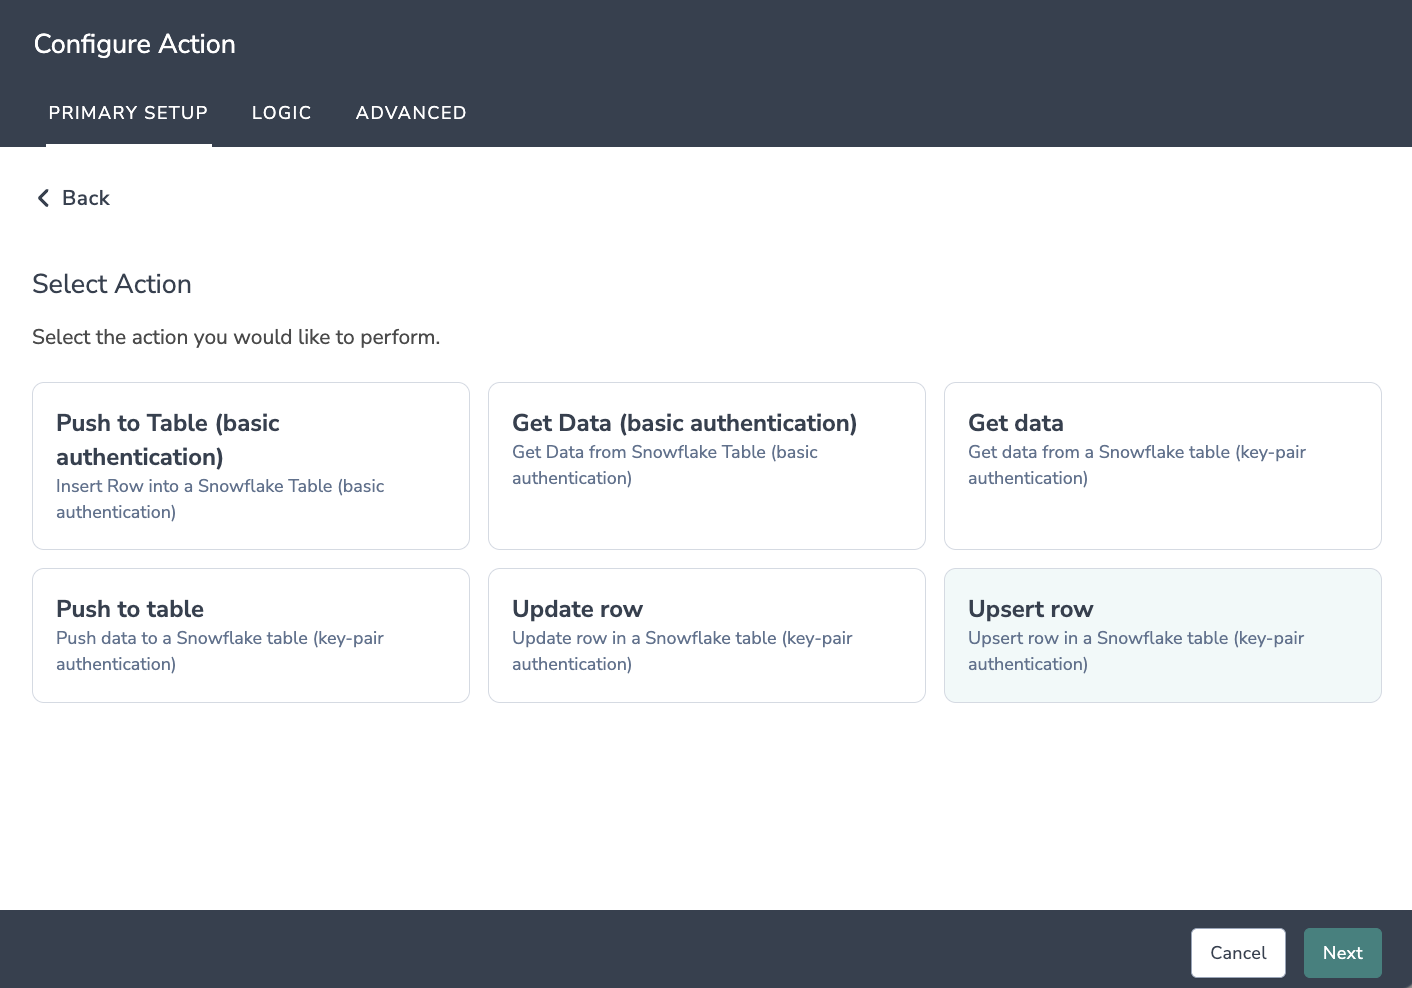
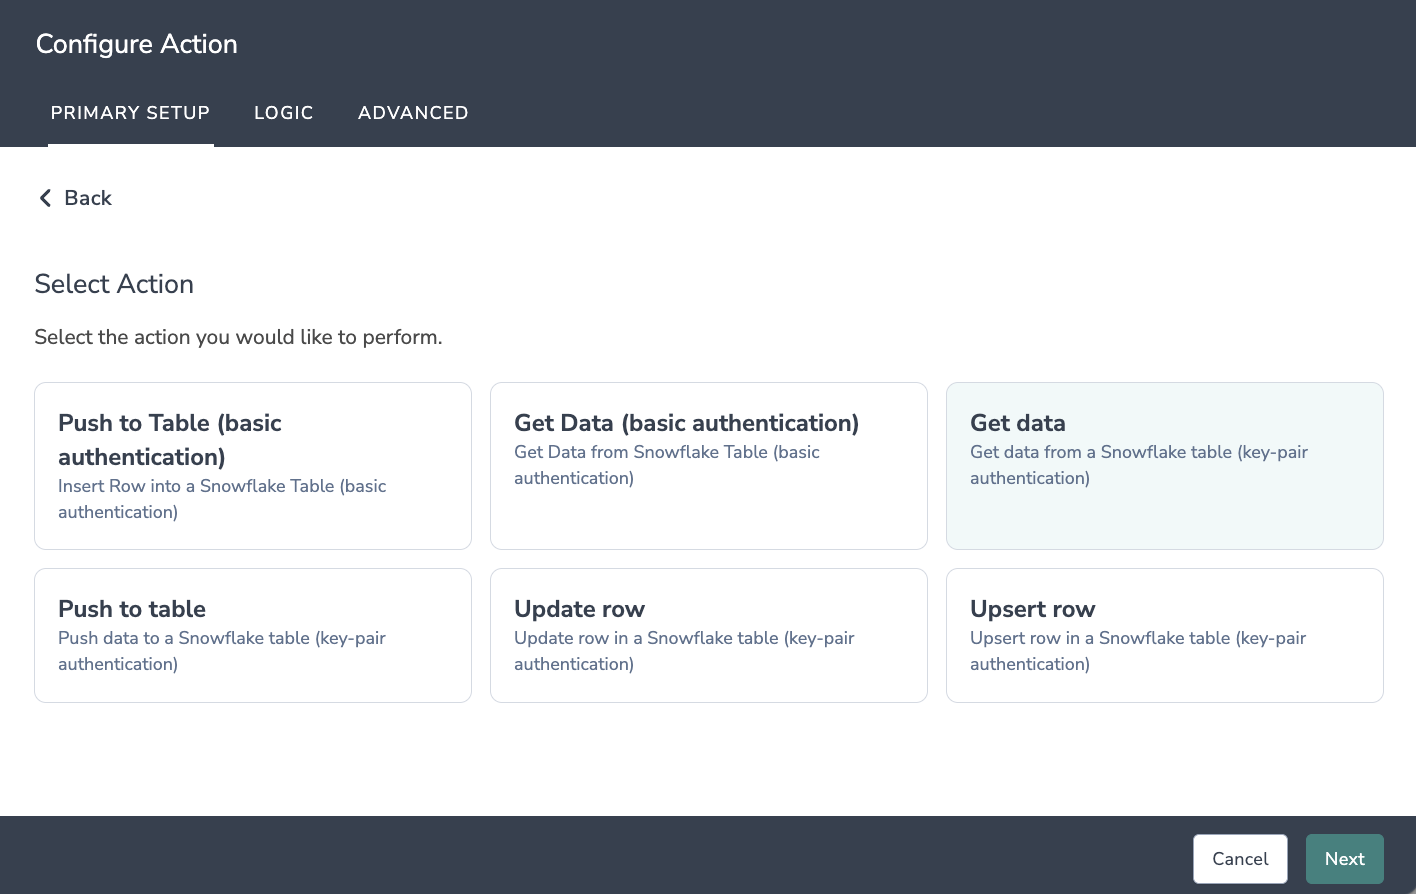
1. Select action: Get data.
You will need:
- Key-pair authentication set up in Snowflake
- Fields in the survey that contain the data you want to use to query for the specific row in a Snowflake table to get data back.
- Fields in your survey to store the data you get back from Snowflake
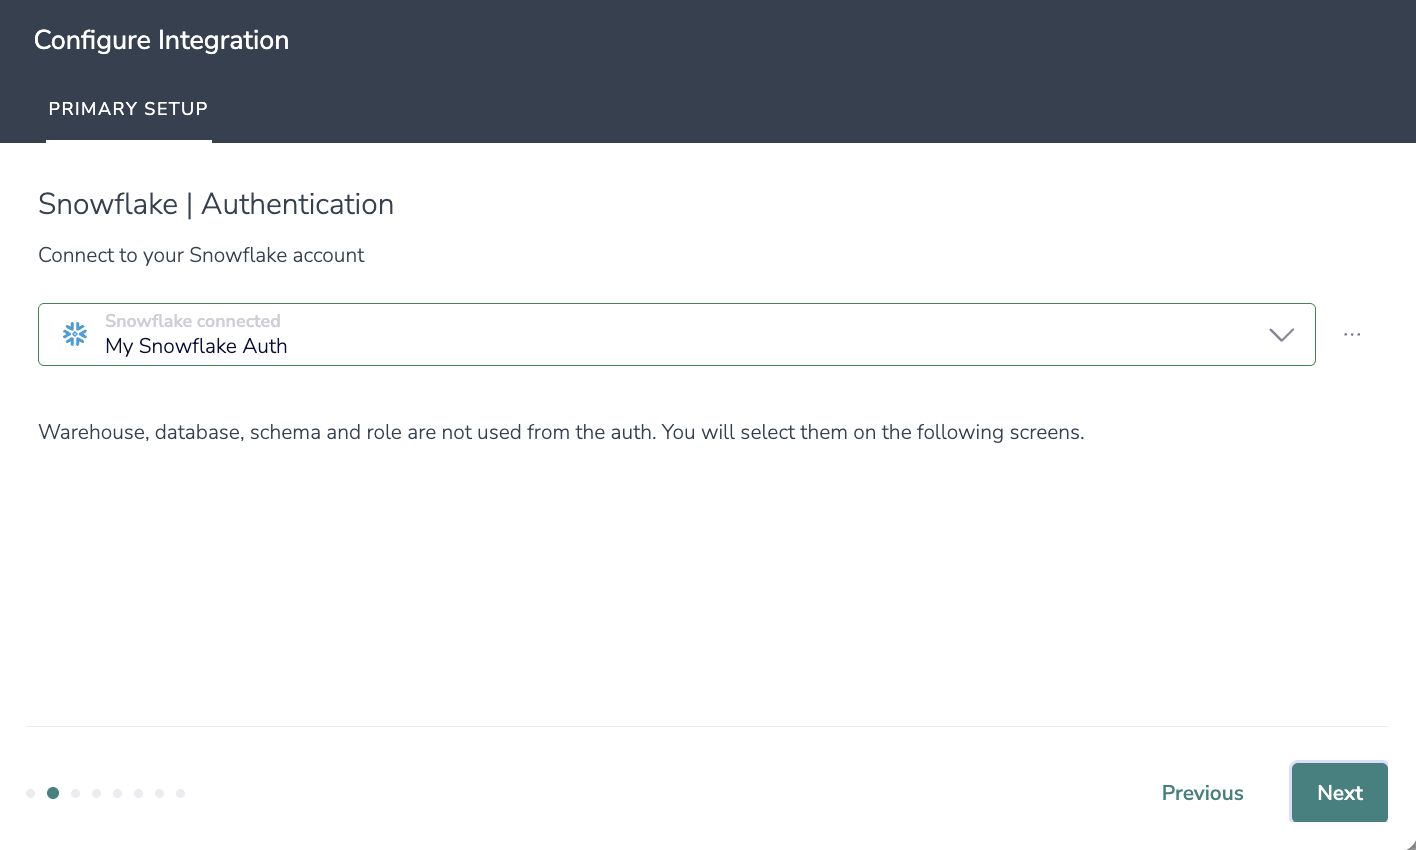
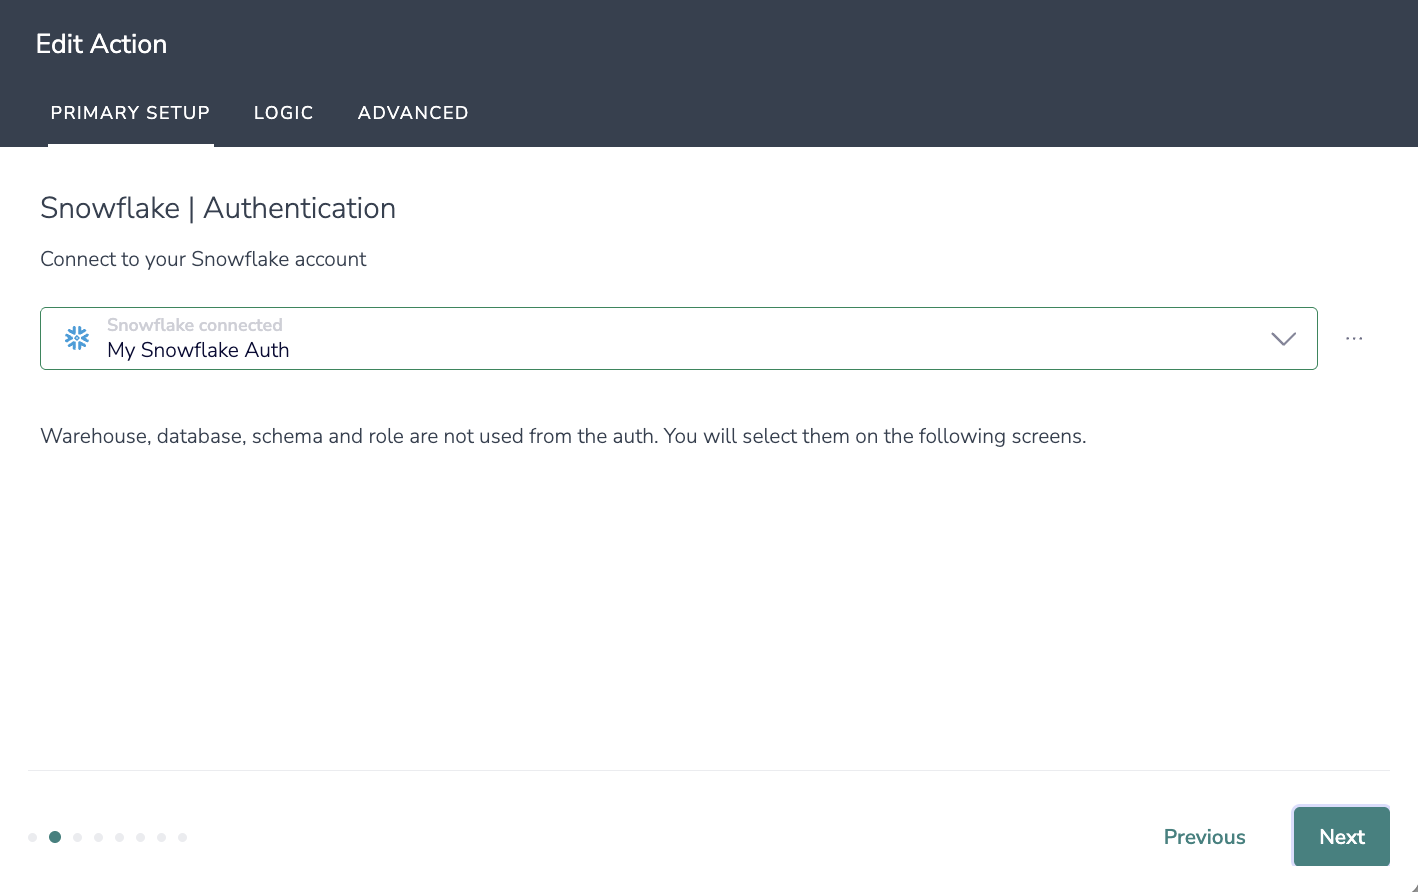
2. Connect your Snowflake account.
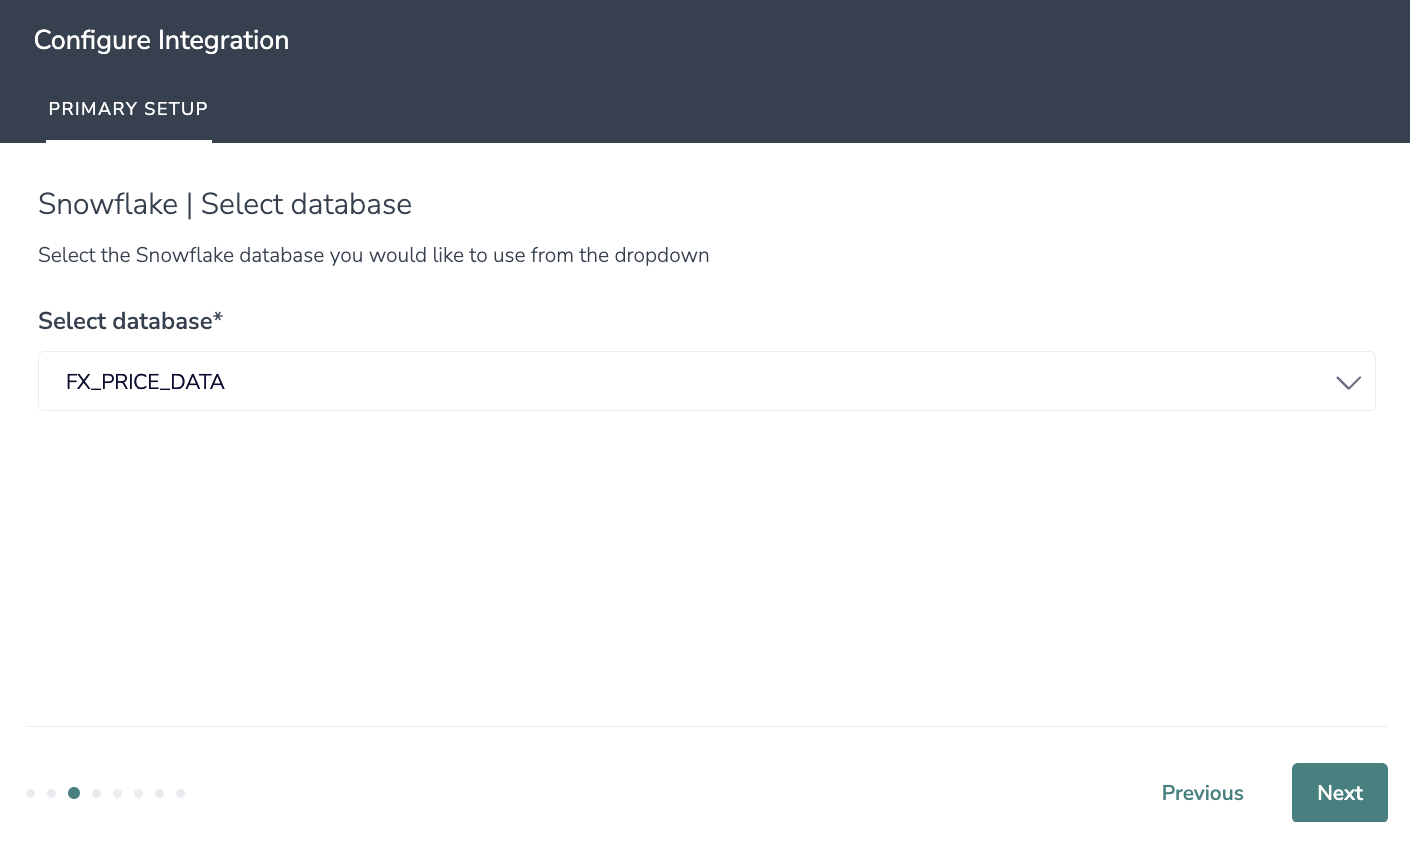
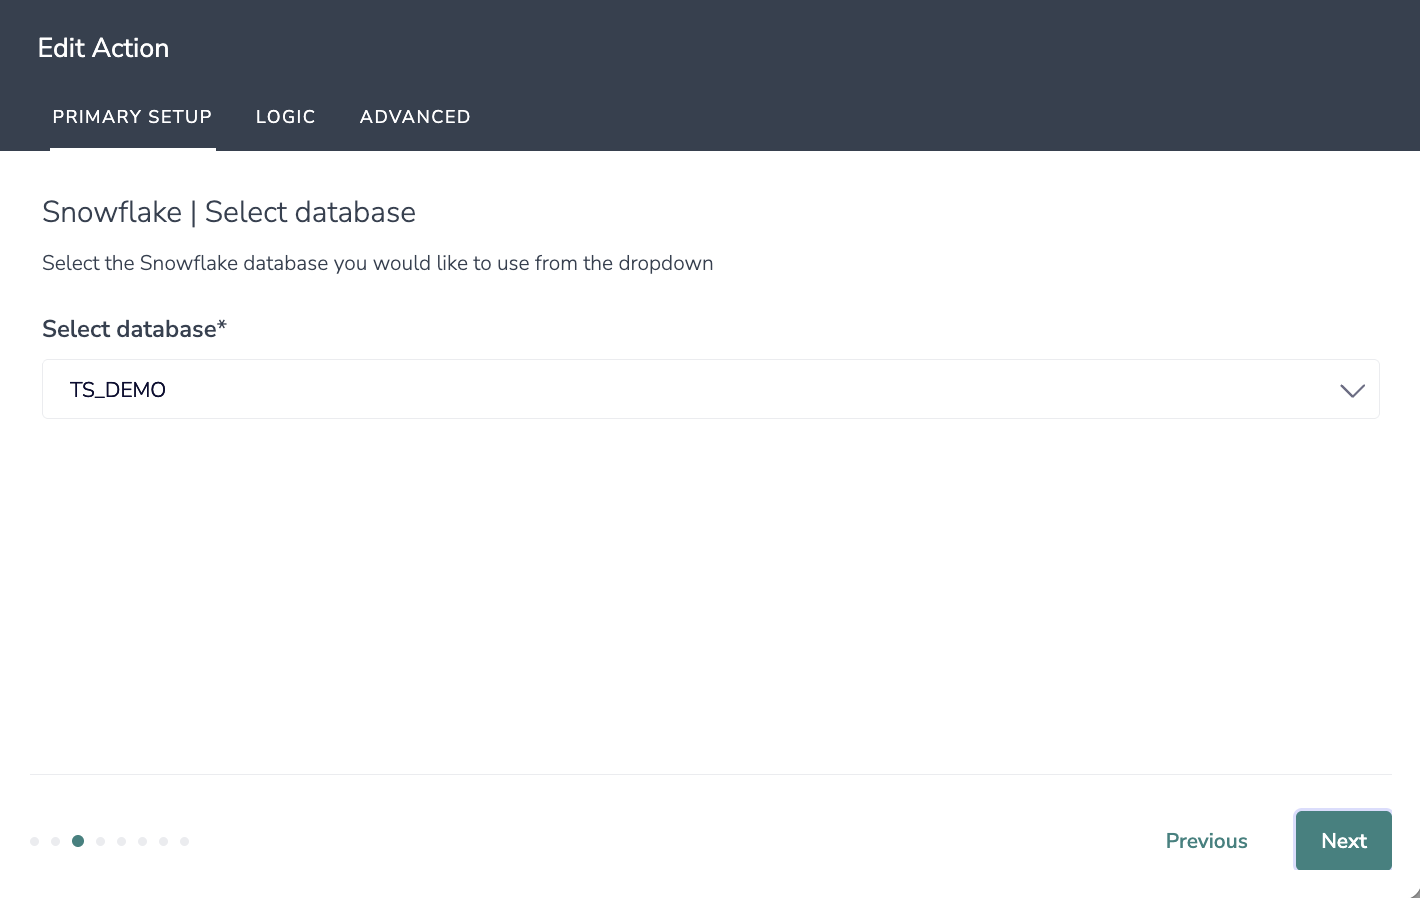
3. Select the Snowflake database you would like to use from the dropdown.
4. Select the Snowflake schema you would like to use from the dropdown.

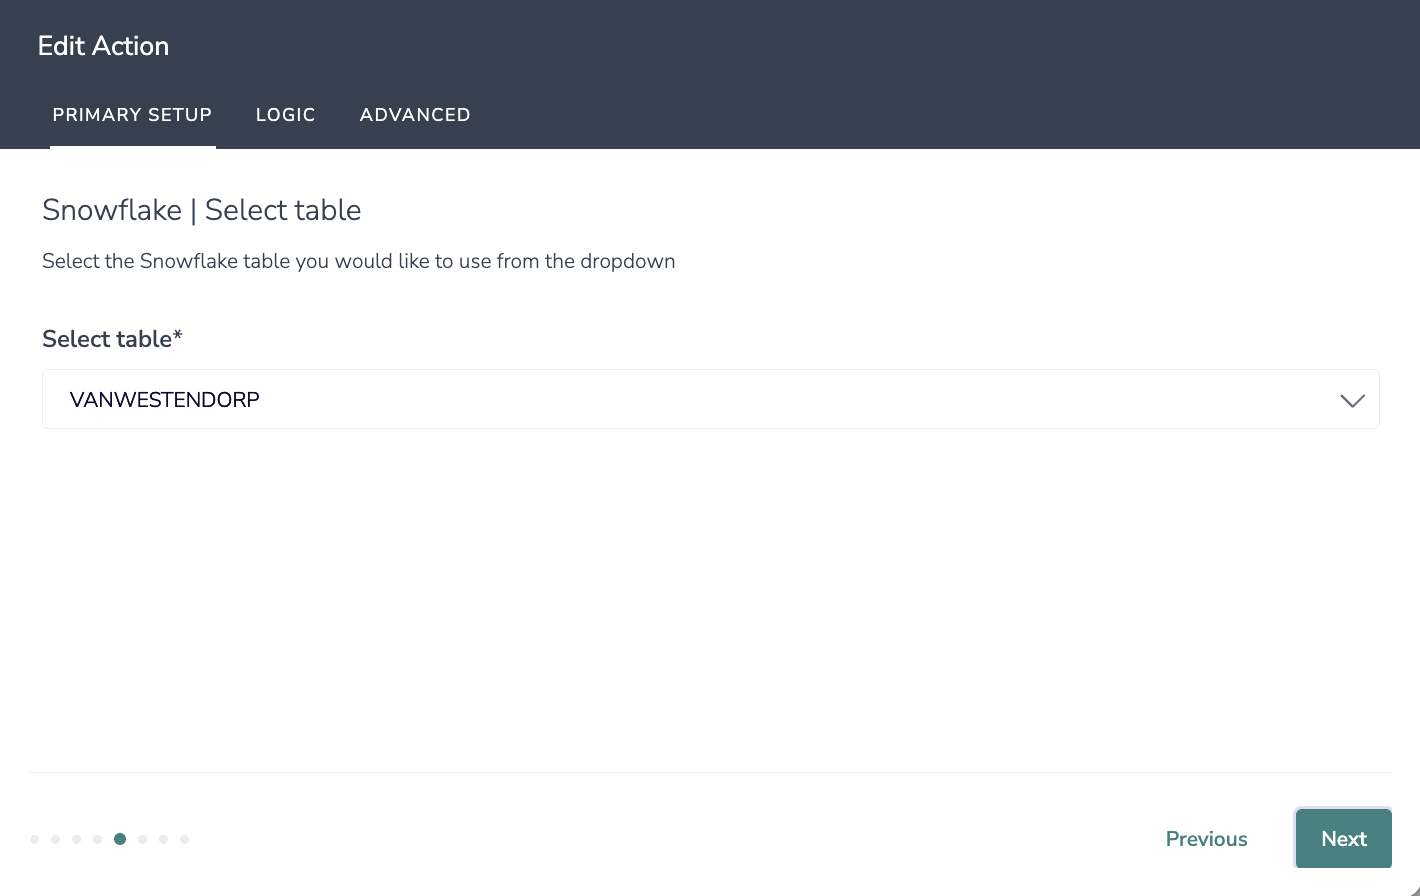
5. Select the Snowflake table you would like to use from the dropdown.
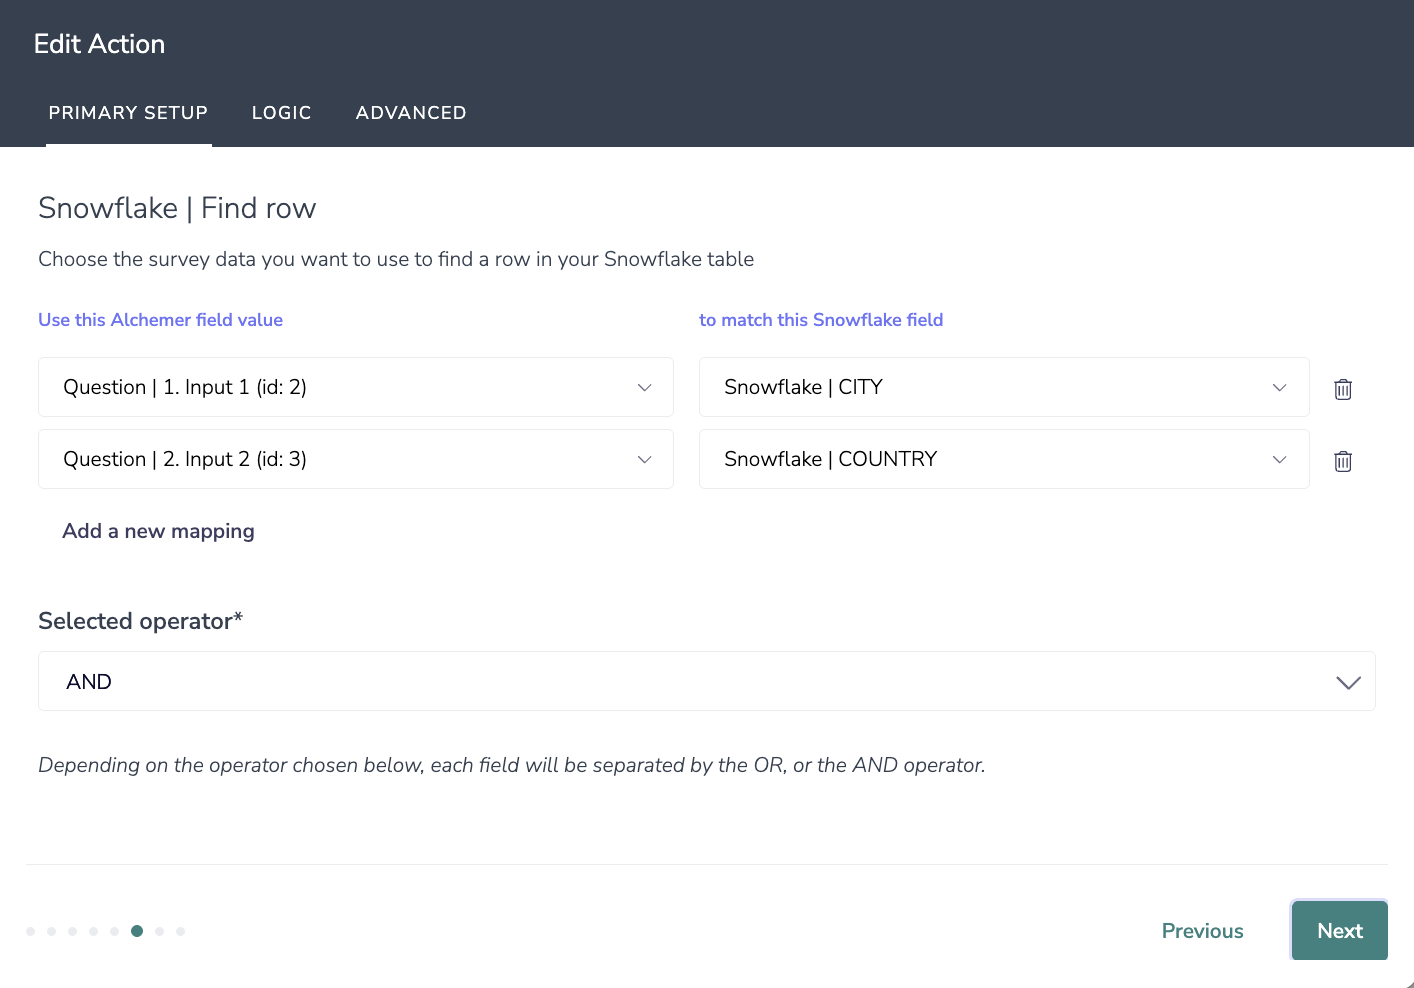
6. Choose the survey data you want to use to find a row in your Snowflake table.
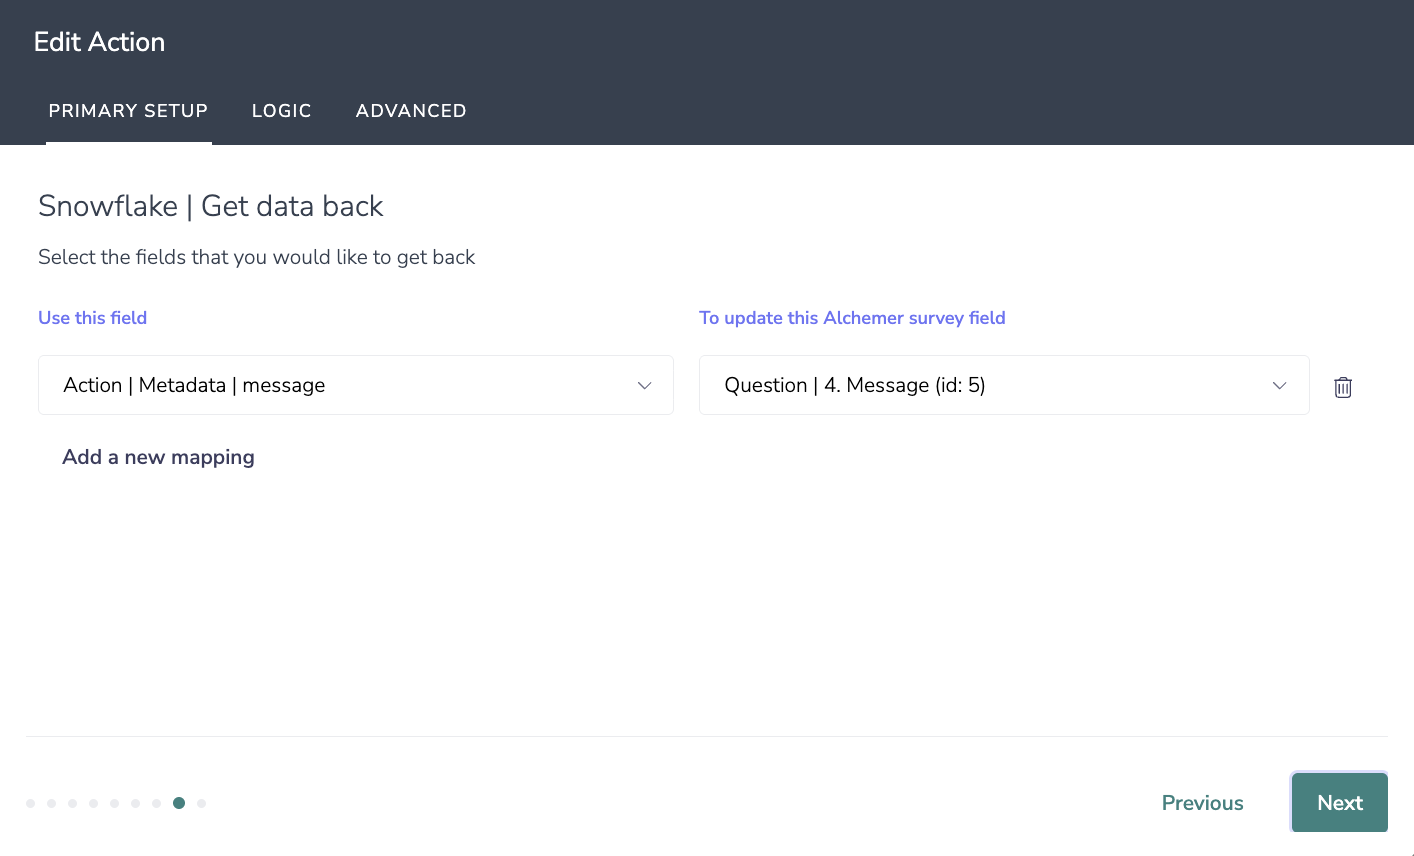
7. Select the fields you would like to get back from Snowflake.
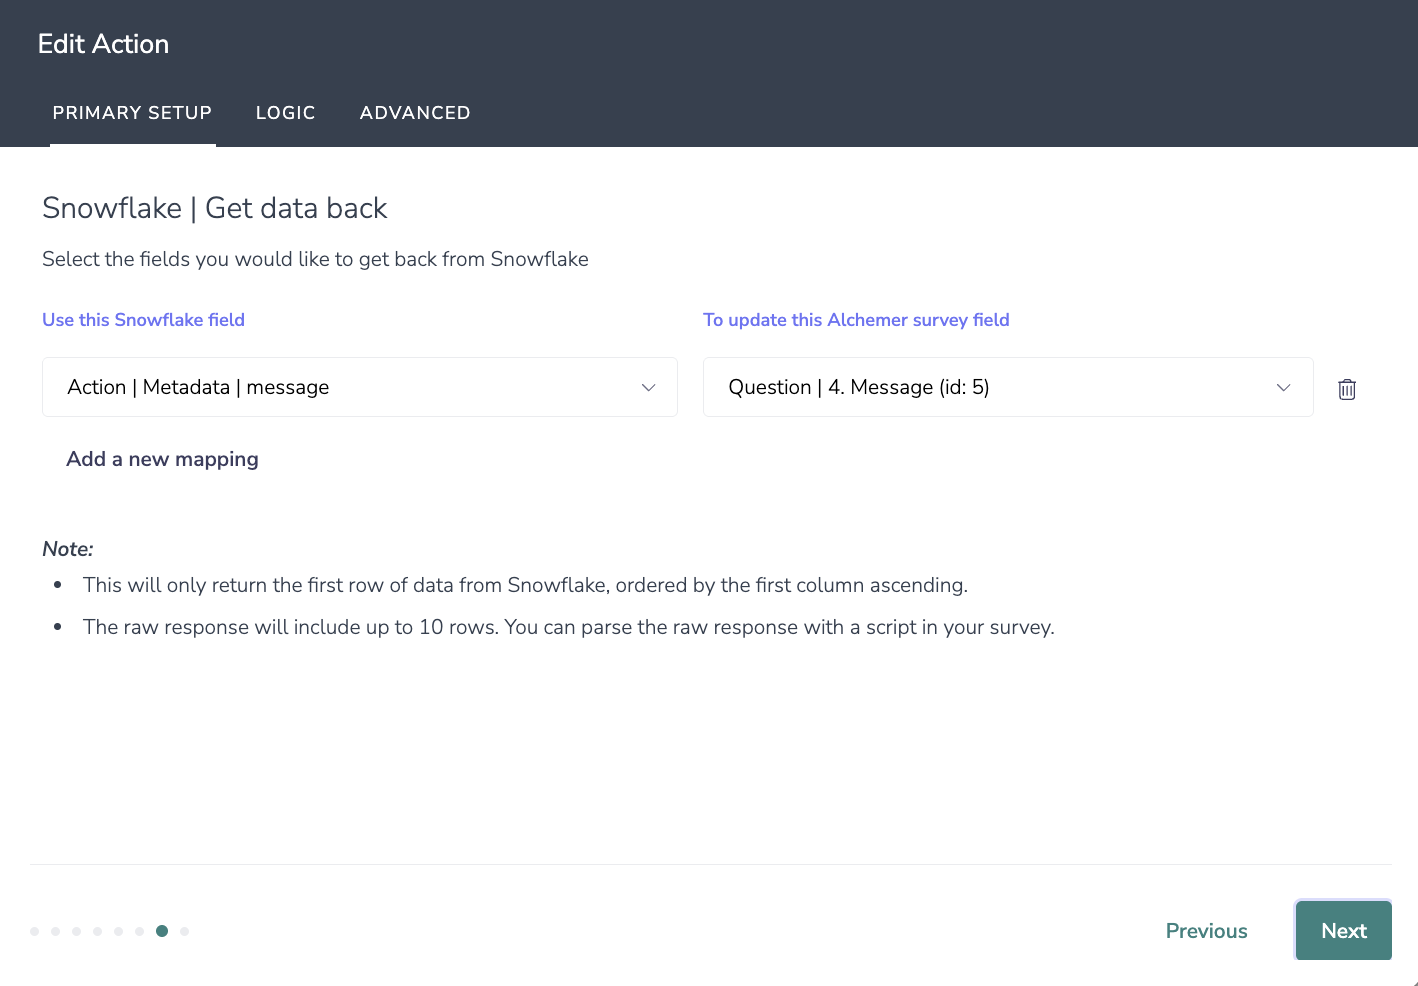
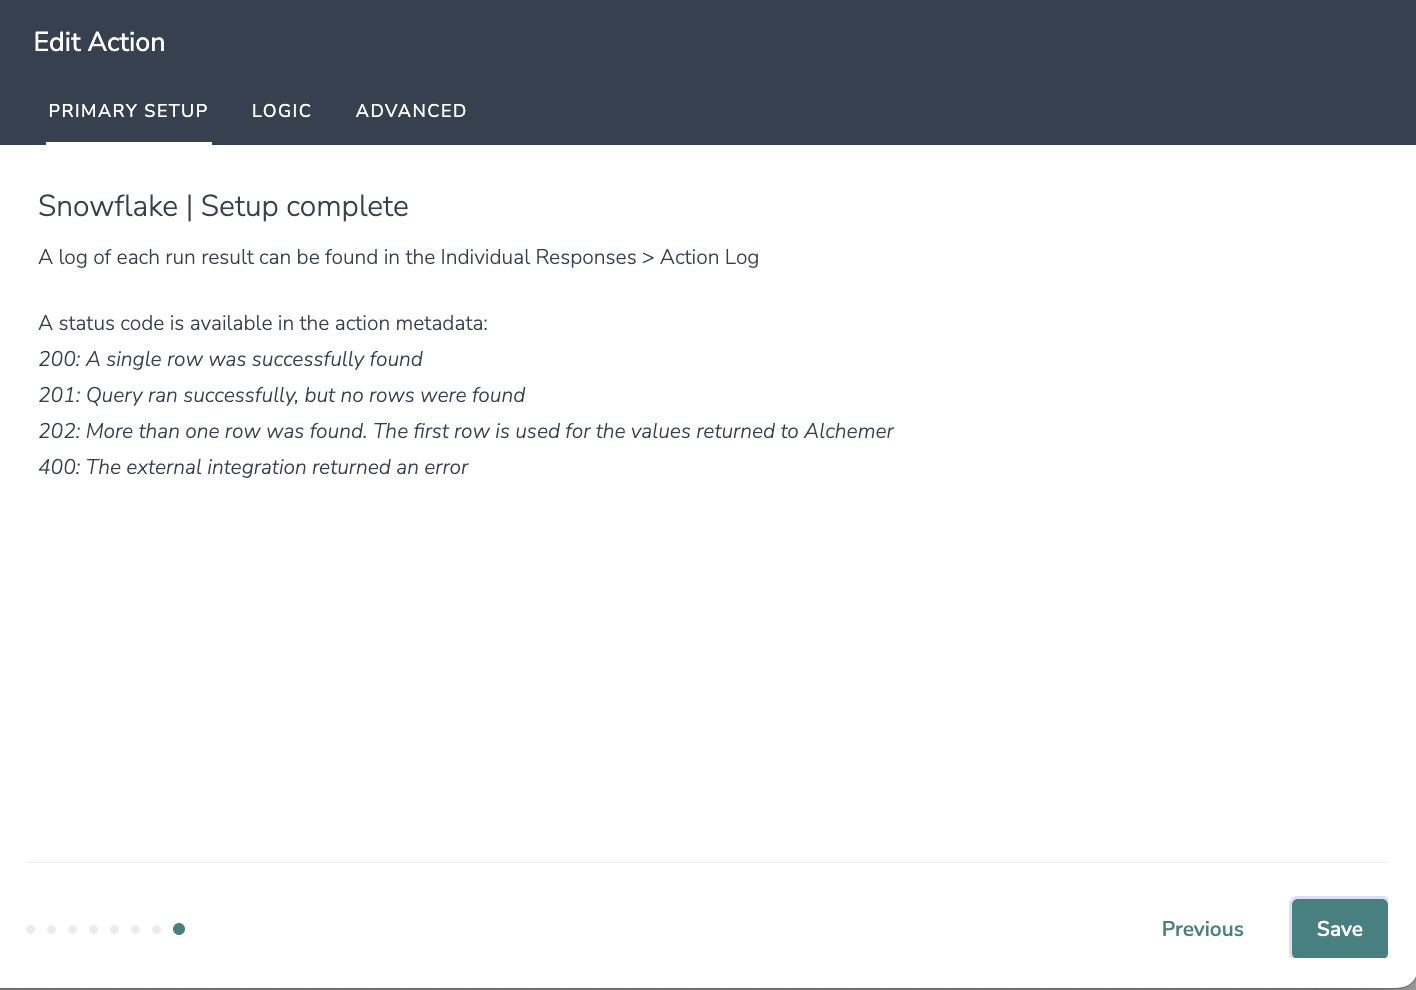
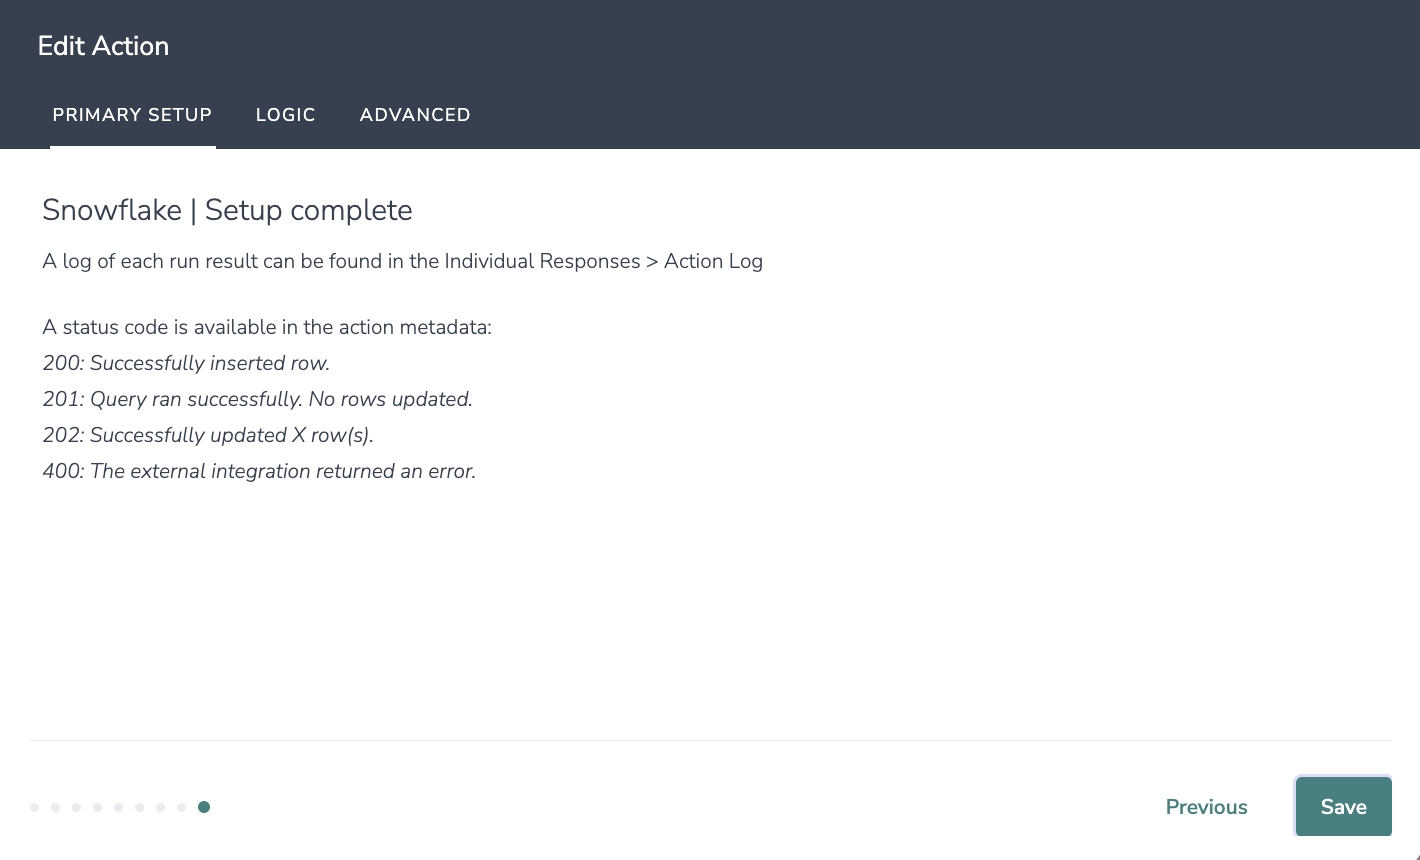
8. Setup complete.
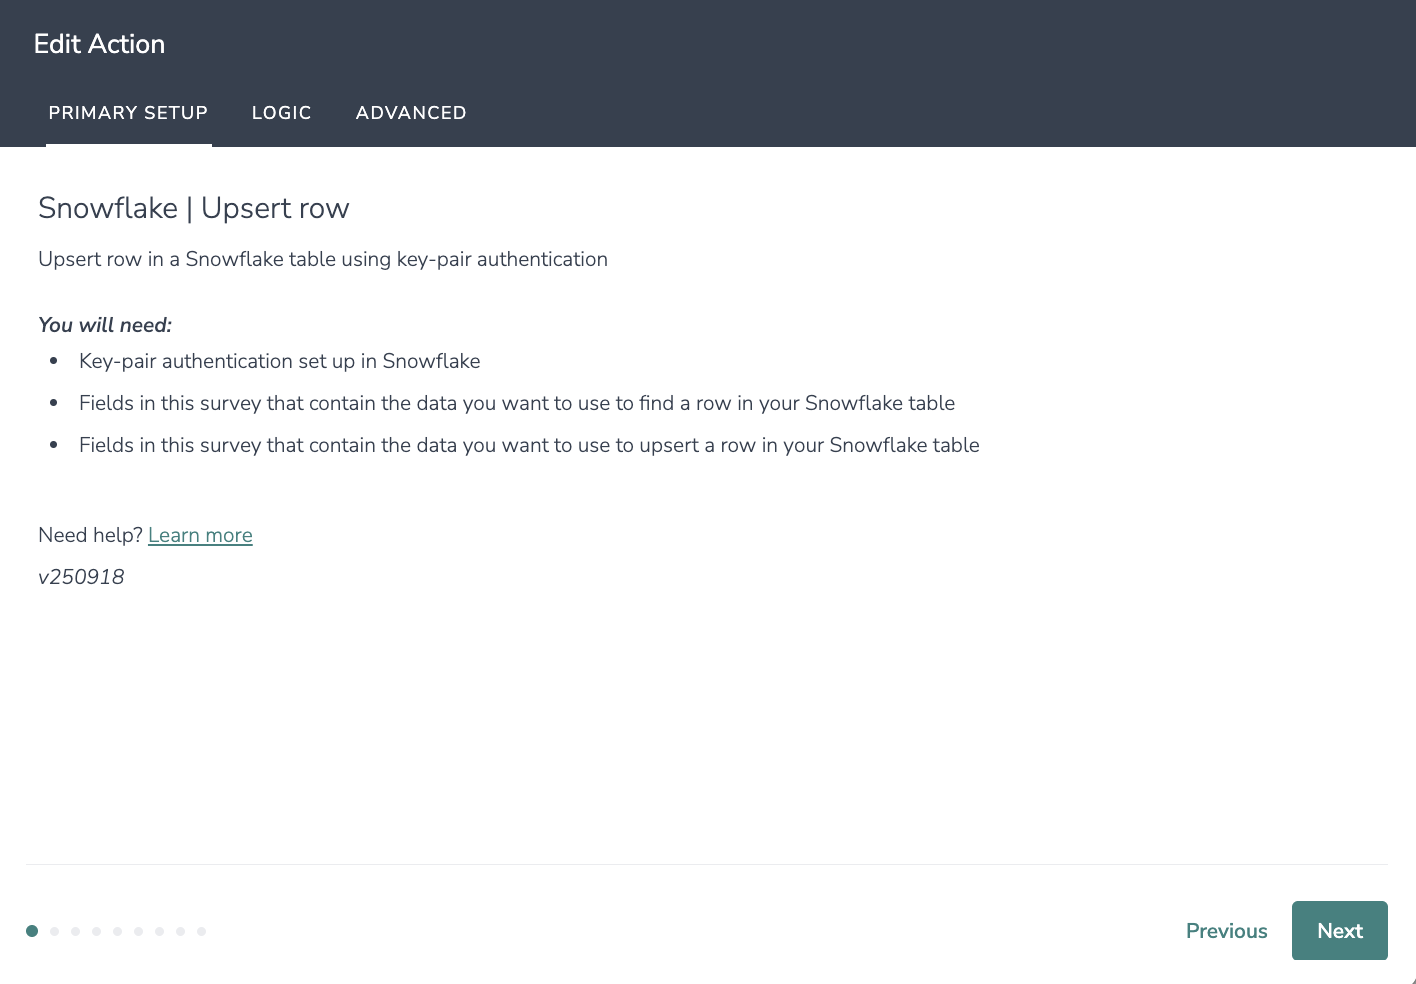
Snowflake | Upsert row
1. Select action: Upsert row.

You will need:
- Key-pair authentication set up in Snowflake
- Fields in the survey that contain the data you want to use to find a row in your Snowflake table
- Fields in your survey that contain the data you want to use to upsert a row in your Snowflake table
2. Connect your Snowflake account.
3. Select the Snowflake database you would like to use from the dropdown.
4. Select the Snowflake schema you would like to use from the dropdown.
5. Select the Snowflake table you would like to use from the dropdown.
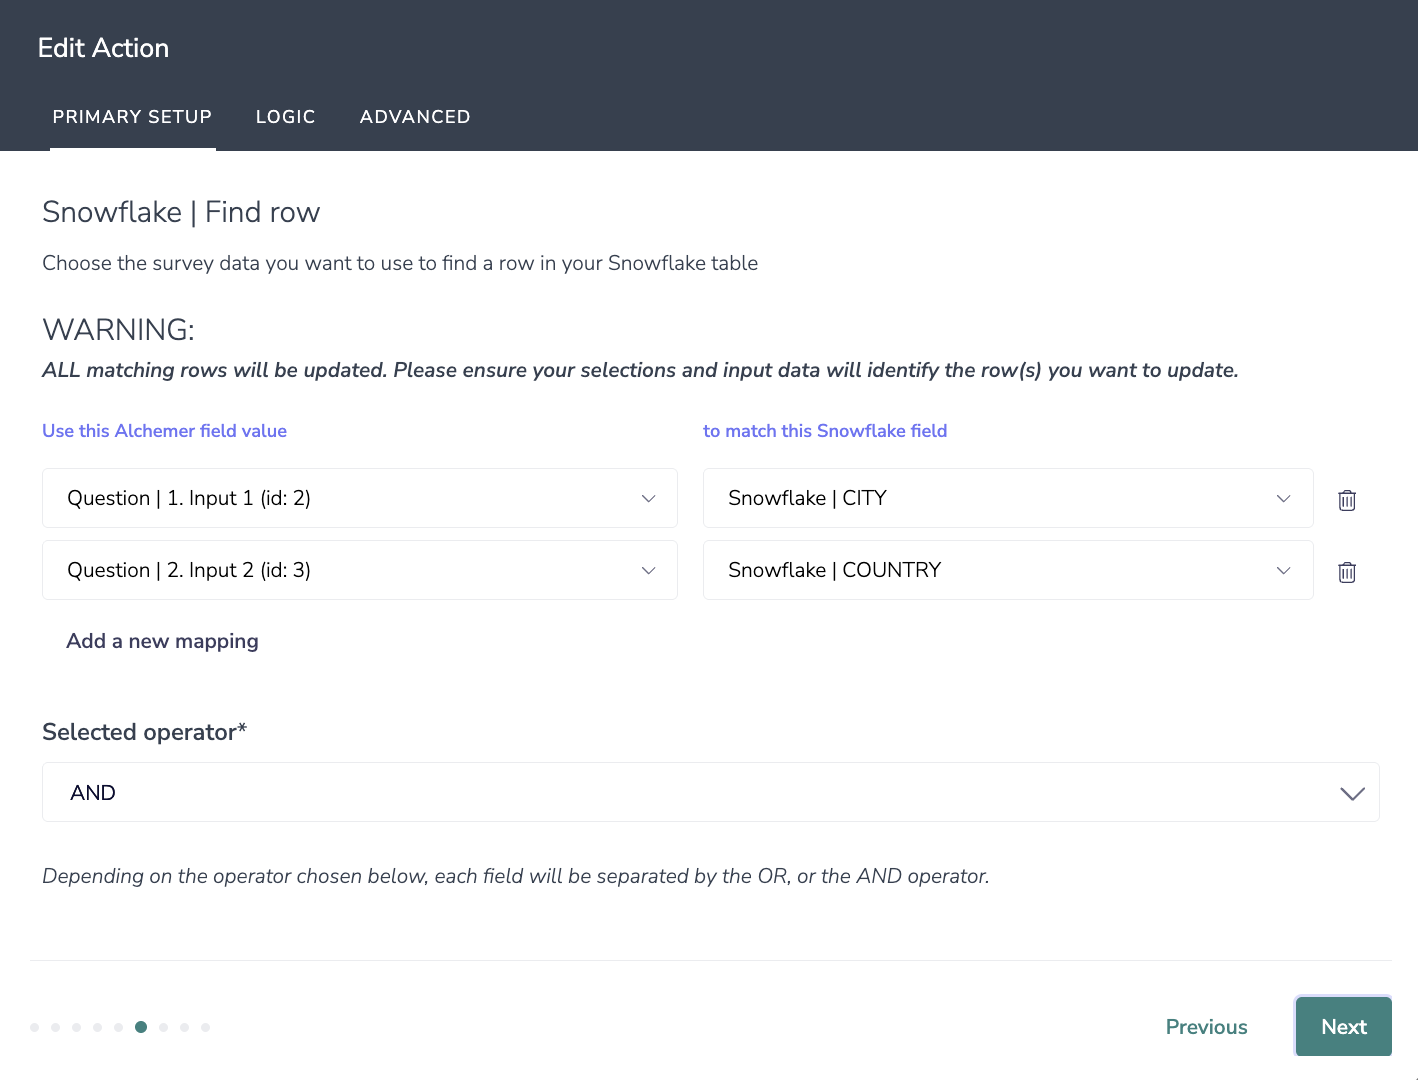
6. Choose the survey data you want to use to find a row in your Snowflake table.
7. Choose the survey data you want to use to upsert a row in your Snowflake table. This will either update a row if the data matches or create a new row.

8. Select the fields that you would like to get back.

9. Setup complete.
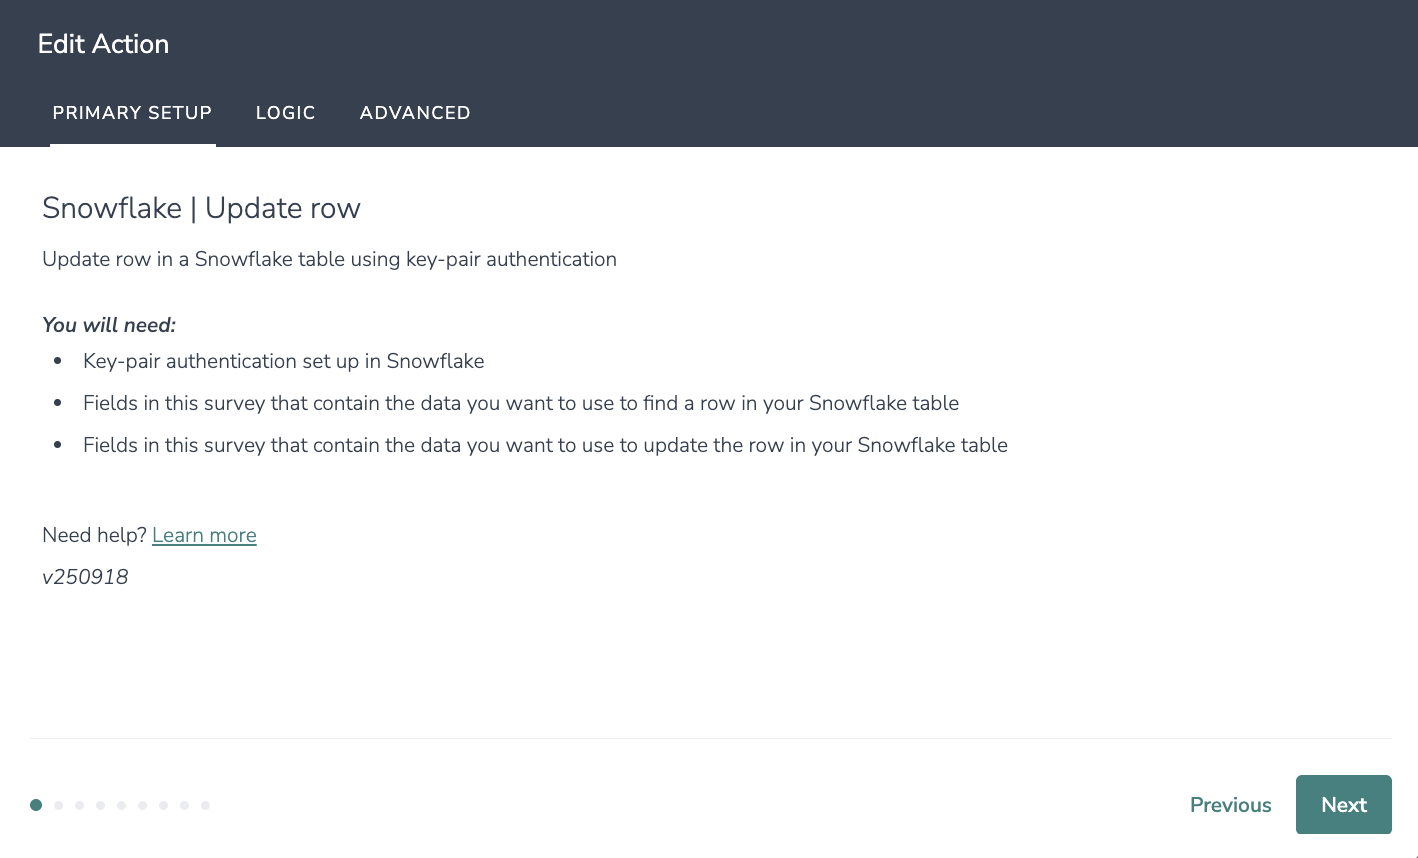
Snowflake | Update row
1. Select action: Update row.
You will need:
- Key-pair authentication set up in Snowflake
- Fields in the survey that contain the data you want to use to find a row in your Snowflake table
- Fields in your survey that contain the data you want to use to update the row in your Snowflake table
2. Connect your Snowflake account.
3. Select the Snowflake database you would like to use from the dropdown.
4. Select the Snowflake schema you would like to use from the dropdown.
5. Select the Snowflake table you would like to use from the dropdown.
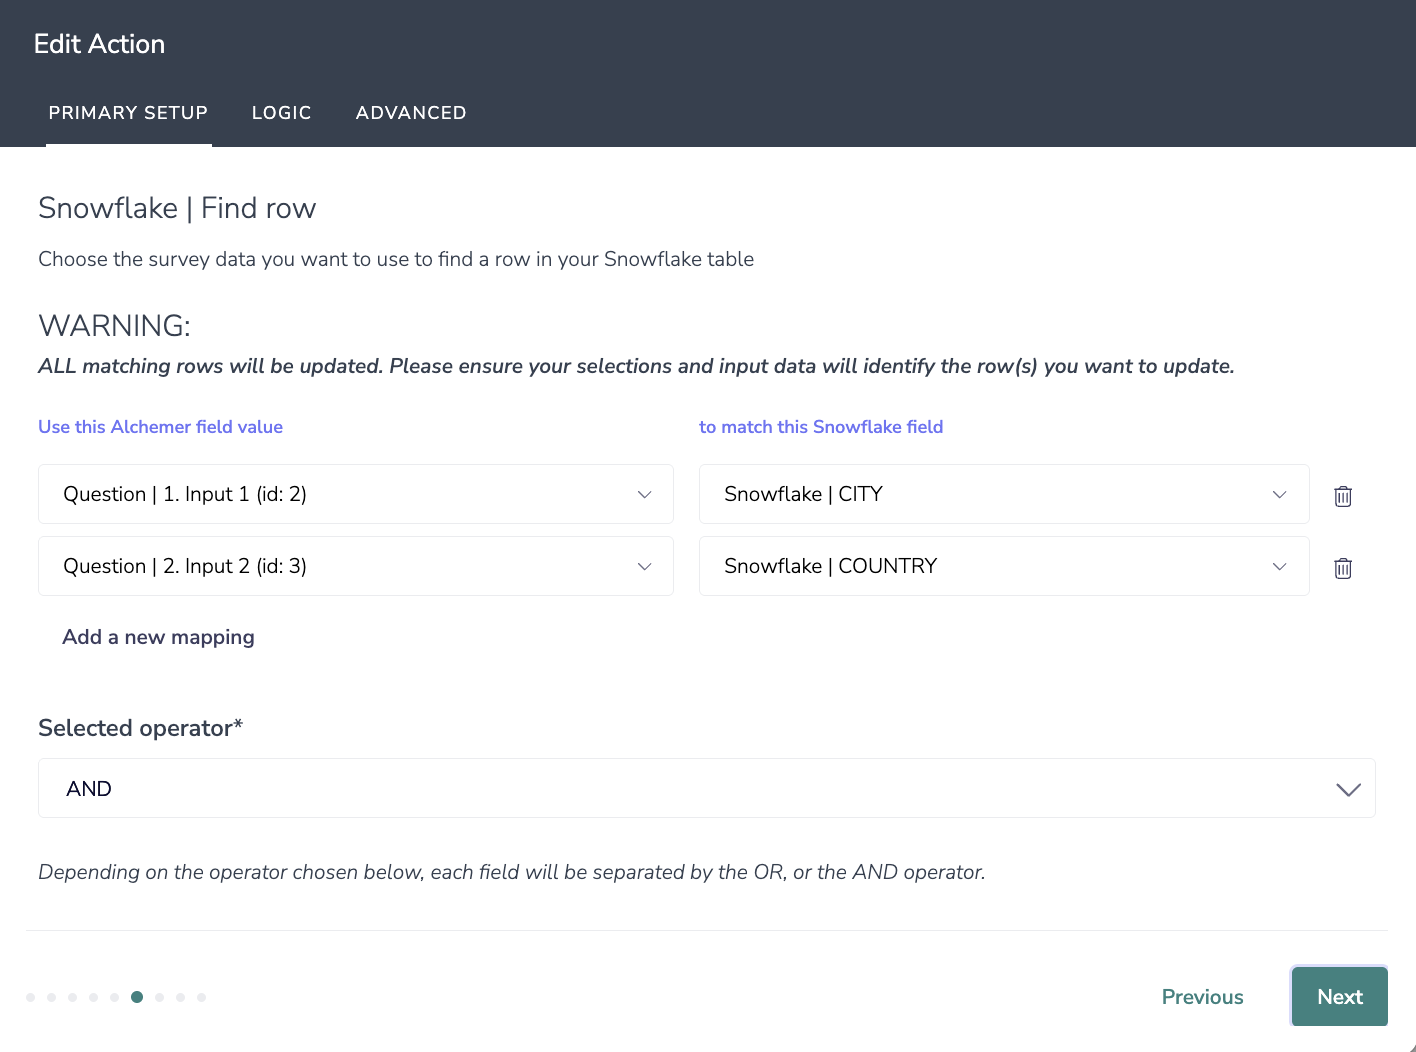
6. Choose the survey data you want to use to find a row in your Snowflake table.
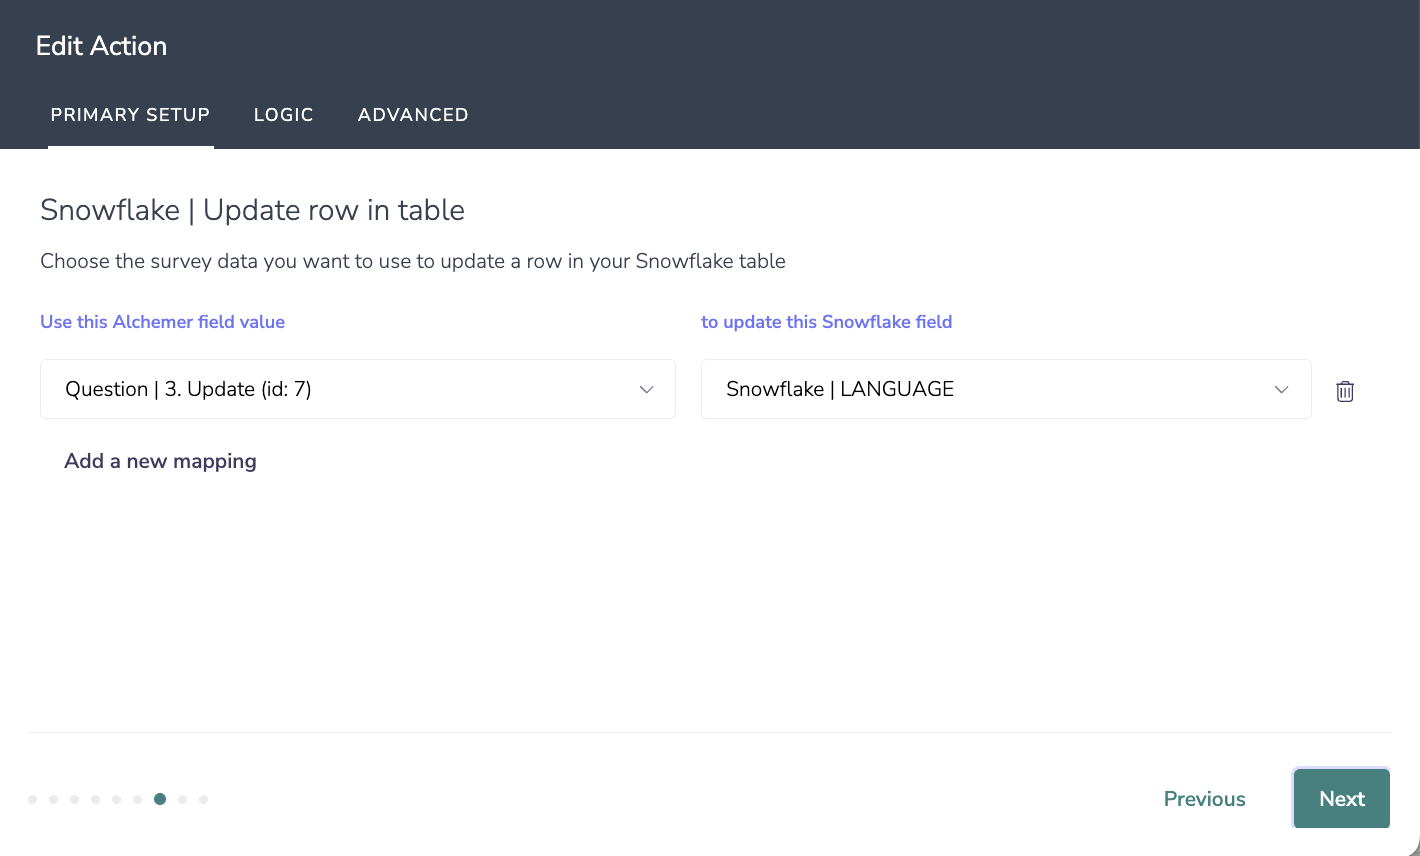
7. Choose the survey data you want to use to update a row in your Snowflake table.
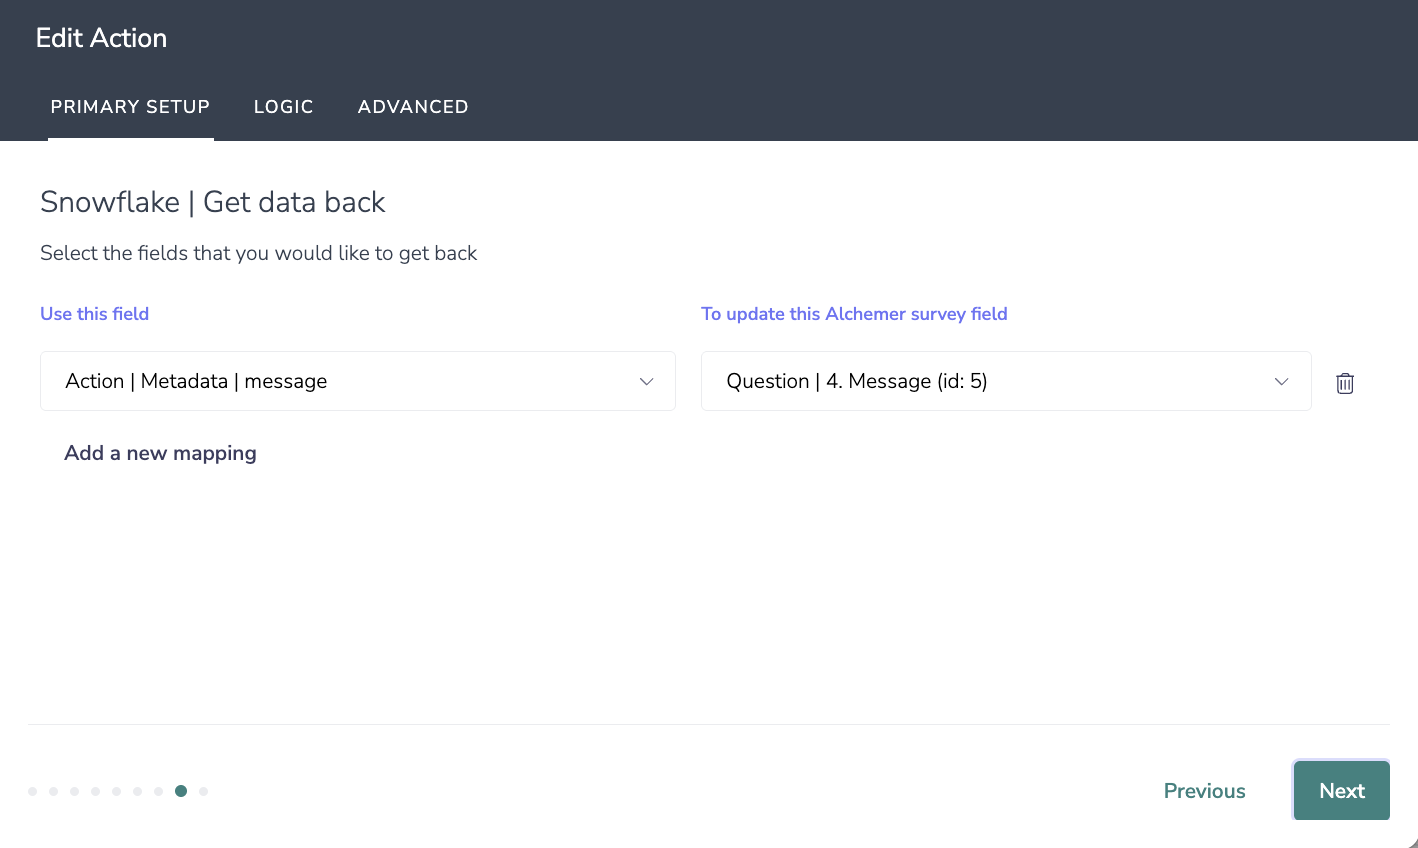
8. Select the fields that you would like to get back.
9. Setup complete.
Snowflake | Push to table
1. Select action: Push to table.
You will need:
- Key-pair authentication set up in Snowflake
- Fields in the survey that contain the data you want to use to insert into your Snowflake table
2. Connect your Snowflake account.
3. Select the Snowflake database you would like to use from the dropdown.
4. Select the Snowflake schema you would like to use from the dropdown.
5. Select the Snowflake table you would like to use from the dropdown.
6. Choose the survey data you want to use to insert a row in your Snowflake table.
7. Select the fields you would like to get back from Snowflake.
8. Setup complete.
Using Snowflake integrations in Alchemer Survey
With Alchemer Survey, you can connect a Snowflake integration directly to a survey action. This allows you to:
- Send respondent data to a Snowflake table when a survey is submitted
- Update or upsert rows based on a respondent ID or lookup value
- Retrieve data from Snowflake to personalize the survey experience
How to set up
Open your survey and navigate to the survey Actions tab.
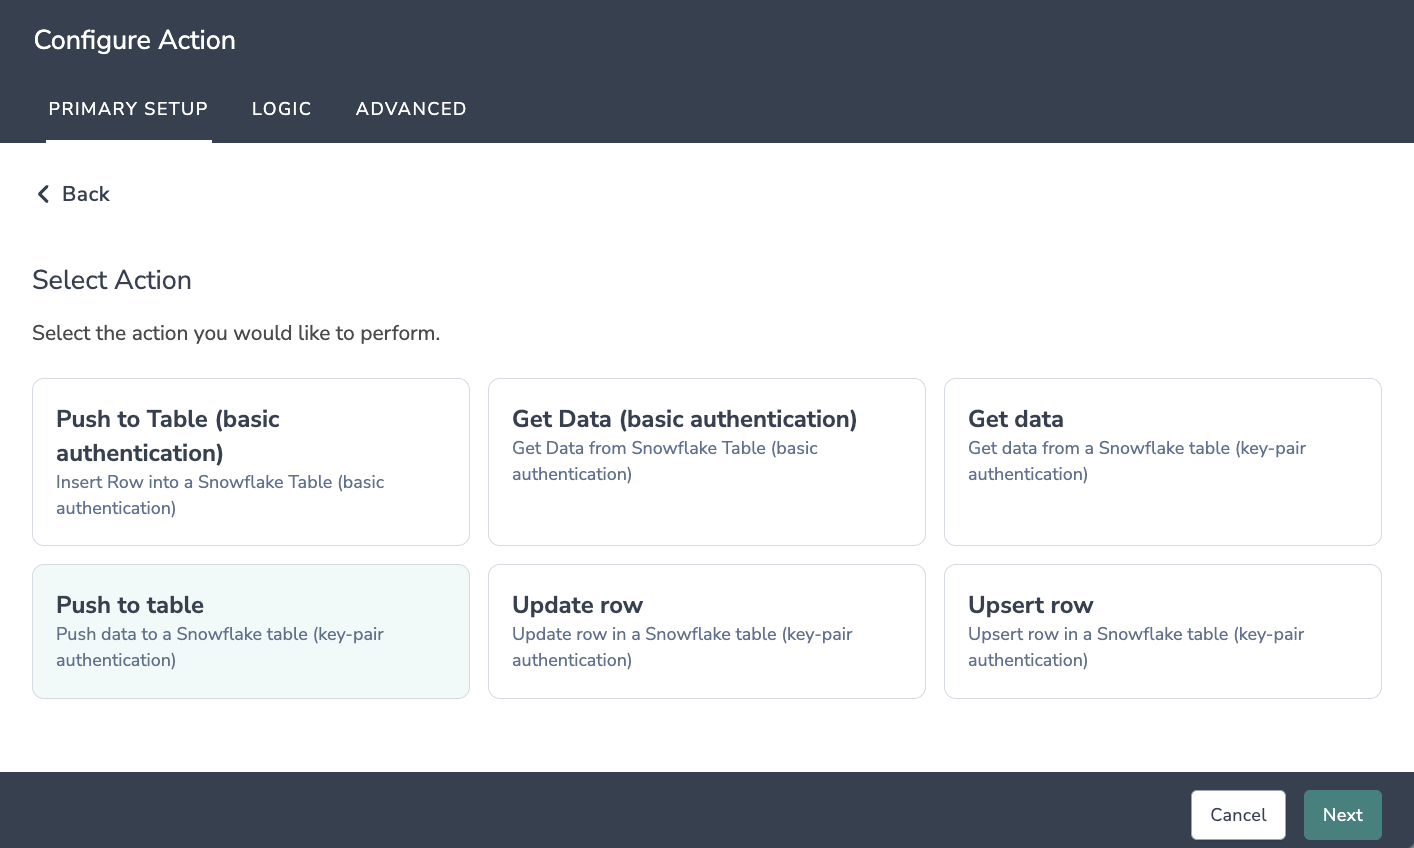
Click Add Action and select Snowflake (Key-Pair) integration.
Choose one of the available options:
- Push to Table: jump to section
- Update Row: jump to section
- Upsert Row: jump to section
- Get Data: jump to section
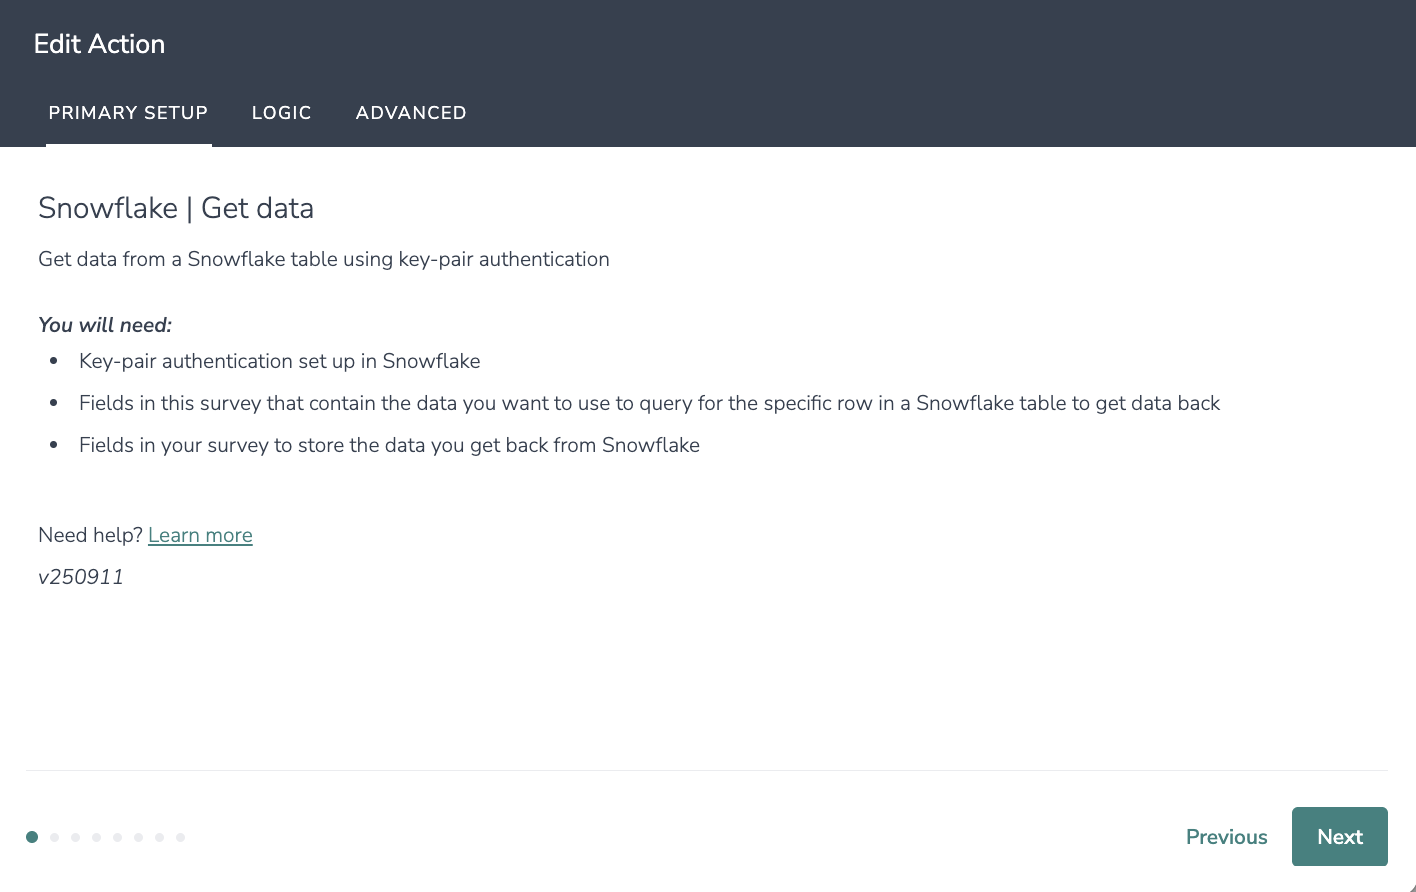
Snowflake | Get Data
1. Select action: Get data.
You will need:
- Key-pair authentication set up in Snowflake
- Fields in the survey that contain the data you want to use to query for the specific row in a Snowflake table to get data back.
- Fields in your survey to store the data you get back from Snowflake
2. Connect your Snowflake account.
3. Select the Snowflake database you would like to use from the dropdown.
4. Select the Snowflake schema you would like to use from the dropdown.
5. Select the Snowflake table you would like to use from the dropdown.
6. Choose the survey data you want to use to find a row in your Snowflake table.
7. Select the fields you would like to get back from Snowflake.
8. Setup complete.
Snowflake | Upsert row
1. Select action: Upsert row.
You will need:
- Key-pair authentication set up in Snowflake
- Fields in the survey that contain the data you want to use to find a row in your Snowflake table
- Fields in your survey that contain the data you want to use to upsert a row in your Snowflake table
2. Connect your Snowflake account.
3. Select the Snowflake database you would like to use from the dropdown.
4. Select the Snowflake schema you would like to use from the dropdown.
5. Select the Snowflake table you would like to use from the dropdown.
6. Choose the survey data you want to use to find a row in your Snowflake table.
7. Choose the survey data you want to use to upsert a row in your Snowflake table. This will either update a row if the data matches or create a new row.
8. Select the fields that you would like to get back.
9. Setup complete.
Snowflake | Update row
1. Select action: Update row.
You will need:
- Key-pair authentication set up in Snowflake
- Fields in the survey that contain the data you want to use to find a row in your Snowflake table
- Fields in your survey that contain the data you want to use to update the row in your Snowflake table
2. Connect your Snowflake account.
3. Select the Snowflake database you would like to use from the dropdown.
4. Select the Snowflake schema you would like to use from the dropdown.
5. Select the Snowflake table you would like to use from the dropdown.
6. Choose the survey data you want to use to find a row in your Snowflake table.
7. Choose the survey data you want to use to update a row in your Snowflake table.
8. Select the fields that you would like to get back.
9. Setup complete.
Snowflake | Push to table
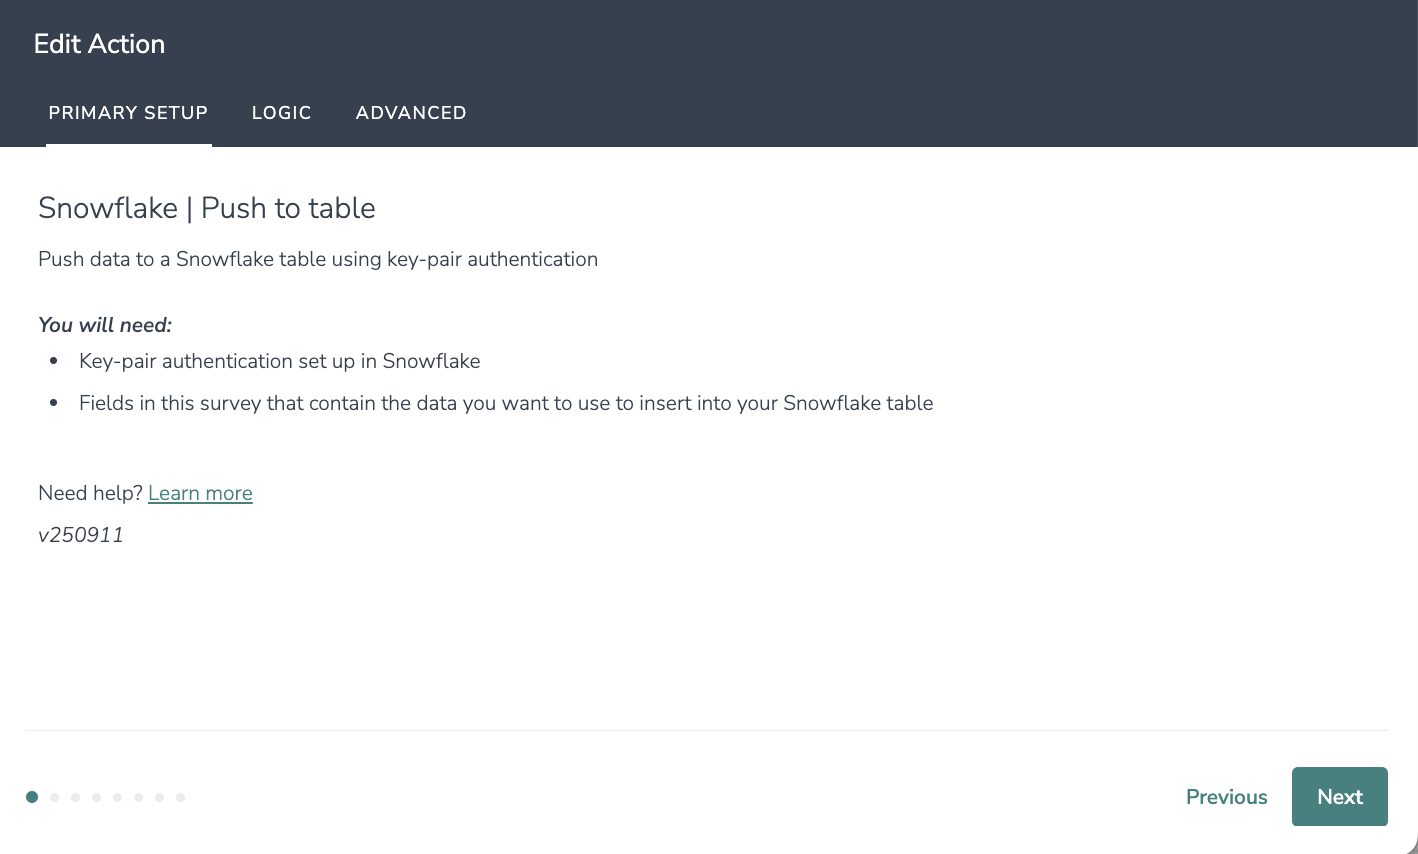
1. Select action: Push to table.
You will need:
- Key-pair authentication set up in Snowflake
- Fields in the survey that contain the data you want to use to insert into your Snowflake table
2. Connect your Snowflake account.
3. Select the Snowflake database you would like to use from the dropdown.
4. Select the Snowflake schema you would like to use from the dropdown.
5. Select the Snowflake table you would like to use from the dropdown.
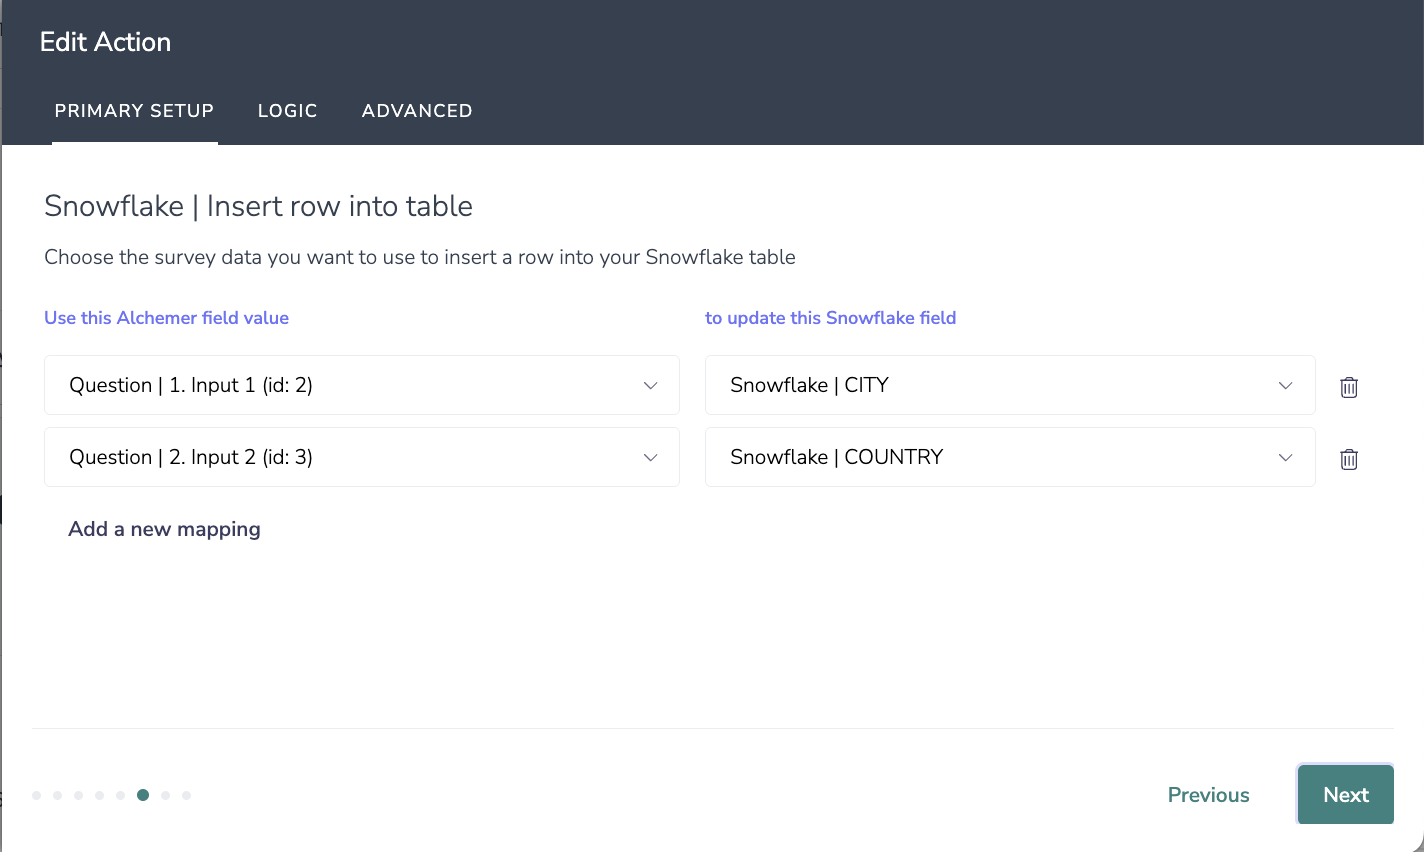
6. Choose the survey data you want to use to insert a row in your Snowflake table.
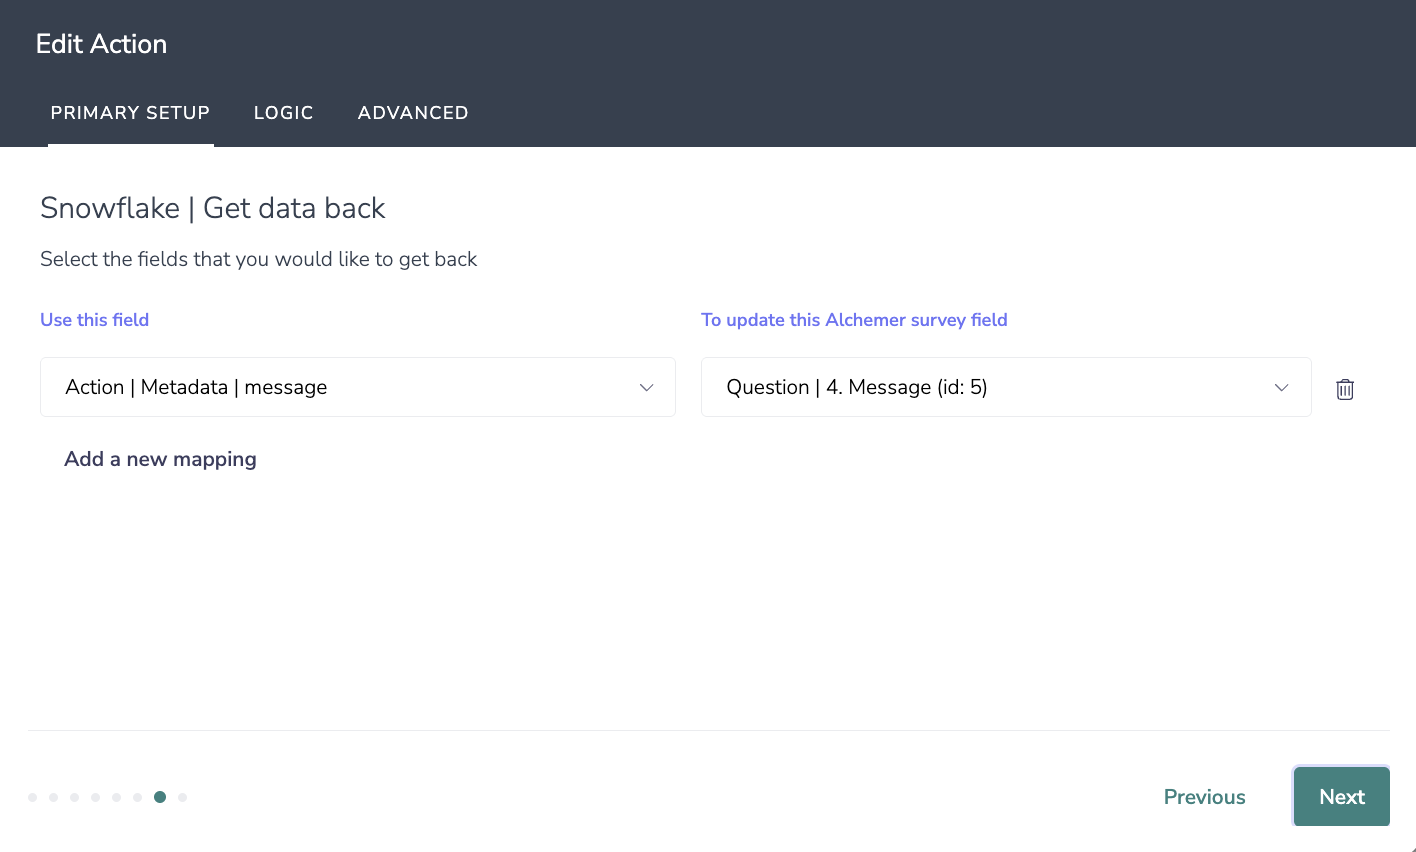
7. Select the fields you would like to get back from Snowflake.
8. Setup complete.
Need help?
If you run into issues during setup or data mapping, our support team is here to help. You can also explore our integration best practices for guidance on how to design secure, reliable workflows.