The Alchemer Workflow Snowflake Integration is available as an add-on. If you are interested in purchasing the Snowflake Integration, please contact us for additional information.
Overview
At a high-level, Alchemer's integration with Snowflake allows you to easily:
- Push survey data from Alchemer into a Snowflake table.
- Get data from a Snowflake table and use that data in an Alchemer Survey.
Easily push your Alchemer feedback data into Snowflake data warehouse, to combine the feedback with your other data and make it easily accessible to business users.
Quickly pull data from a Snowflake table into Alchemer so that you can personalize steps in your Workflow.
Integration Setup
1. Create a Workflow in Alchemer and select your initiator.
For more information on building Workflows in Alchemer refer to the following documentation:
2. When you are ready to add the Snowflake Push or Pull step to your Workflow, drag the desired step from the Step Library under Connections.

3. Click the pencil icon to configure your Snowflake integration step.

4. Select the integration action you'd like to use.
- Geta Data: Get data from a Snowflake table.
Click this link for specific guidance on this integration action. - Push to Table: Push data to a Snowflake table.
Click this link for specific guidance on this integration action.
Snowflake | Get Data
Video Walkthrough
Configuration Walkthrough
To complete configuration, you will need:
- Your Snowflake login information.
- Fields in this workflow that contain the data you want to use to query for the specific row in a Snowflake table to get data back
1. Select Get Data as your integration action.

2. Click "Next" on the integration overview screen.

3. Connect to your Snowflake account. Click new authentication and provide the required fields.
WATCH OUT:
Fields that are required:
- Account:
- Username
- Password
- Warehouse
- Database
- Schema
Fields that not required
- Role
- Access URL
If you need clarity on what the field is and why the integration requires it, hover over the question mark icon in the right corner of every field.

4. In the Table List dropdown, select the table you would like to use.

5. Choose the workflow data you want to use to query a row for in your Snowflake table.
All fields must match when multiple fields are selected.

6. Select which column you would like to order by and whether you would like this to be ascending or descending
You can only select one field to order by.

7. Click "Save" to complete integration setup.

Now what / Where is my data?
All of the information from this integration is now available in this workflow and all surveys in this workflow. You can use them to:
- Add Merge Codes to Email or Survey Invite steps.
- Use with Logic in the workflow.
- Use to personalize the survey in the workflow.
Snowflake | Push to Table
To complete configuration, you will need:
- Your Snowflake login information
- Fields that will be used to select your specific Snowflake table
- Fields in this workflow that contain the data you want to use to update the Snowflake table
Video Walkthrough
Configuration Walkthrough
1. Select Push to Table as your integration action.

2. Click "Next" on the integration overview screen.

3. Connect to your Snowflake account. Click new authentication and provide the required fields.
WATCH OUT:
Fields that are required:
- Account:
- Username
- Password
- Warehouse
- Database
- Schema
Fields that not required
- Role
- Access URL
If you need clarity on what the field is and why the integration requires it, hover over the question mark icon in the right corner of every field.

4. In the Table List dropdown, select the table you would like to use.

5. Choose the workflow data you want to use to insert a row into your Snowflake table.

6. Click save to complete to integration setup.

Now what / Where is my data?
All of the information from this integration is now available in this workflow and all surveys in this workflow. You can use them to:
- Add Merge Codes to Email or Survey Invite steps.
- Use with Logic in the workflow.
- Use to personalize the survey in the workflow.
FAQs
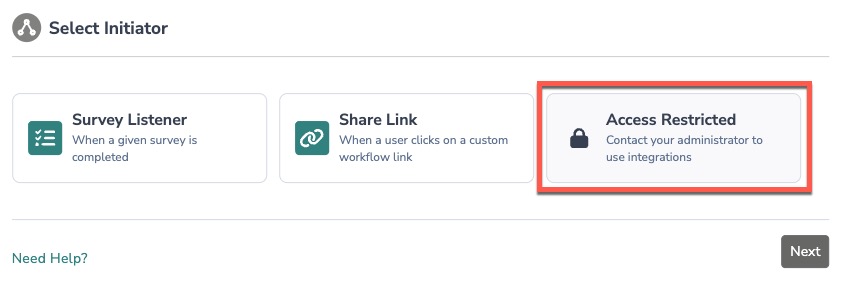
1. The Integration Manager Permission is required to set-up and use the Snowflake integration. If you don't have this permission you will see the following message when selecting an initiator:
 2. To check if you have this permission or grant this permission to someone on your team, go to the left-side product navigation and select the Account drop-down, then click on the user management tab.
3. Then select the Users tab under User Management.
4. Click your username or the username for another member of your team.
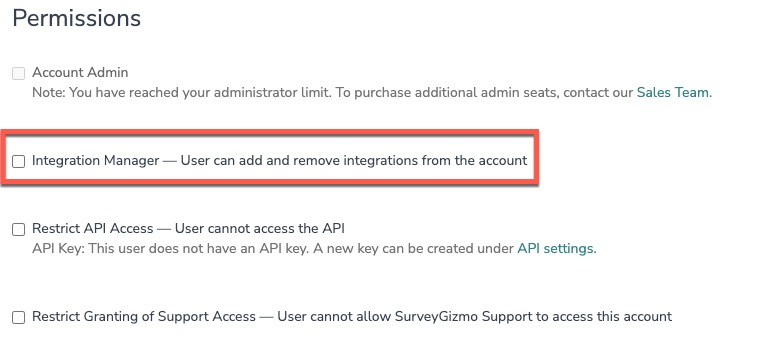
5. Scroll down to the Permissions section and check if the Integration Manager box is checked. If you are an admin you can check the box for other members of your team.
Alchemer is committed to continuously releasing updates and enhancements to our Workflow initiators. If you have specific use cases, questions, or just general feedback, we would love to hear it. Contact us here!