Overview
With the Tools and Utilities integrations for Alchemer Workflow you can:
- Get details about a timestamp, so that you can use the parts of the timestamp in logic and when creating workflow messages.
With the Tools and Utilities integrations for Alchemer Workflow you can:
1. Create a Workflow in Alchemer and select your initiator.
For more information on building Workflows in Alchemer refer to the following documentation:
2. When you are ready to add a Tools and Utilities step to your workflow, drag the Tools and Utilities step from the Step Library under Connections.

3. Click the pencil icon to configure your Tools & Utilities step.

4. Select your action.
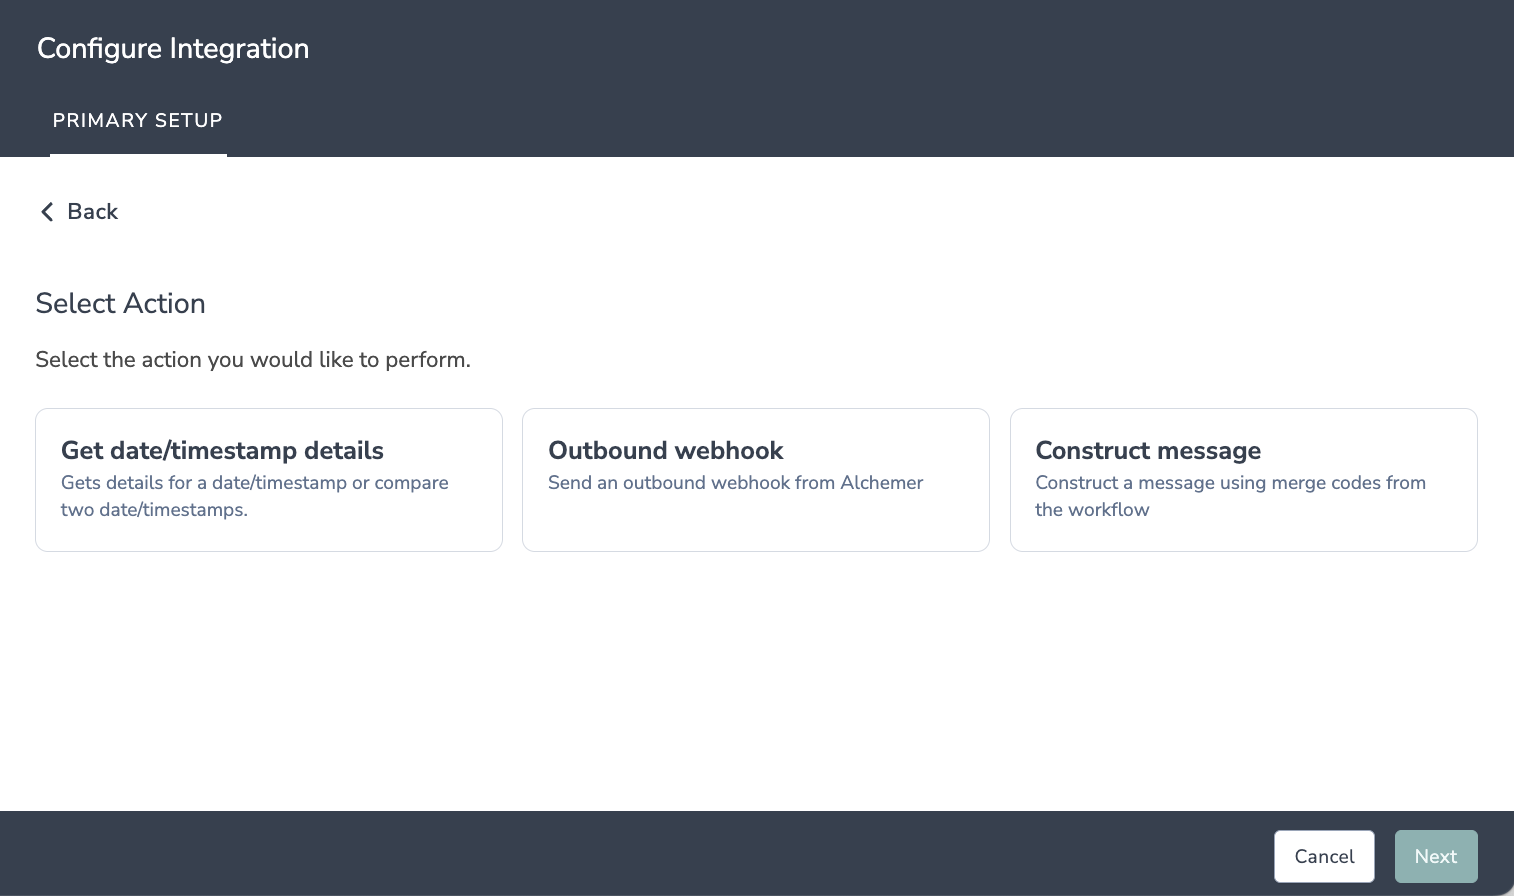
You will need:
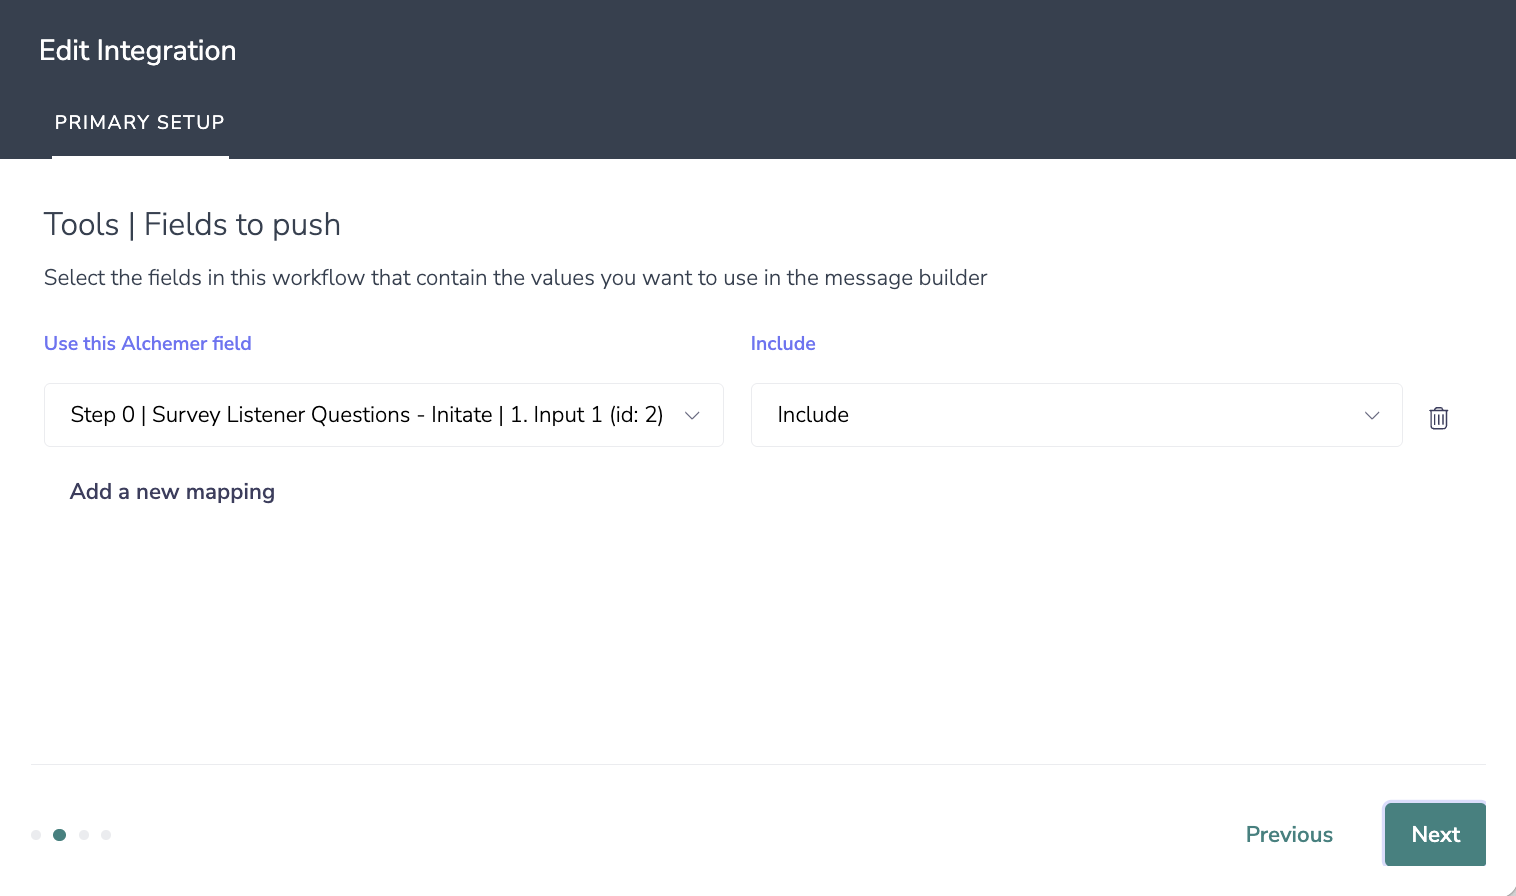
1. Select the fields in this workflow that contain the values you want to use in the message builder.
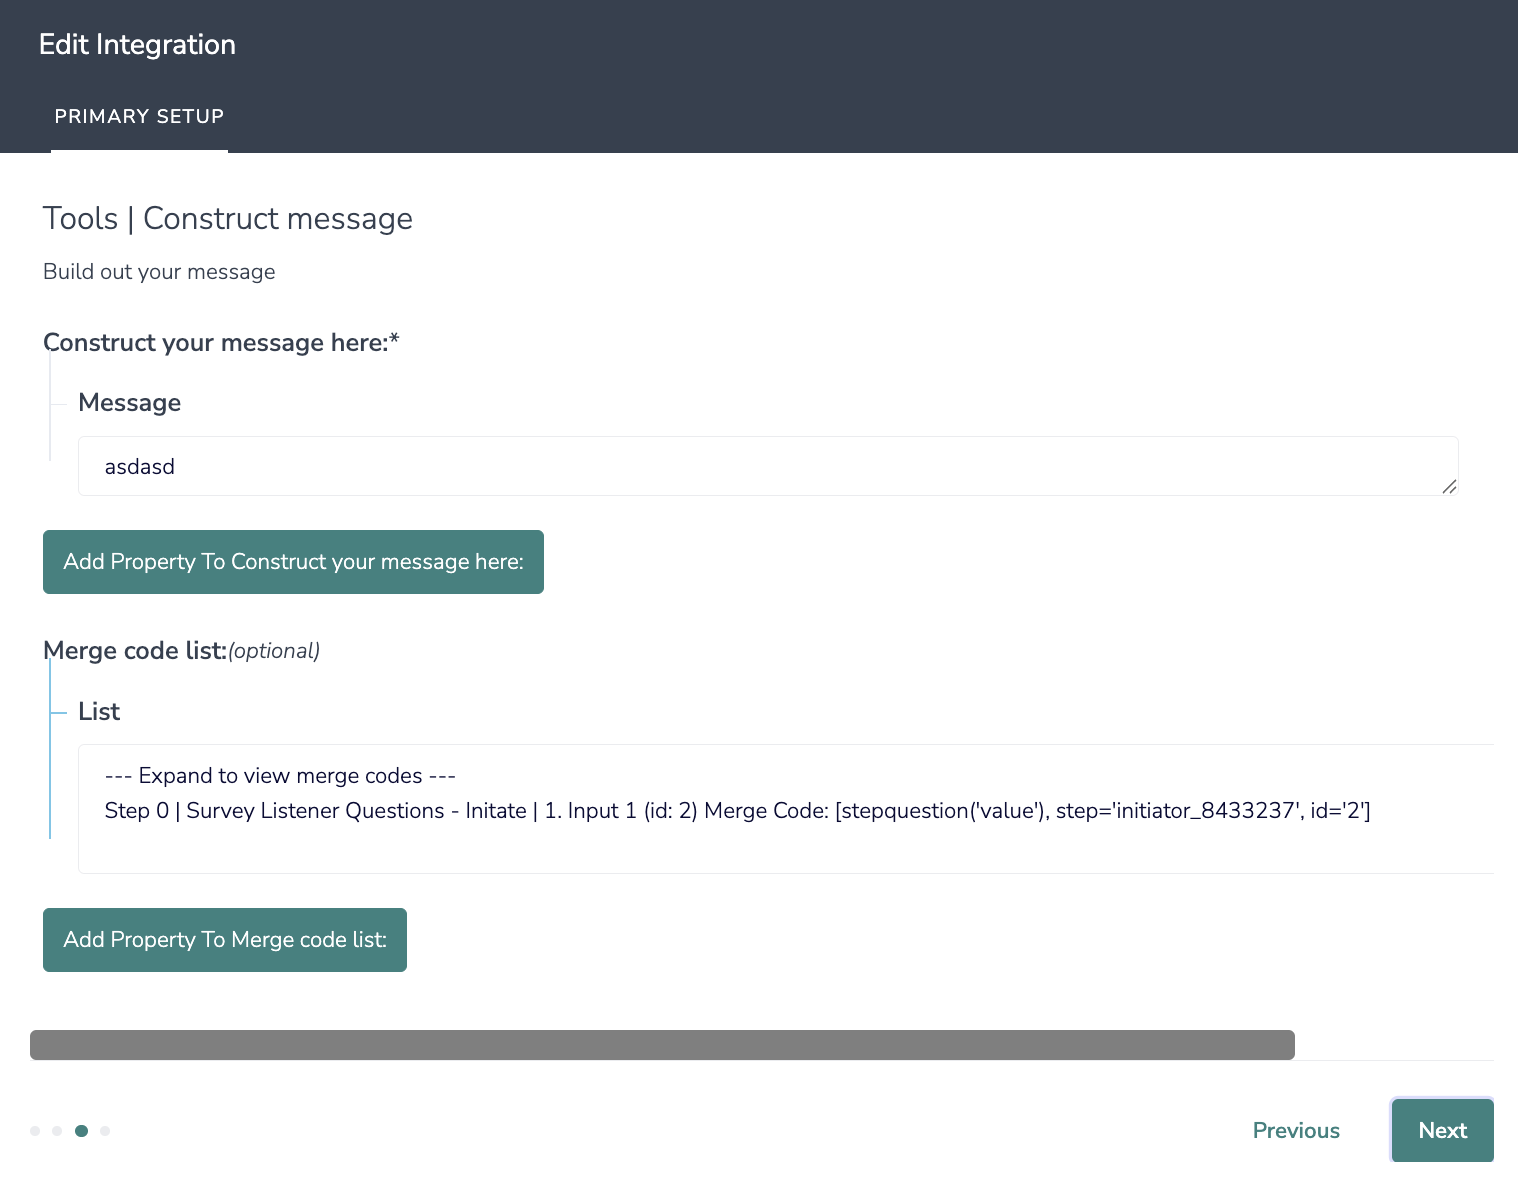
2. Build out your message.
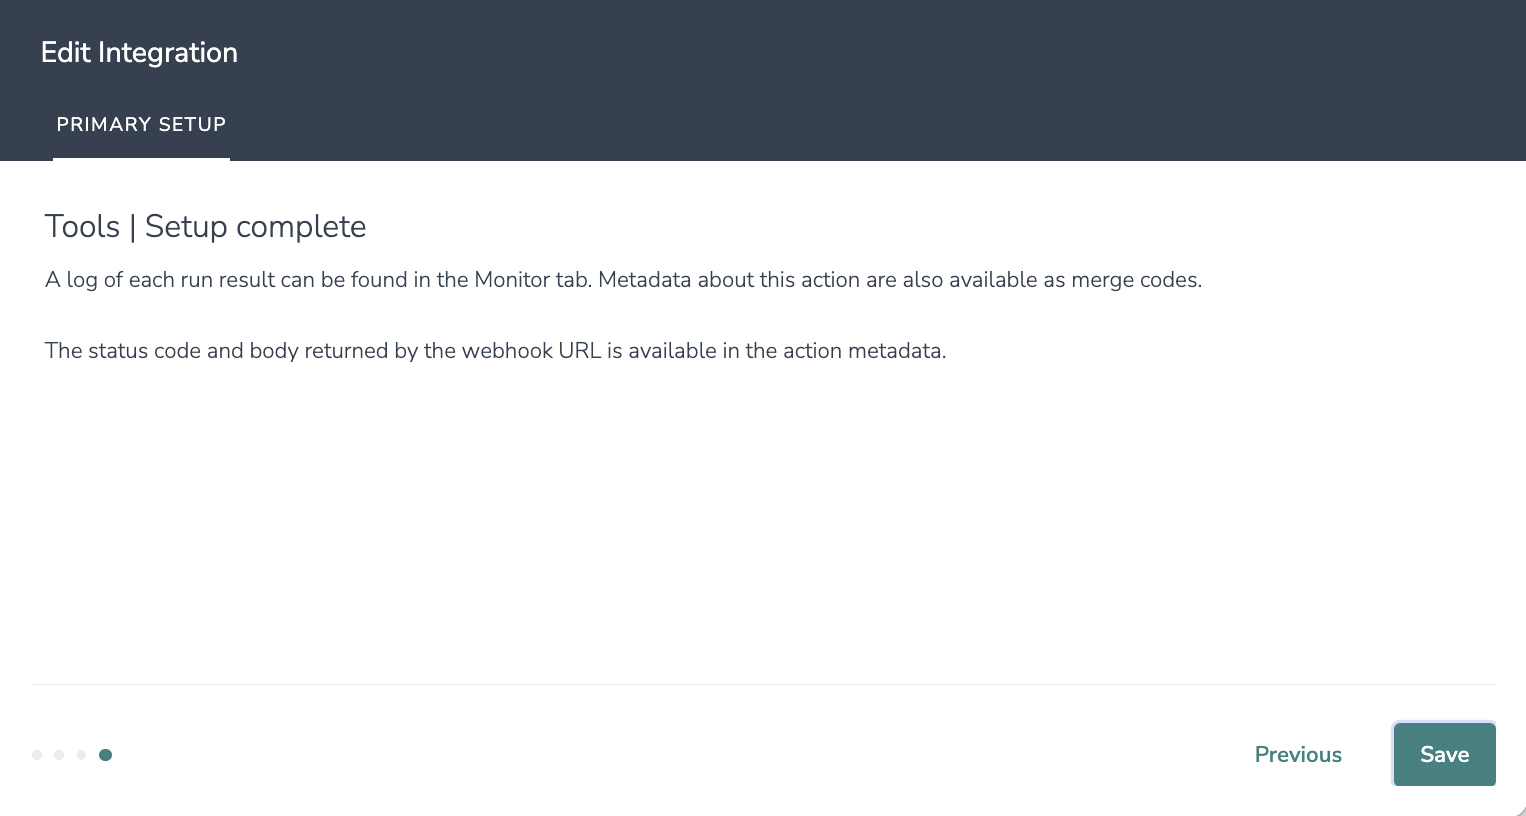
3. Click "Save" to complete setup.
You will need:
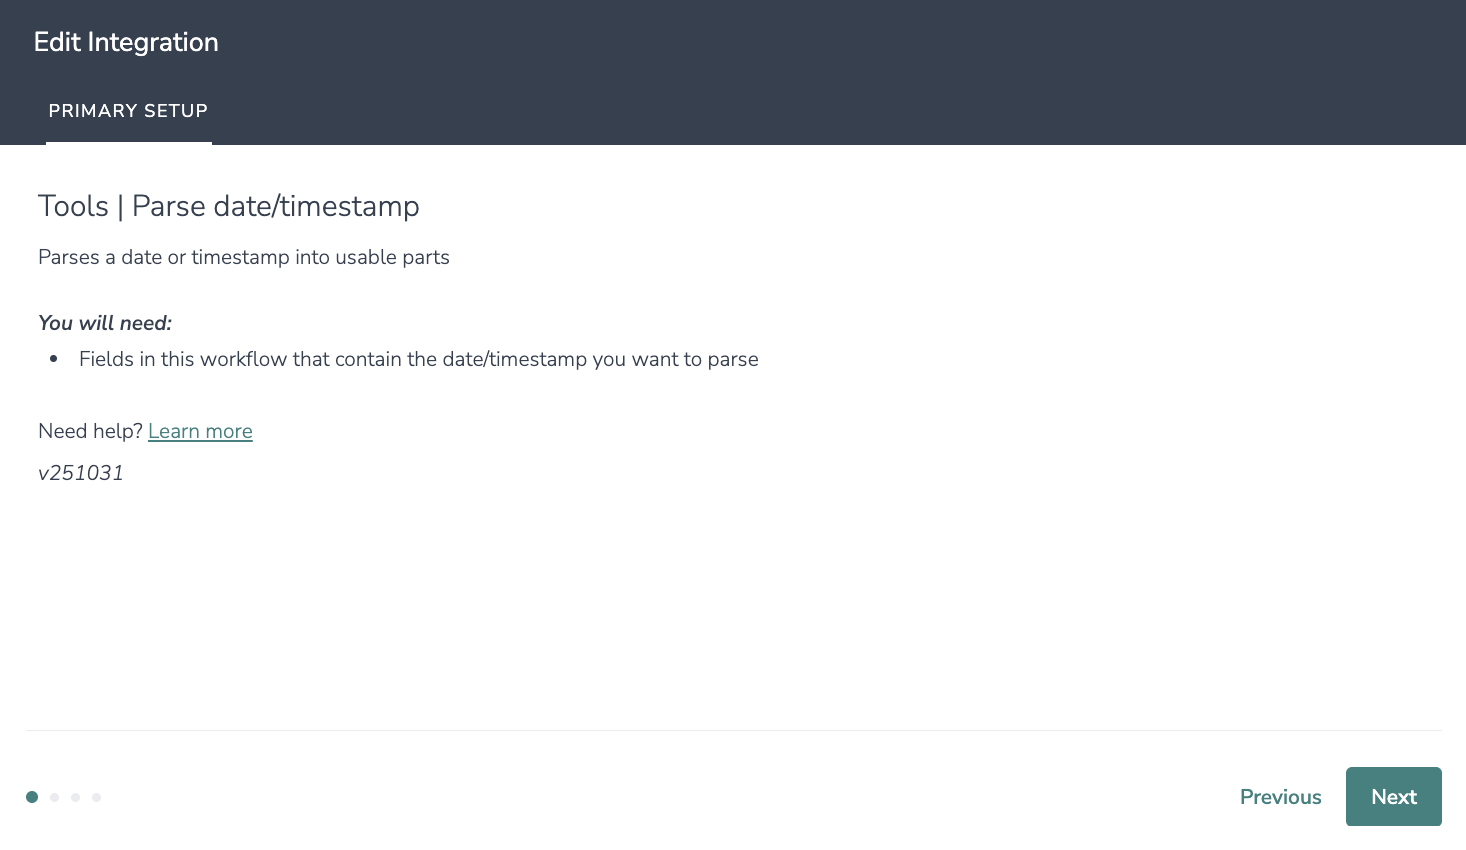
1. Choose the fields in your workflow that contain the data/timestomp for which you want to get details.
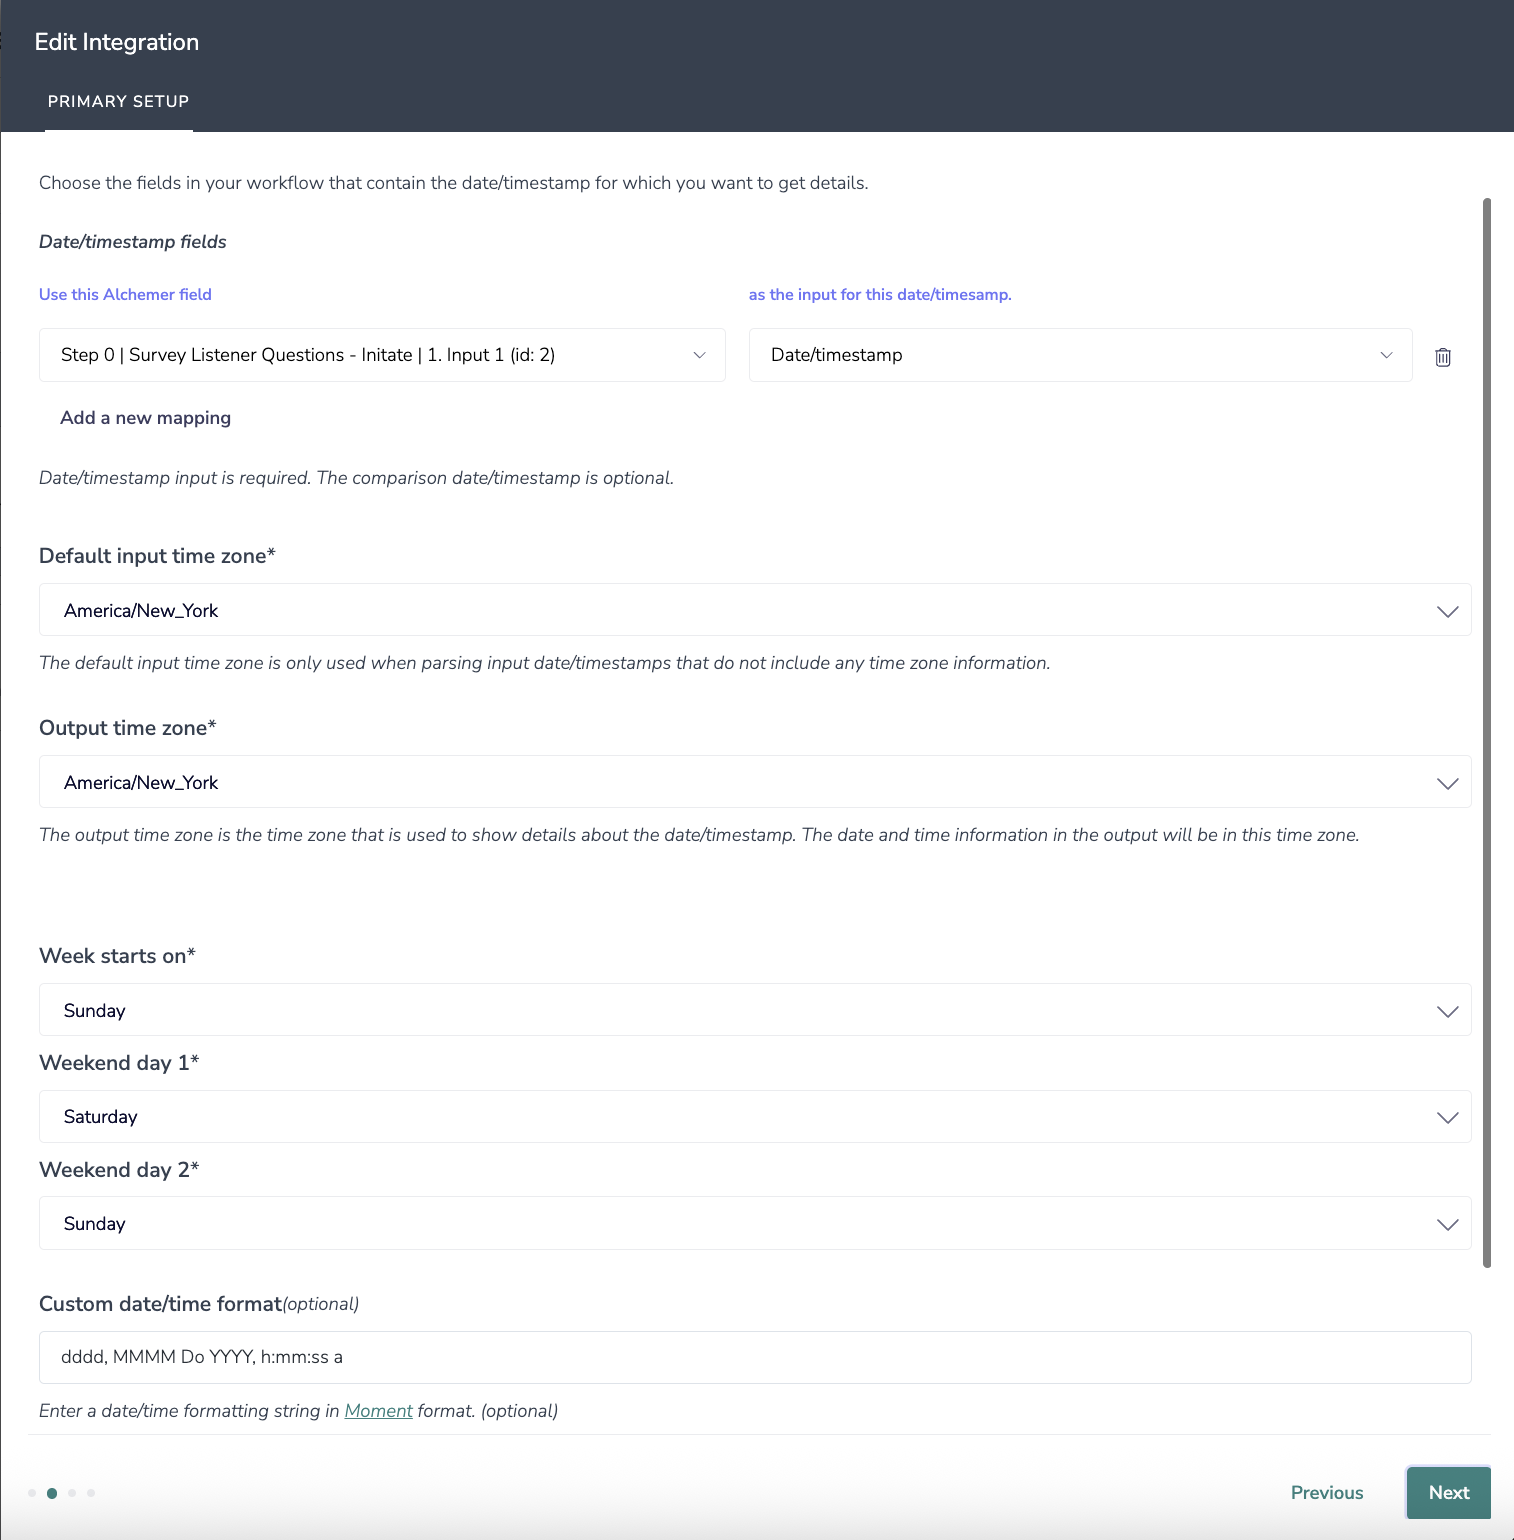
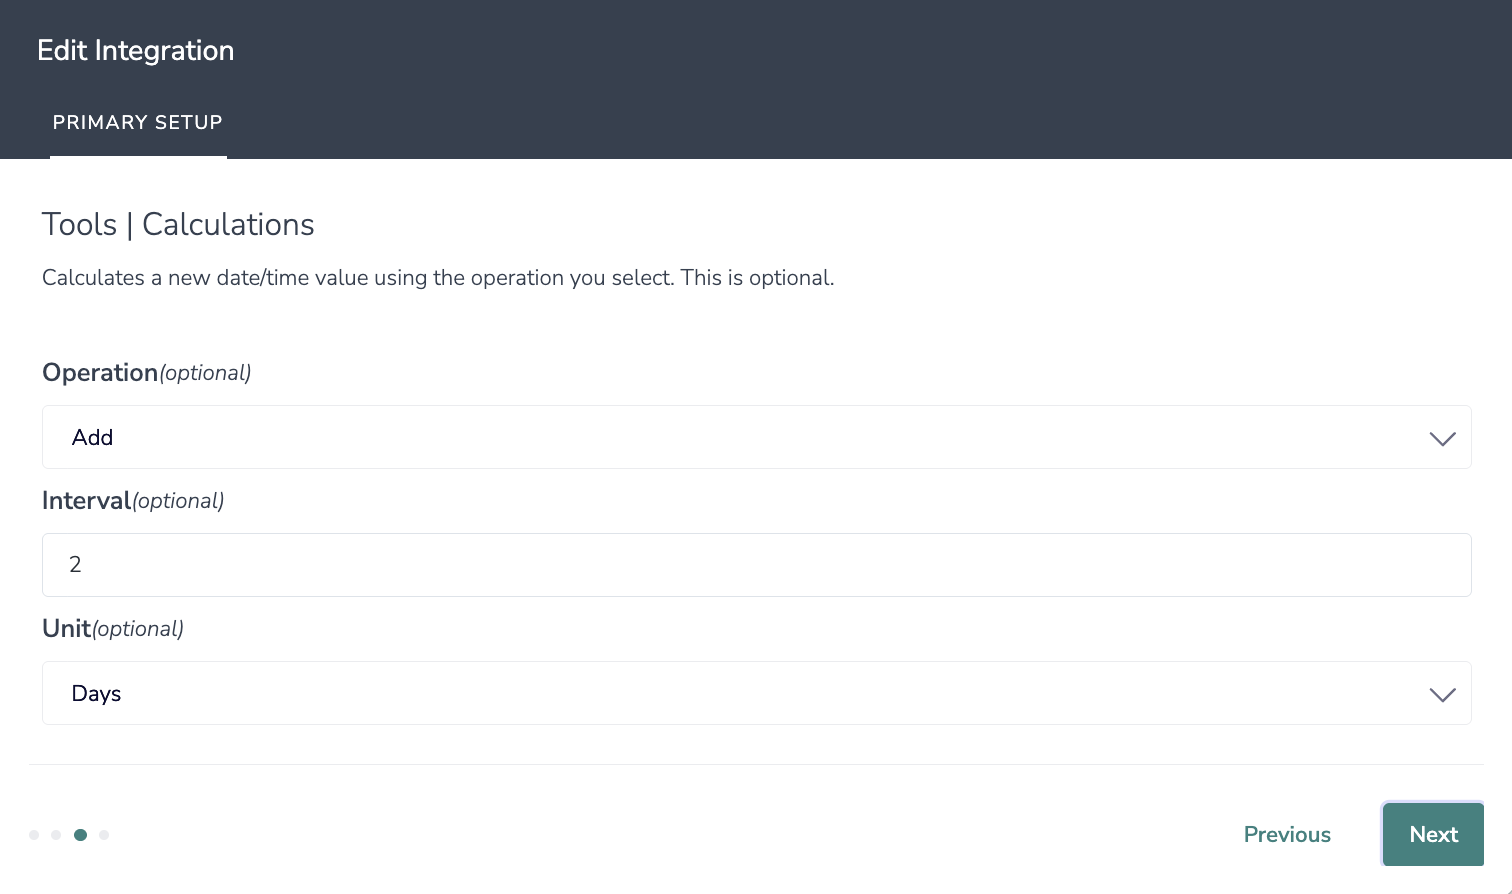
2. Calculate a new date/time value using the operation you select. This is optional.
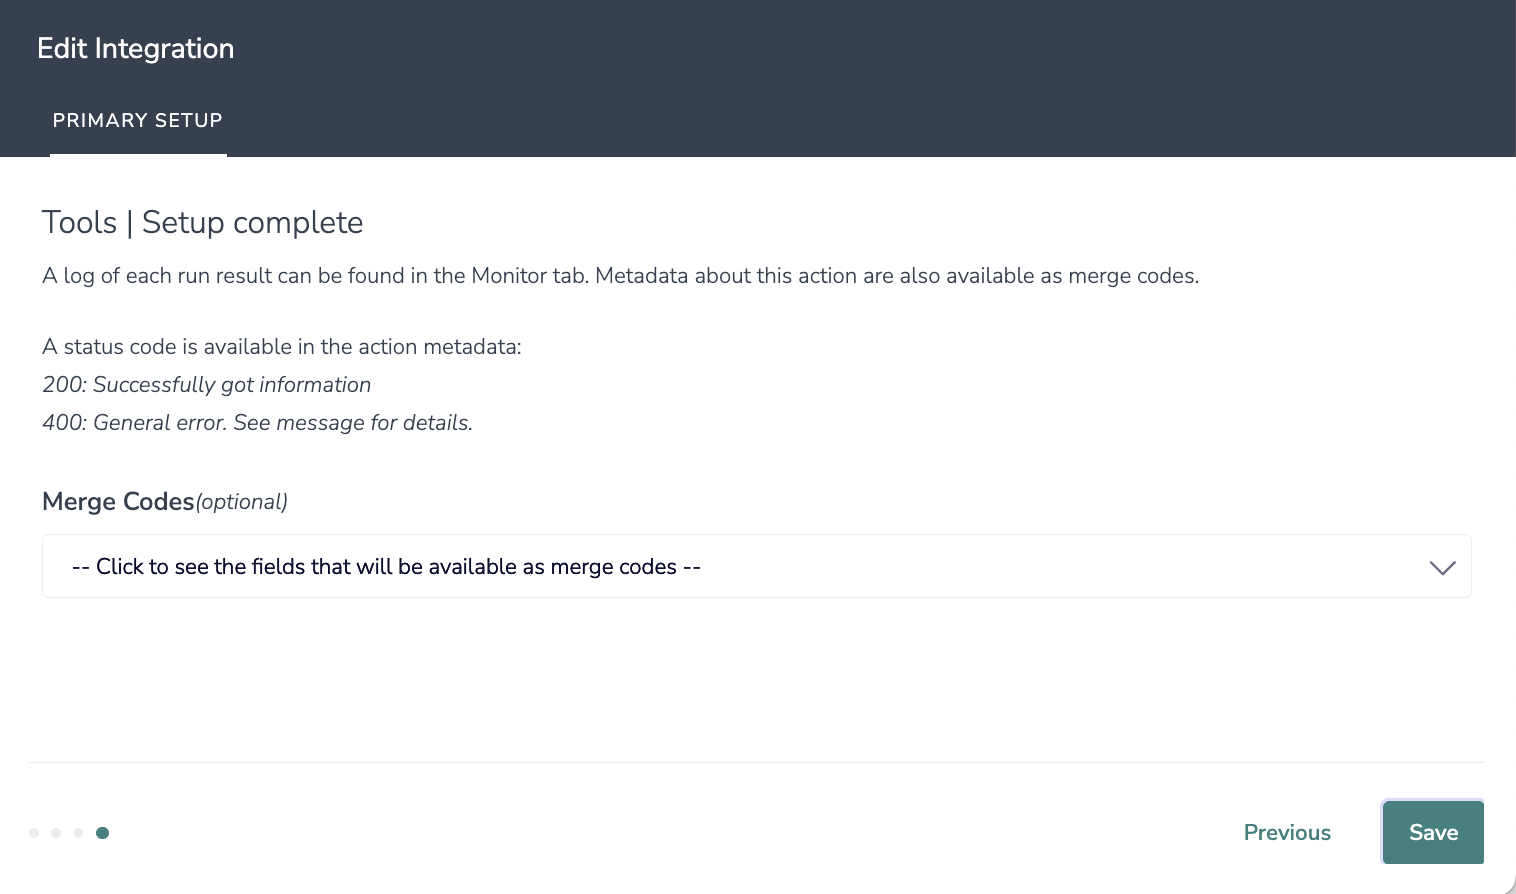
3. Click "Save" to complete setup.
You will need:
1. Select "Get data/timestamp details" and Click "Next" on the integration overview screen.

2. Click "Next"

3. Choose the fields in your workflow that contain the date/timestamp for which you want to get details.
Date/timestamp input is required. The comparison date/timestamp is optional.

4. Specify the default input and output timezone. Along with the day that the week starts on and the weekend days. When complete, click next!
The default input time zone is only used when parsing input date/timestamps that do not include any time zone information.
The output time zone is the time zone that is used to show details about the date/timestamp. The date and time information in the output will be in this time zone.

5. Click "Save" to complete setup. On this screen you can find a list merge codes now available for use in your workflow.

Now what / Where is my data?
All of the information from this integration is now available in this workflow and all surveys in this workflow. You can use them to:
| Learn even more |
| Instructor-Led Virtual Training Available to Enterprise Customers |
| Basic Training Information Sheet Business Labs Information Sheet |
| Self-serve Learning Content |
| Alchemer University offers free, self-paced e-learning courses to help you get up to speed quickly. |