The Excel Integration for Alchemer Workflow is available for our business platform customers. If you are interested in purchasing, please contact us for more information.
How it works
The Excel Initiator starts a new workflow for each row in your spreadsheet, just like the SFTP Initiator. You can configure filters to control which rows trigger workflows and set schedules to run it as needed.
Key capabilities
- Trigger a workflow per row: Each row in the Excel file can kick off its own workflow.
- Apply filters: Only include rows that meet specific conditions.
- Run on schedule: Automate workflows on a daily, weekly, or custom schedule.
- No file upload required: Connect directly to the Excel source.
Adding an Excel Initiator
1. Create a Workflow in Alchemer and select your initiator.
For more information on building Workflows in Alchemer refer to the following documentation:
2. Select Microsoft Dynamics 365. Start an Alchemer Workflow from an event in Microsoft Dynamics 365.

Excel | Start Workflow from Excel
You will need:
- Your Office 365 login information
- An excel workbook with the data, in a table, you want to use to start the workflow.
1. Select "Excel | Push Data to Excel" as your action.
2. Click "Next" on the integration overview screen. 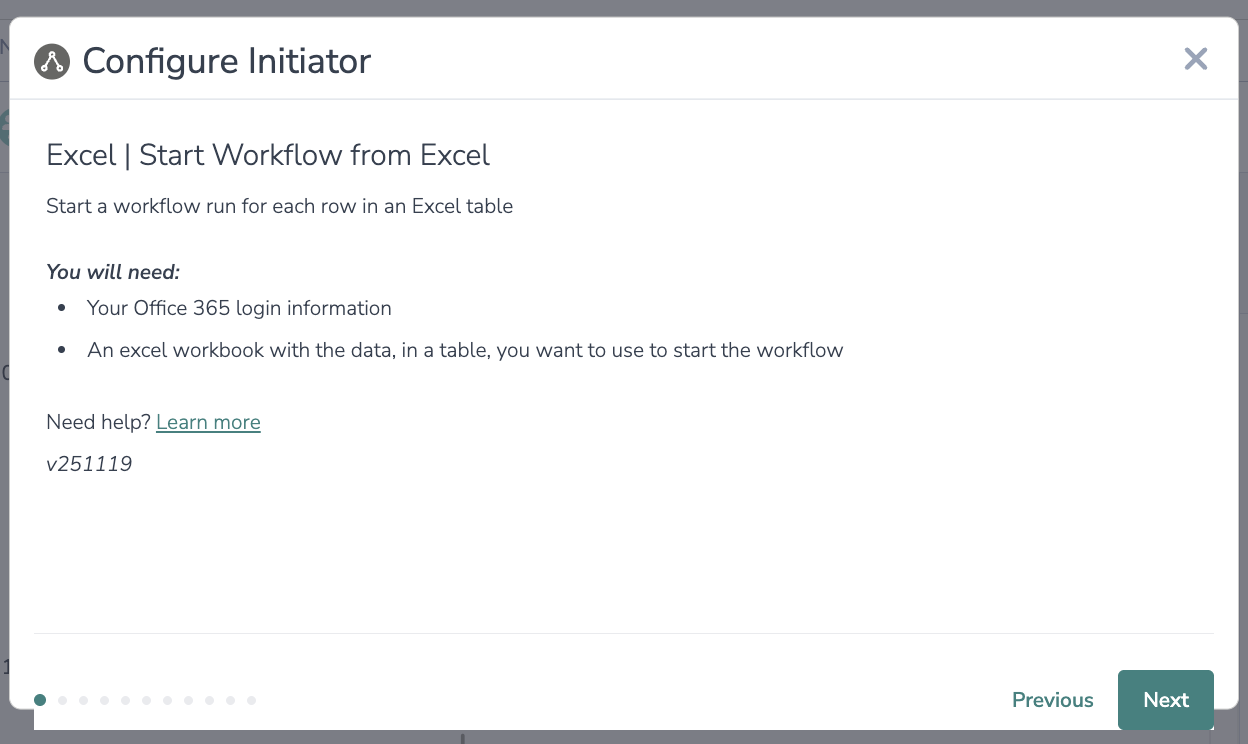
3. Authenticate with your Office 365 account. Click next.

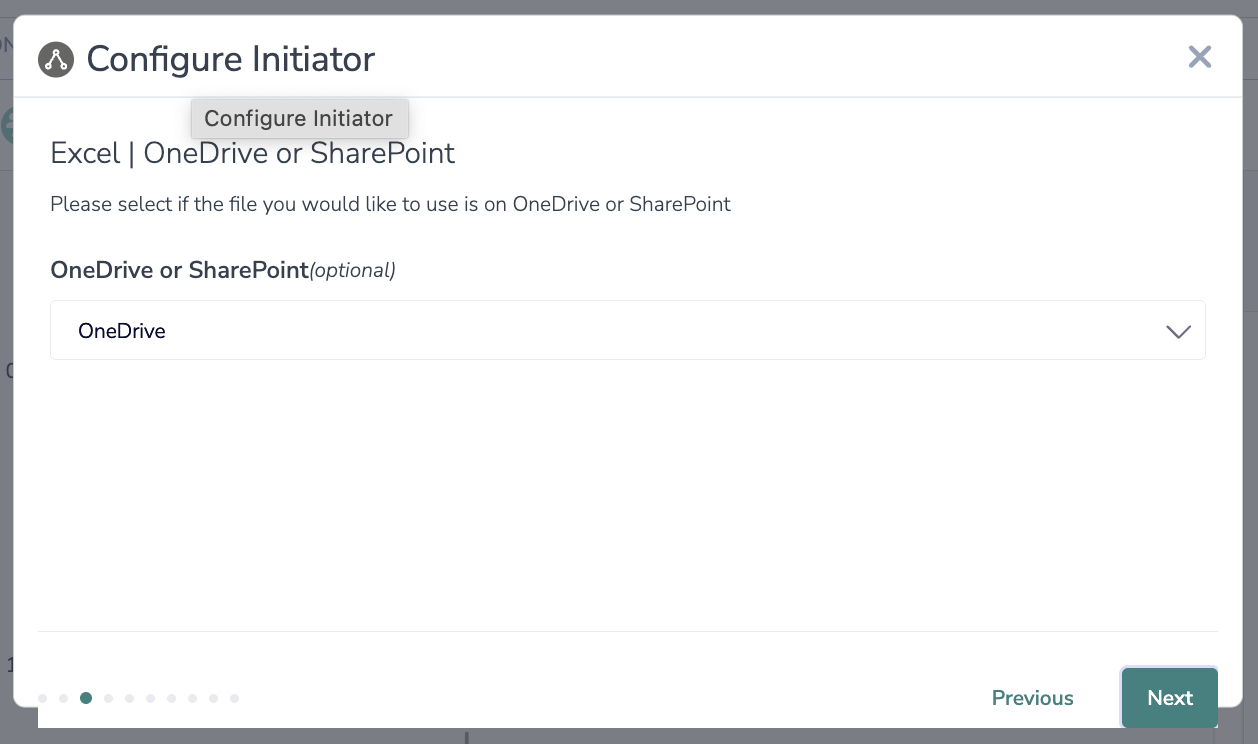
4. Select if the file you would like to use is on the OneDrive or SharePoint.
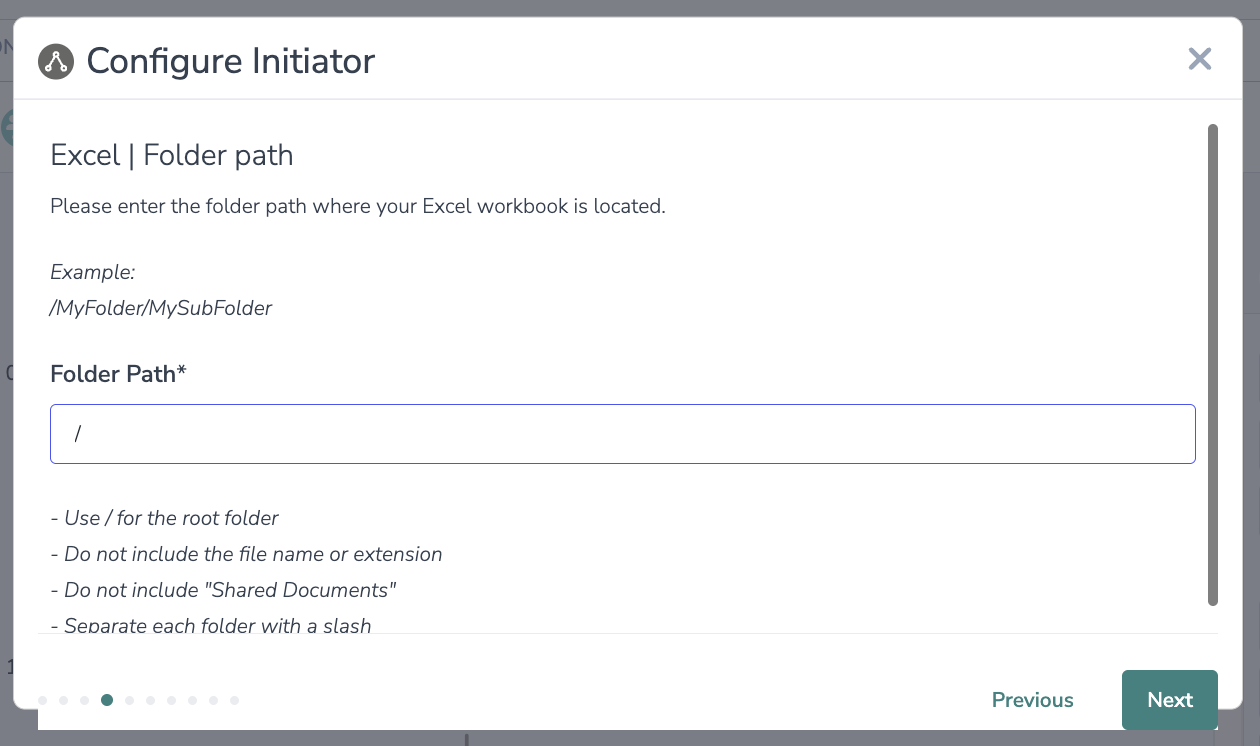
5. Enter the folder path where your Excel workbook is located.
Example: /MyFolder/MySubFolder
- Use / for the root folder
- Do not include the file name or extension
- Do not include "Shared Documents"
- Separate each folder with a slash
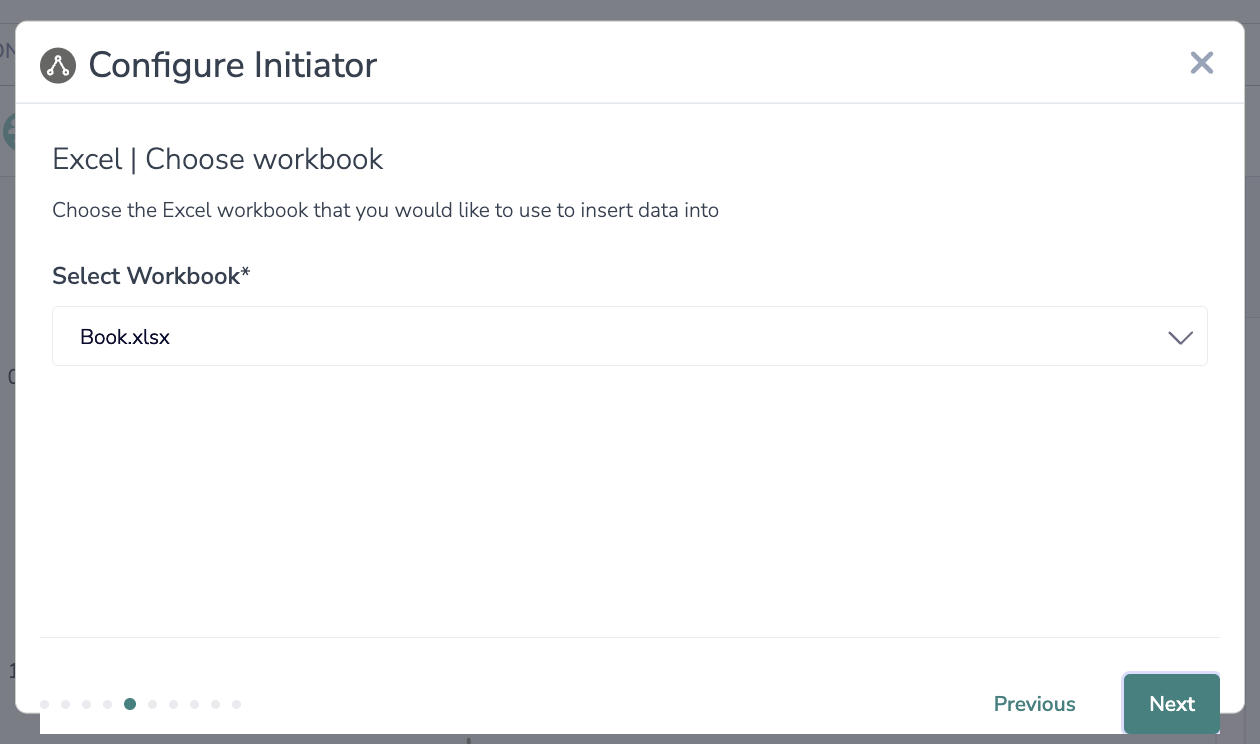
6. Choose the Excel workbook that you would like to use to insert data into.
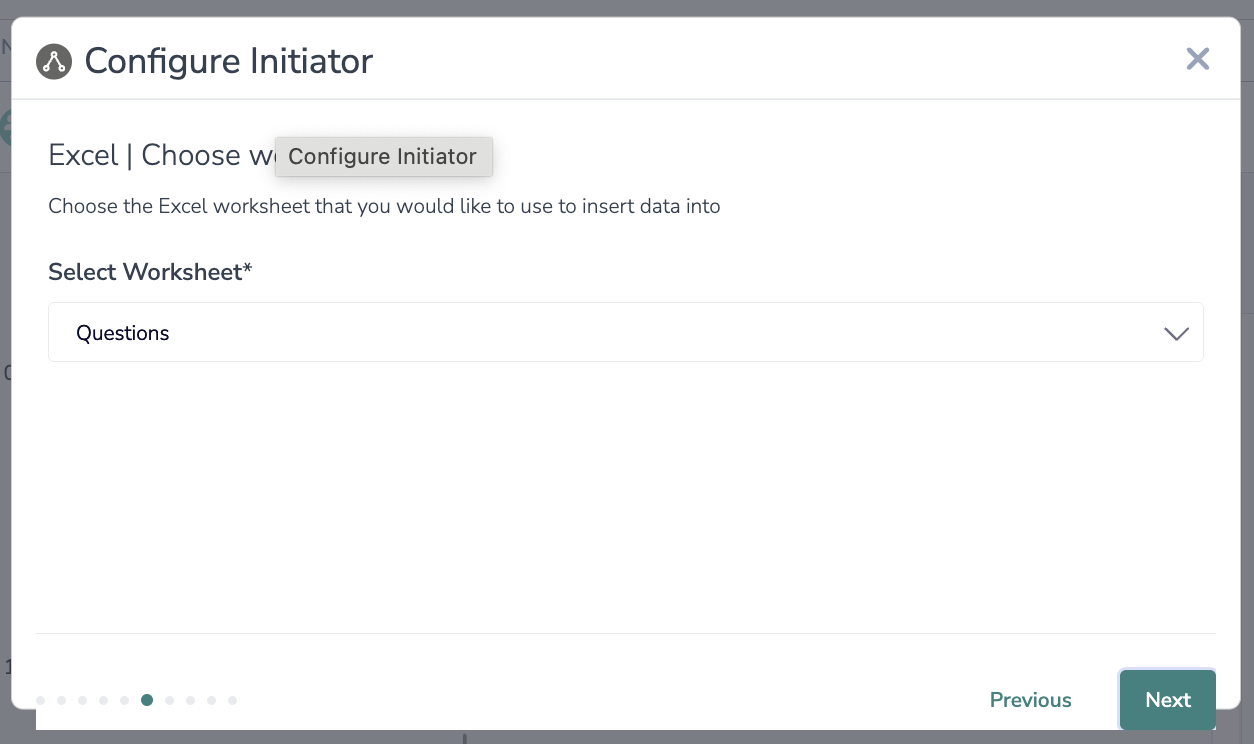
7. Choose the Excel worksheet that you would like to use to insert data into.
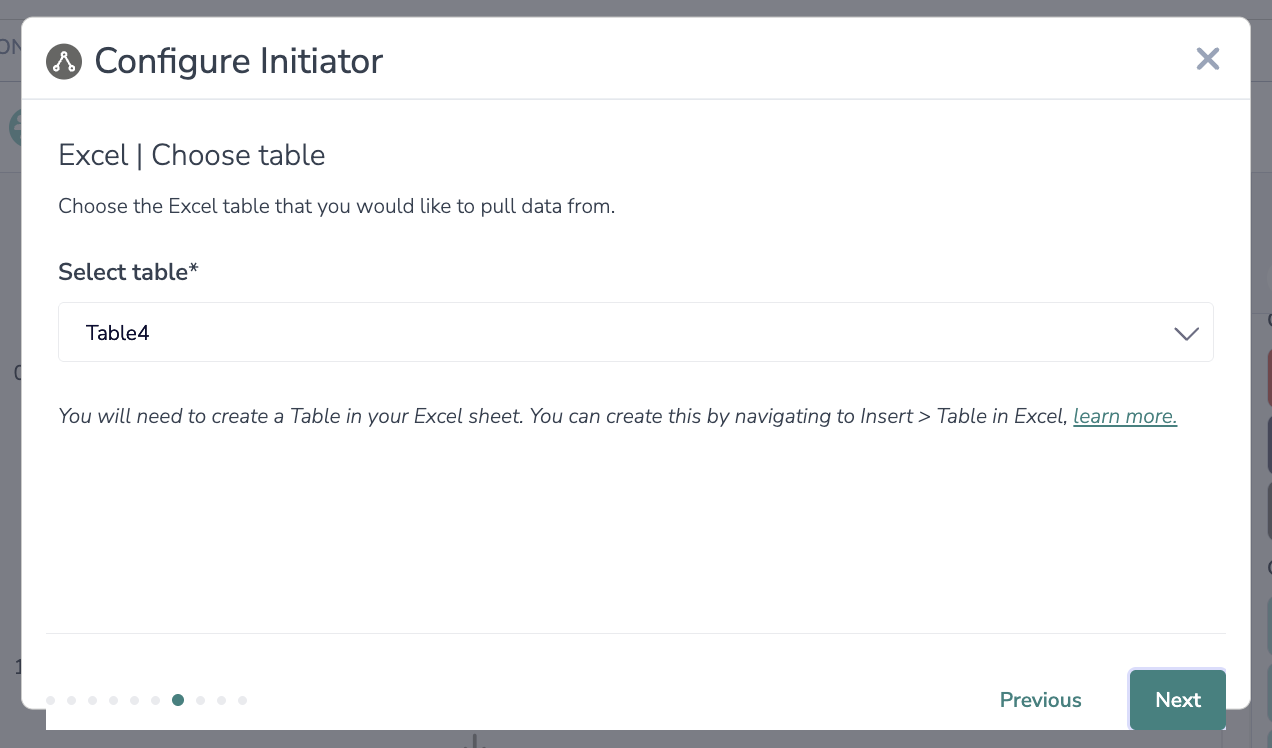
8. Choose the Excel table that you would like to pull data from.
9. Set the criteria for which rows to use to start the workflow.
A workflow run will be started for every row in your table that is found after applying this filter.

10. Set the schedule for how frequently you want to pull data from Excel to start the workflow. 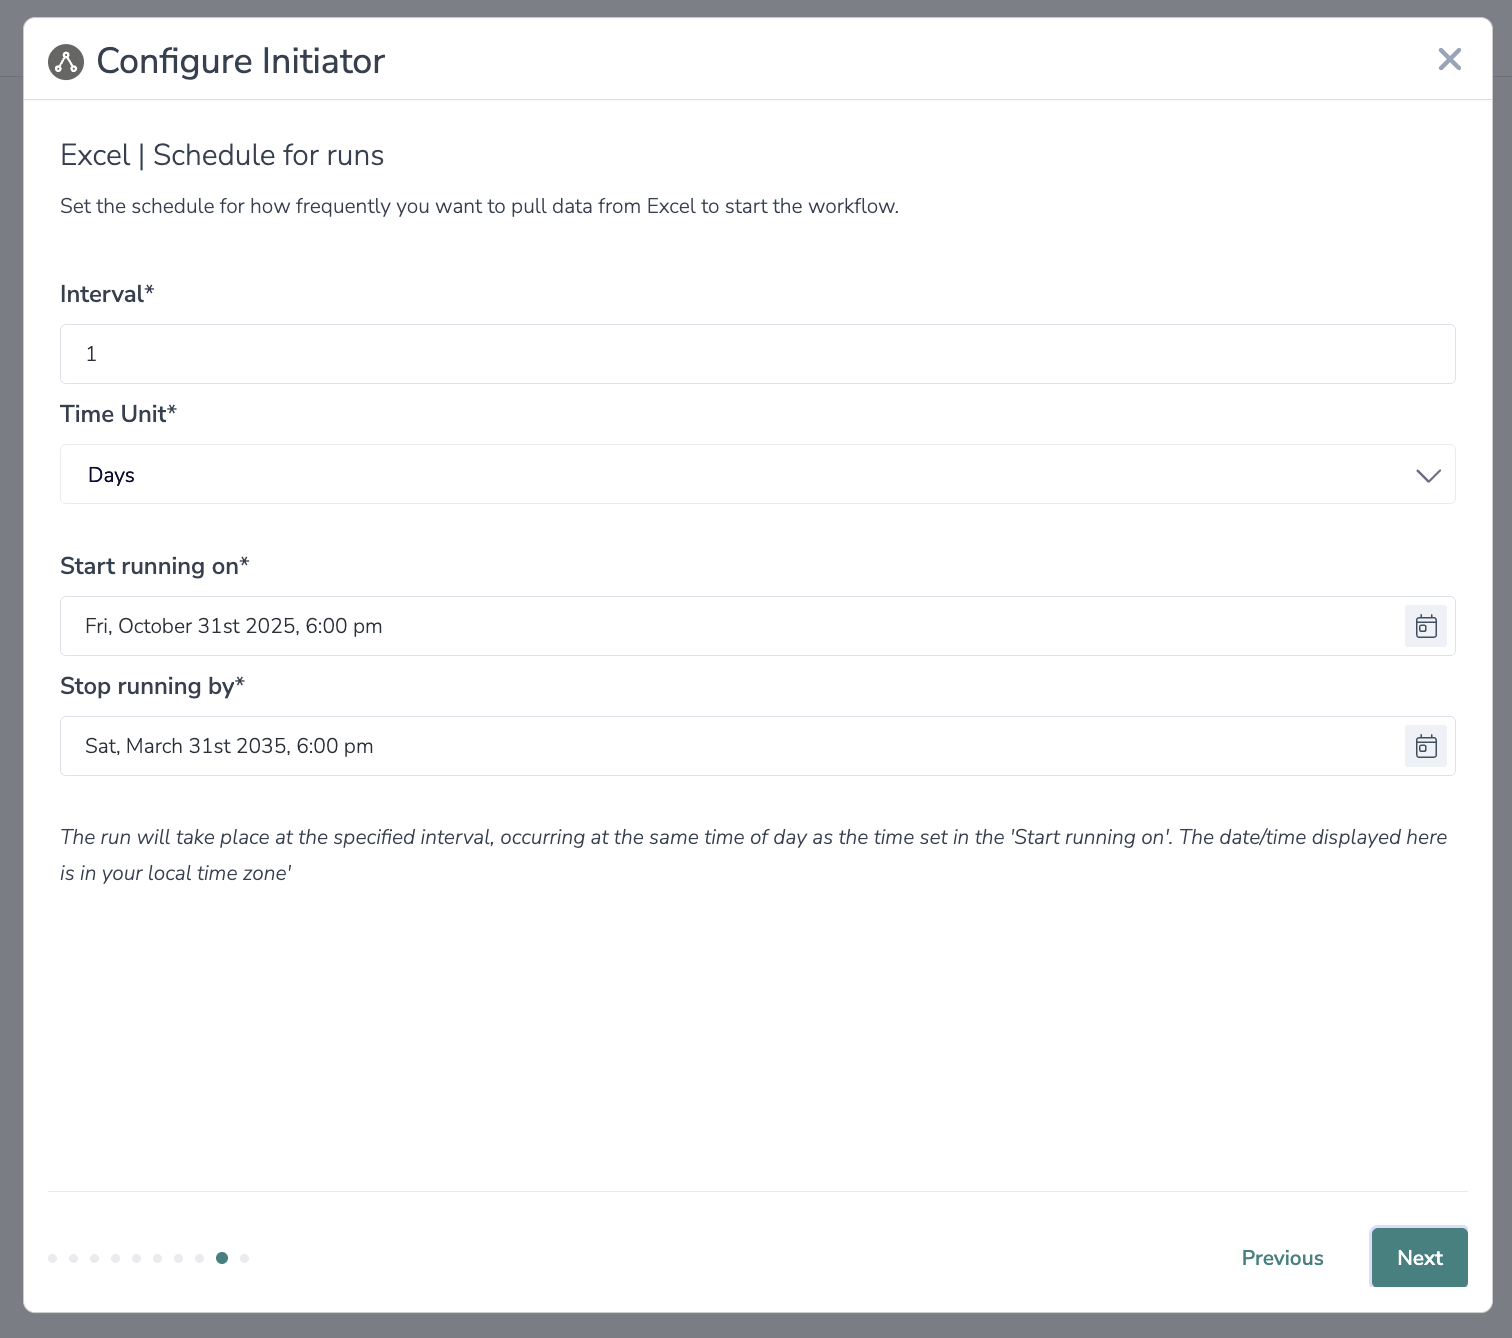
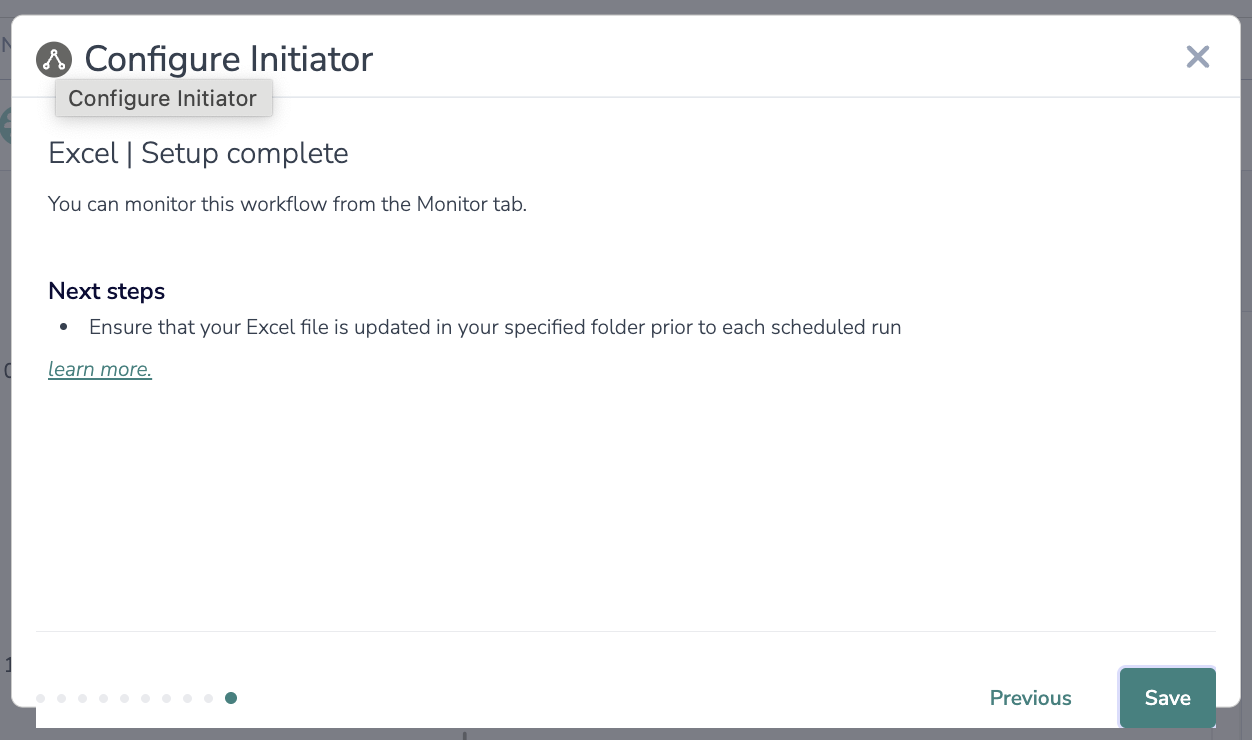
11. Setup complete.
Best practices
- Use clear headers in your Excel file to simplify field mapping.
- Test with a few rows before running on a large dataset.
- Review filter conditions carefully to avoid excluding important rows.
Now what / Where is my data?
All of the information from this integration is now available in this workflow and all surveys in this workflow. You can use them to:
- Add Merge Codes to Email or Survey Invite steps.
- Use with Logic in the workflow.
- Use to personalize the survey in the workflow.
FAQs
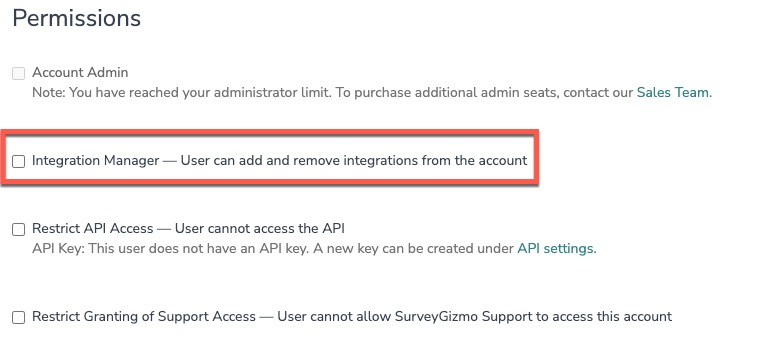
1. The Integration Manager Permission is required to set-up and use the Excel integration.
2. To check if you have this permission or grant this permission to someone on your team, go to the left-side product navigation and select the Account drop-down, then click on the user management tab.
3. Then select the Users tab under User Management.
4. Click your username or the username for another member of your team.
5. Scroll down to the Permissions section and check if the Integration Manager box is checked. If you are an admin you can check the box for other members of your team.
Alchemer is committed to continuously releasing updates and enhancements to our Workflow initiators. If you have specific use cases, questions, or just general feedback, we would love to hear it. Contact us here!