The Alchemer Excel Integration is available as an add-on and only available to customers in enterprise plans. If you are interested in purchasing the Excel Integration, please contact us for additional information.
With the Alchemer Excel integration you can easily:
- Push survey data from Alchemer into an Excel Worksheet.
- Update an Excel Worksheet with data from Alchemer
- Get data from Excel for use in an Alchemer Survey
Integration Setup
Adding an Integration Action
1. Select an existing survey or create a new survey. Then navigate to the Survey Builder.
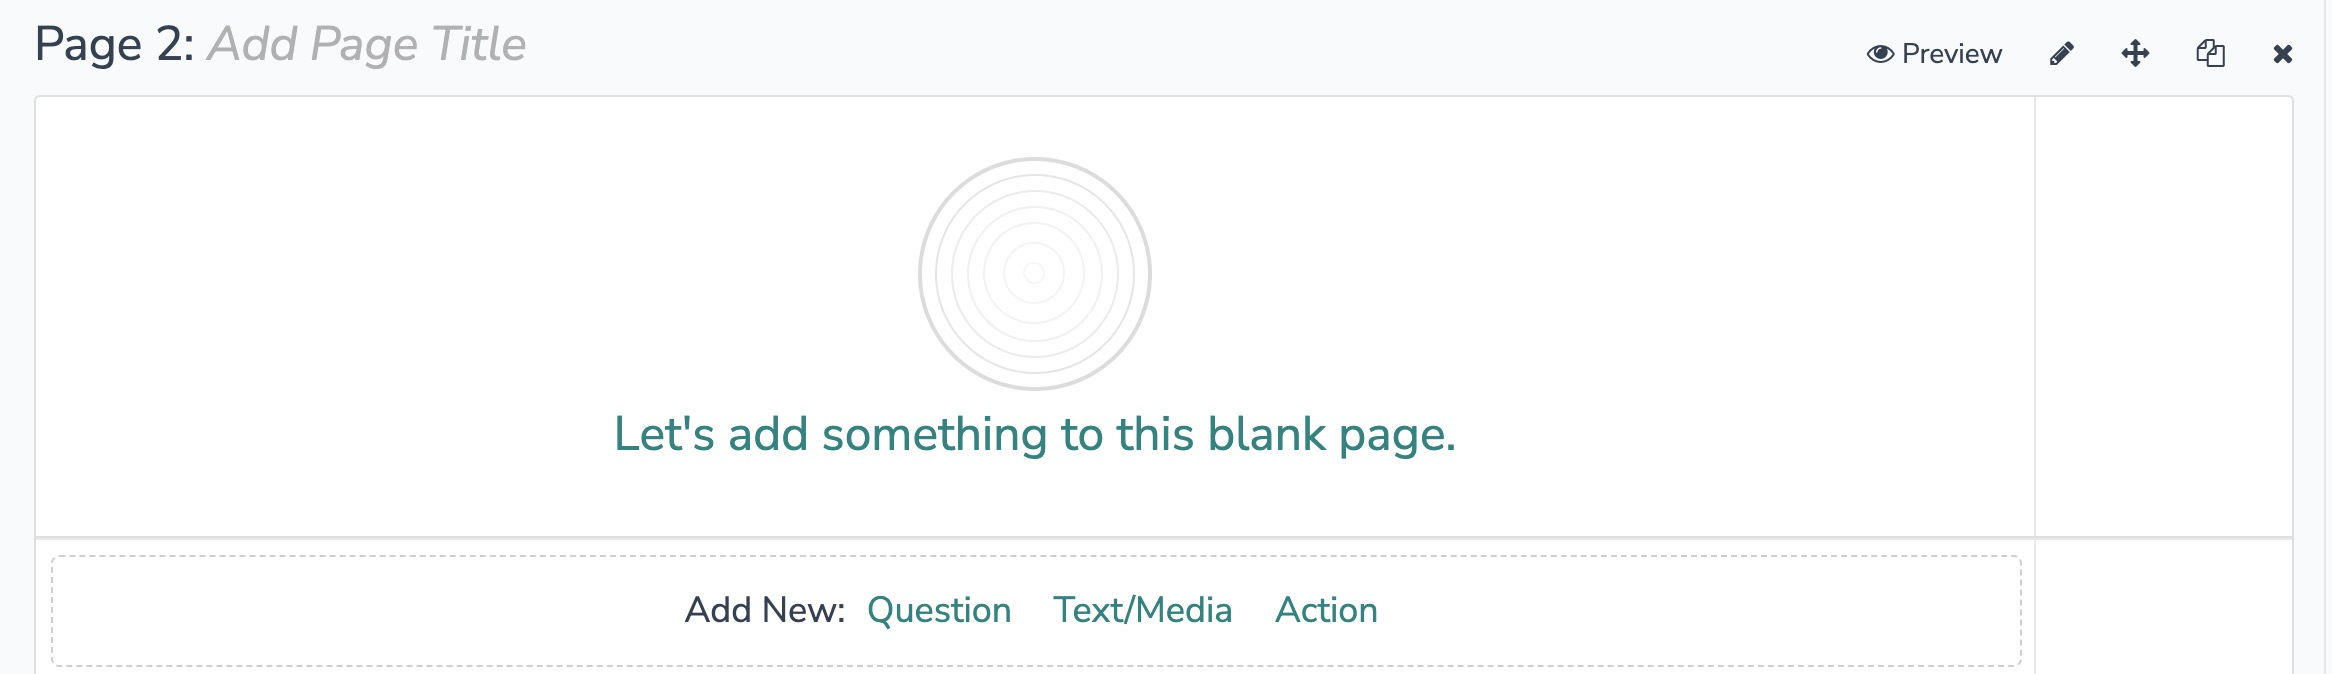
2. Click "Add New: Action"
You cannot add this Integration Action to the first page of the survey.
3. In the Add Action modal, scroll down to Integrations. Then click "Add" for one of your purchased integrations.
If you haven't purchased any additional integrations, you will see the below screen:

4. Select Microsoft Office 365 under "Your Integrations".

5. Select the action you would like to perform:
- Excel: Push data to Excel. Jump to section.
- Excel: Update data in Excel. Jump to section.
- Excel: Get data from Excel. Jump to section.
- Excel: Push structure response. Jump to section.

Excel | Push Data to Excel
Before configuring this integration action, you will need:
- Your Office 365 login information.
- Fields in this survey that contain the data you want to use to insert data into your worksheet.
- Fields in this survey that you would like to use to return some information regarding the update. (Optional)
1. You will need to first create an Excel worksheet within a workbook.
This worksheet must contain a header row with column titles.
2. Select "Excel | Push Data to Excel" as your action.

3. Click "Next" on the integration overview screen.

4. Authenticate with your Office 365 account. Click add a new account.

5. Name your new authentication and click "create".

6. In the sign-in window that appears input your Microsoft 365 credentials. Once complete, return to the setup wizard in Alchemer.
After signing in you will need to grant Alchemer (Tray.io) access to Microsoft 365.

You will need the following permissions:

7. Please select if the file you would like to use is on OneDrive or SharePoint

8. Please enter the folder path where your Excel workbook is located.
Guidance:
- Use / for the root folder
- Do not include the file name or extension
- Do not include "Shared Documents"
- Separate each folder with a slash
 9. Choose the Excel workbook that you would like to use to insert data into.

10. Choose the Excel worksheet that you would like to use to insert data into.

11. Choose the Excel table that you would like to insert data into.
You will need a Table in your Excel sheet. You can create this by navigating to Insert > Table in Excel, learn more.

12. Choose the fields in your survey that you would like to use to add data to.

13. Select the fields you want to get back.

14. Click "Save" to complete your integration action.

Excel | Update Data in Excel
1. Select "Update data in Excel"
You will need:
- Your Office 365 login information
- Fields in this survey that contain information used to find the Excel row
- Fields in this survey that will contain information to update the Excel row

2. Click "Next" on the integration overview screen.

3. Authenticate with your Office 365 account. Click add a new account.
4. Name your new authentication and click "create".
5. In the sign-in window that appears input your Microsoft 365 credentials. Once complete, return to the setup wizard in Alchemer.
After signing in you will need to grant Alchemer (Tray.io) access to Microsoft 365.
You will need the following permissions:
6. Please select if the file you would like to use is on OneDrive or SharePoint
7. Please enter the folder path where your Excel workbook is located.
Guidance:
- Use / for the root folder
- Do not include the file name or extension
- Do not include "Shared Documents"
- Separate each folder with a slash
8. Please enter the folder path where your Excel workbook is located.

9. Choose the Excel worksheet that you would like to use to insert data into.
10. Choose the Excel table that you would like to update data into.
You will need a Table in your Excel sheet. You can create this by navigating to Insert > Table in Excel, learn more.
11. Choose the fields in your survey that you would like to use to find the specific Excel row to use for the update. Then choose the data type of the column you select for the input
This will update the first match found.
Choose a unique field to query on as this only supports a single field

12. Choose the fields in this survey that you would like to use to update a row in your Excel worksheet.

13. (Optional) After an integration action occurs, data about the action is available for use in your survey. You can map this data back to fields in Alchemer.

14. Click "Save" to complete your integration action.

Excel | Get Data from Excel
You will need:
- Your Office 365 login information
- Fields in this survey that contain information to use to find the Excel row
- Fields in this survey where you want to save the Excel data
1. Select "Get Data from Excel"

2. Click "Next" on the integration overview screen.

3. Authenticate with your Office 365 account. Click add a new account.
4. Name your new authentication and click "create".
5. In the sign-in window that appears input your Microsoft 365 credentials. Once complete, return to the setup wizard in Alchemer.
After signing in you will need to grant Alchemer (Tray.io) access to Microsoft 365.
You will need the following permissions:
6. Please select if the file you would like to use is on OneDrive or SharePoint
7. Please enter the folder path where your Excel workbook is located.
Guidance:
- Use / for the root folder
- Do not include the file name or extension
- Do not include "Shared Documents"
- Separate each folder with a slash
8. Choose the Excel workbook that you would like to use to insert data into.

9. Choose the Excel worksheet you would like to use to insert data into.

10. Choos the Excel table you would like to use to pull the data from.
You will need a Table in your Excel sheet. You can create this by navigating to Insert > Table in Excel, learn more.

11. Choose the fields in your survey that you would like to use to find the specific Excel row.
This will update the first match found.
Choose a unique field to query on as this only supports a single field

12. Select the fields you want to get back from Excel.
How to Create Fields in Alchemer
1. Add survey questions that when answered will provide the desired field. (Example: What is the customer email address?)
2. Create a container using a Hidden Value. These Hidden Values can then be mapped to fields in Excel and used as Merge Codes in your survey.

13. Click "Save".

Excel | Push Structured Response
Before configuring this integration action, you will need:
- Your Office 365 login information.
- Fields in this survey that contain the data you want to use to insert data into your worksheet.
- Fields in this survey that you would like to use to return some information regarding the update. (Optional)
1. You will need to first create an Excel worksheet within a workbook.
This can be a blank workbook as this integration will build out all of the required sheets, columns, and tables in the following steps.
2. Select "Excel | Push Structured Response" as your action. 
3. Click "Next" on the integration overview screen.

4. Authenticate with your Office 365 account. Click add a new account.
5. Name your new authentication and click "create".
6. In the sign-in window that appears input your Microsoft 365 credentials. Once complete, return to the setup wizard in Alchemer.
After signing in you will need to grant Alchemer (Tray.io) access to Microsoft 365.
You will need the following permissions:
7. Please select if the file you would like to use is on OneDrive or SharePoint
8. Please enter the folder path where your Excel workbook is located.
Guidance:
- Use / for the root folder
- Do not include the file name or extension
- Do not include "Shared Documents"
- Separate each folder with a slash
9. Choose the Excel workbook that you would like to use to insert data into.
10. Checking if your Excel sheets and tables are already built. This is used in the next steps to construct the sheest and tables if necessary.

11. Building sheets in your workbook, if not already built.

12. Building the header row in your workbook for each sheet, if not already built.

13. Building the tables in your workbook for each sheet, if not already built.

14. Updating the table names in your workbook for each sheet, if not already built.

15. Choose the questions/survey fields you want to push to Excel.

16. Pushing question metadata to Excel for the selected question.

17. Select the fields you want to get back. This is optional.

18. Click "Save" to complete your integration action.

Monitoring an Excel Integration Action
A log of each run result can be found in Results > Individual Responses > Action Log.
Select an individual response and then navigate to the Action Log. In the Action Log, you can monitor whether the action was successful.
FAQs
1. The Integration Manager Permission is required to set up and use the Excel Integration. If you don't have this permission you will see the following when trying to add the integration to a survey: 2. To check if you have this permission or grant this permission to someone on your team, go to the left-side product navigation and select the Account drop-down, then click on the user management tab.
3. Then select the Users tab under User Management.
4. Click your username or the username for another member of your team.
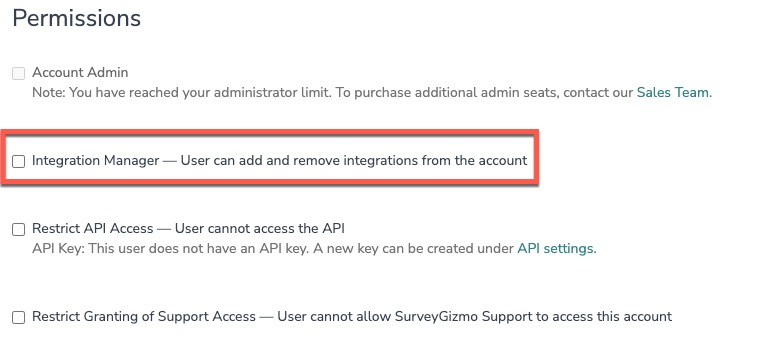
5. Scroll down to the Permissions section and check if the Integration Manager box is checked. If you are an admin you can check the box for other members of your team.
Alchemer is committed to continuously releasing updates and enhancements to our survey integrations. If you have specific use cases, questions, or just general feedback, we would love to hear it. Contact us here!