A Results Chart allows your respondents to see a chart of the summary for a question in your survey. It will act like one of our Poll projects without being restricted to just one question. You can set up multiple result chart actions to display the results from more than one question in your survey.
Use a Result Chart to show your respondents how other people answered your survey. For example, in quizzes in addition to displaying a quiz score you can use results charts to show your students how other people answered the questions.
Available Chart Types and Compatible Questions
Results Charts have three different chart types available:
- Pie Chart
- Bar Chart (vertical)
- Bar Chart (horizontal)
Pie Chart
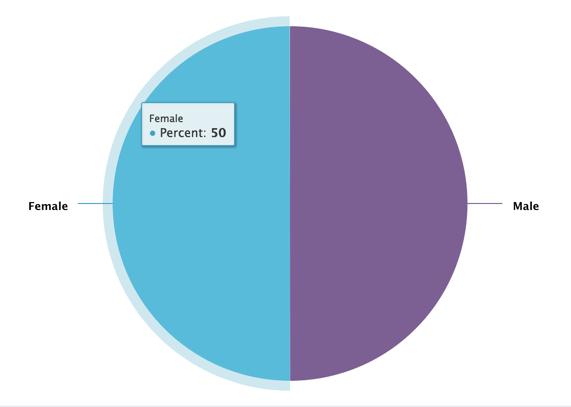
Compatible Questions
Vertical Bar Chart
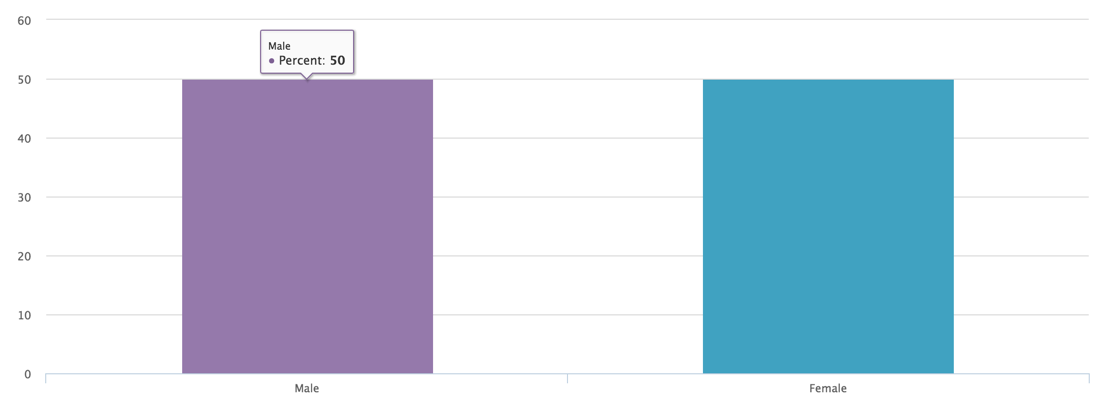
Compatible Questions
- Radio Buttons
- Checkboxes
- Dropdown Menu
- Rating (Likert Scale)
- Image Choice (single)
- Image Choice (multiple)
Horizontal Bar Chart
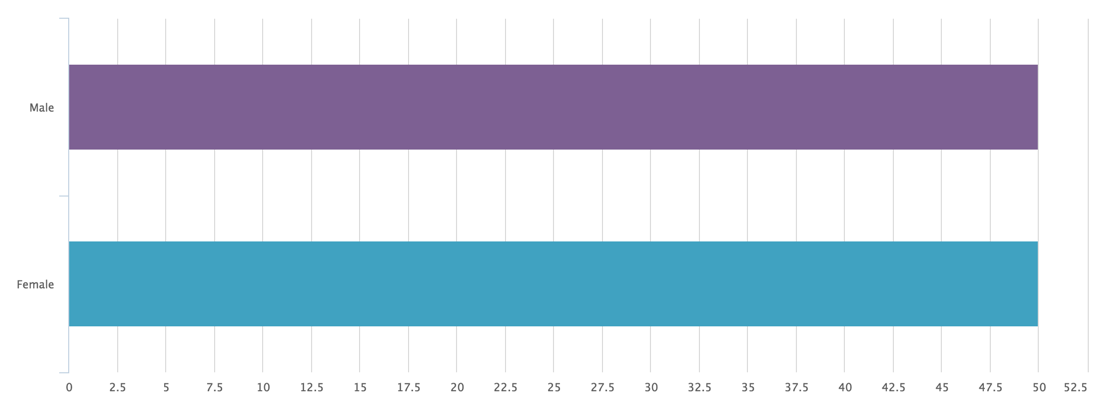
Compatible Questions
- Radio Buttons
- Checkboxes
- Dropdown Menu
- Rating (Likert Scale)
- Image Choice (single)
- Image Choice (multiple)
Add a Results Chart
Results Charts can be displayed on any page after the first page. They must be added to the page subsequent to the question you would like to display in the Results Chart.
- Click Add New Action.
- Select Results Chart.
- Enter a Name (this can be a public or internal title - you can toggle it on/off with the next setting).
- If you would like to show the name of your result chart action when the results are displayed to respondents, select the Show Name option.
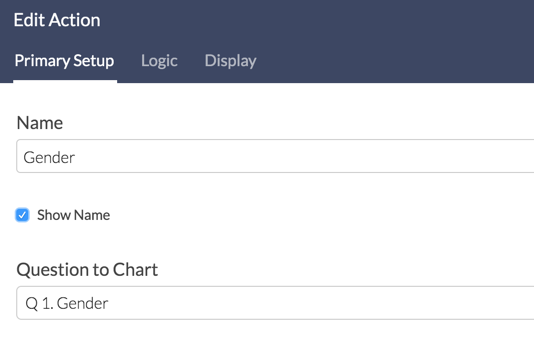
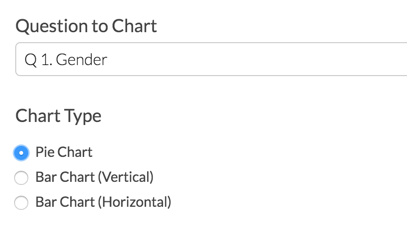
- Select the Question to Chart, then the Chart Type.
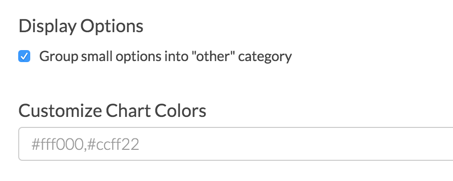
- (Optional) Display Options - If a question has more than 7 answer options, you can choose to check this box in order to group additional answer options into an other category.
- (Optional) Custom Colors- If you have specific colors in mind you can specify them using comma separated hexadecimal colors.
- Make sure to Save Action when you are finished customizing your action.
Logic in Results Chart Actions
On the Logic tab use the logic builder to conditionally display the Results Chart.
Test Your Results Chart
In order to see the results chart in action you will need to generate some test responses and then record a live response using the share link on the Share tab. The Results Chart will NOT appear when accessing the survey via the Preview option.
Once you've confirmed everything is working if you have generated Test data in your survey, you will want to make sure you delete those responses before going live the survey as those responses will count in the result charts.


